Introduction
Doesn’t matter if you are a beginner, you can create this animation just in a few simple steps. Four different pictures moving with different speeds of motion is just all you need to create this Landscape Animation in PowerPoint.
The only important thing is how you draw the entire scene to attract the audience. Copying / Pasting pictures from online sources like Google is an easy task but that too requires a basic understanding of creating animation in PowerPoint.
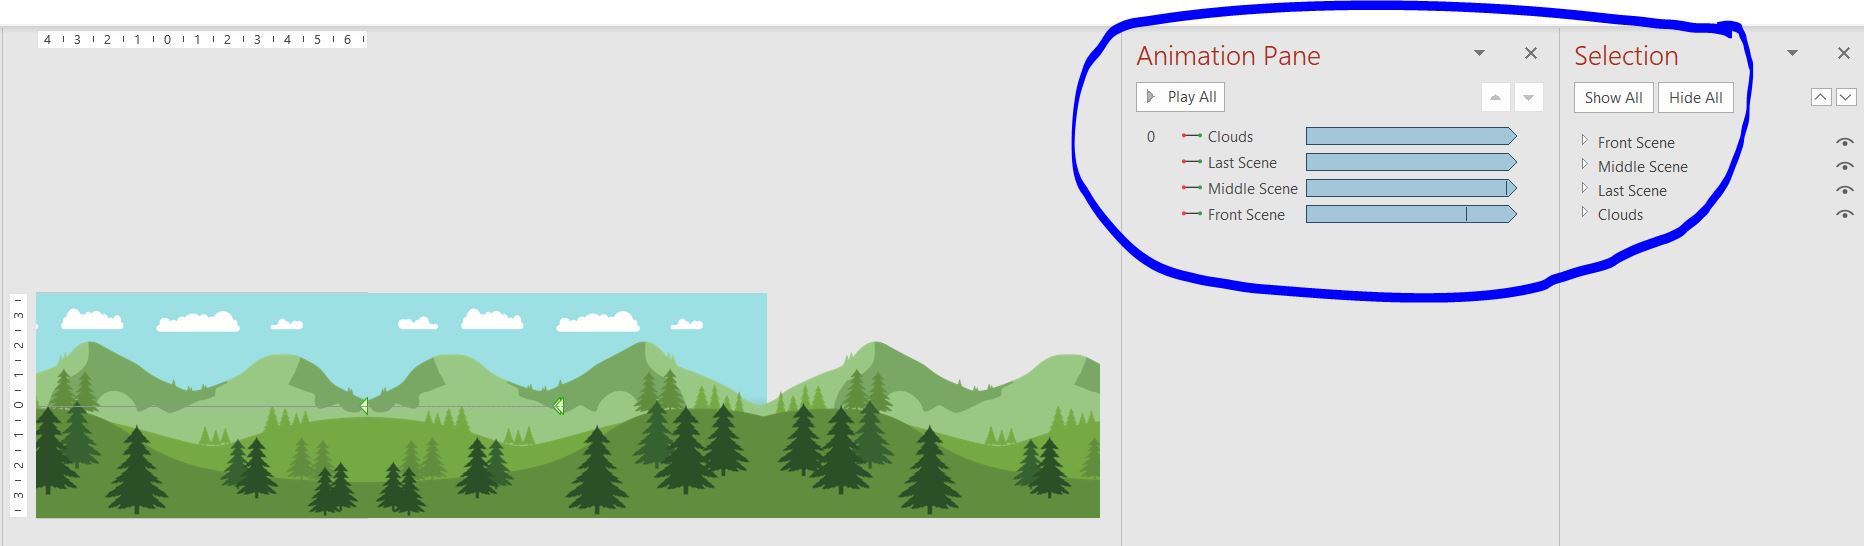
Figure 1.1
That’s for sure that I’m talking about Portable Network Graphics (Transparent)
Using Selection Pane To Identify Object
- Take a look at Figure 1.1, where you can see a view of the slide where 4 Pictures can be seen in the Selection Pane and 4 Motion Path effects in the Animation Pane. The mountains, trees, and clouds have been created using the Shape Tools and later each of them has been converted to images, so we may easily apply the motion path on the pictures; instead of too many grouped shape objects.
- You can download the PNG Files of the Landscape Parallax Effect presentation from the link below. I will explain to you in my next article how I converted those Shape Objects into Transparent PNGs using PowerPoint.
- Transparent pictures are a great way to create a single animated scene as you can place one object on the other without overlapping any white area as you may see an example in our Realistic Animated Walk Cycle Tutorial.
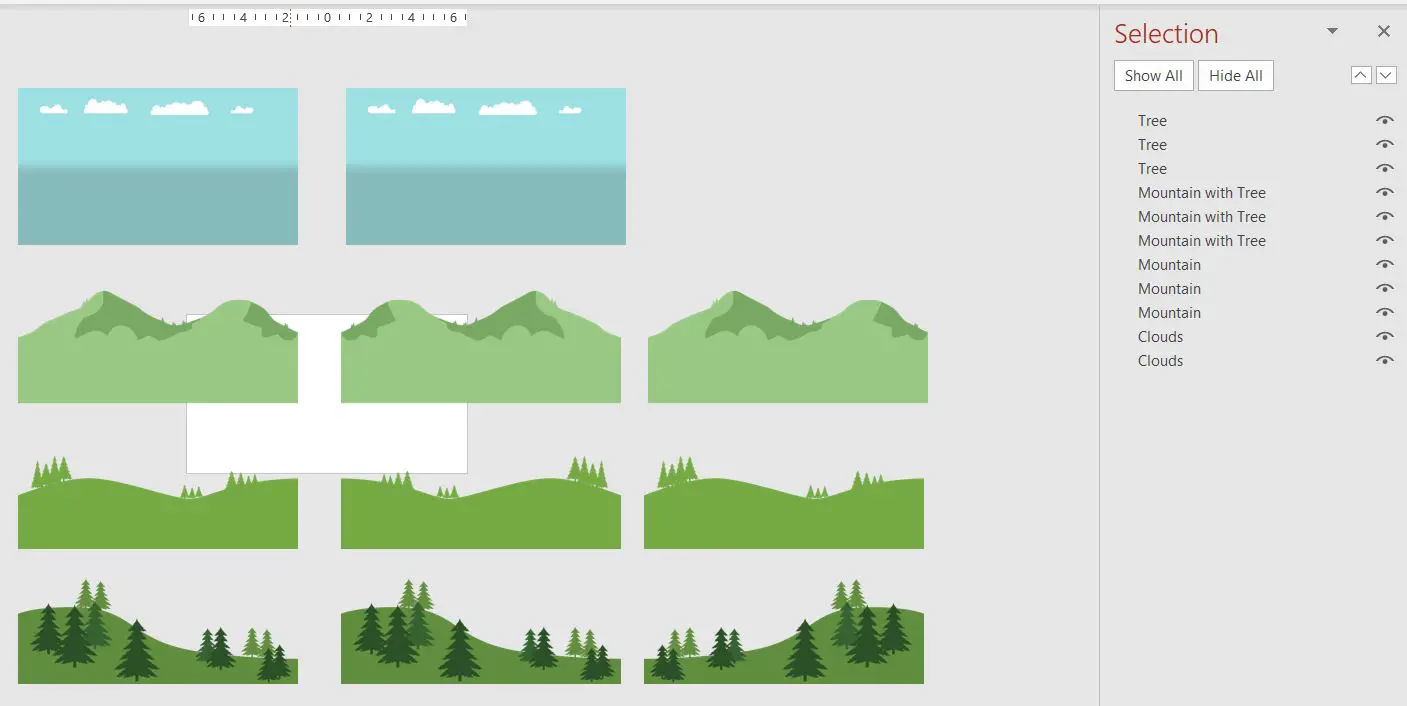
- You can select one picture and can then Ungroup the pictures from the Format tab. You can see how a picture has been copied, flipped, and grouped to create a single large image which later we will move using the Motion Path effects as shown in Figure 1.2. Also take a look into the Selection Pane, where after ungrouping you can see more objects in the list.
Applying Animation Effects
- Take a look at the following animations. Here we have applied the Left Motion Path to each of the pictures with different duration timings W/w Clouds & Train.
- Clouds and Trains including other objects can be seen moving behind the Train Window.
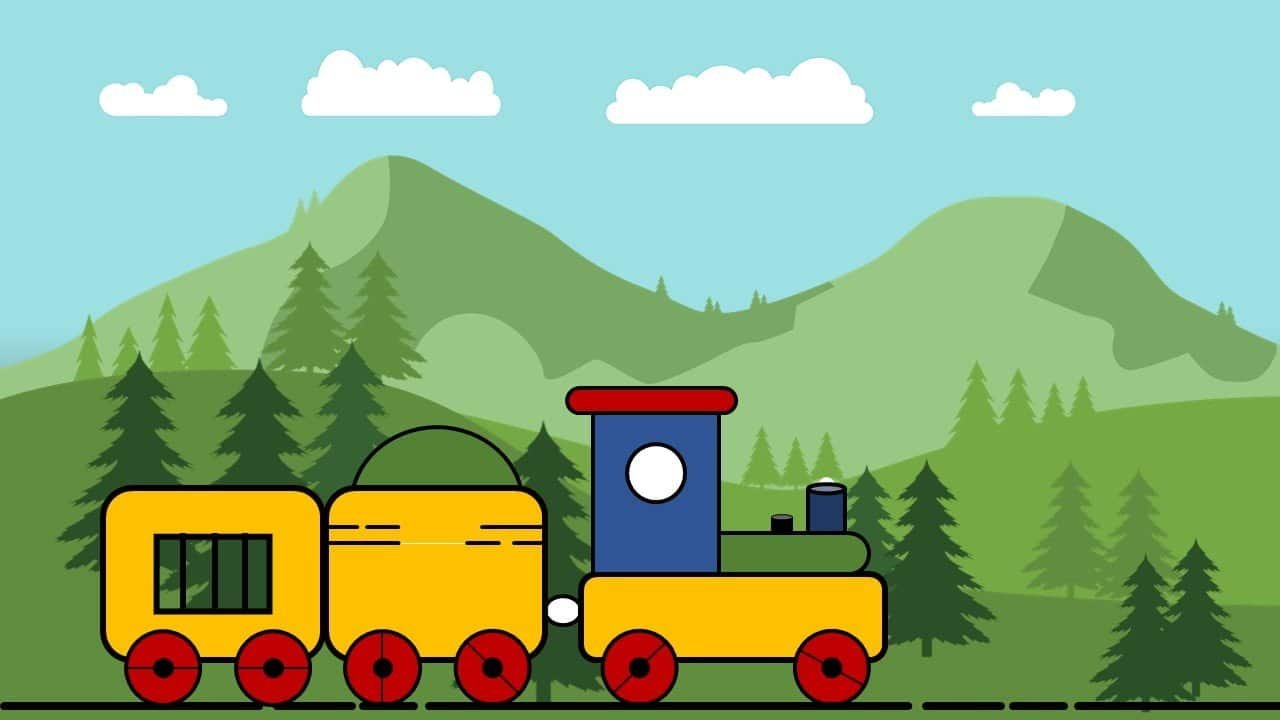
- You can read our article on How To Create A Toy Train Animation in PowerPoint for more information.
You can add as many objects you want in this kind of animated scenes.
A classical style of making 2D animations.
- Figure 1.3 displays 8 Seconds Duration of the Left Motion Path. Note down the beginning position of the picture which is exactly at the left side of the slide and the length of the Motion Path is exactly stopping at a point where a continuous loop of this animation will not make any flickering.

So the same Left Motion Effect with different duration timings has been applied to all 4 images in the presentation:
- Front Scene – 8 Seconds
- Middle Scene – 10 Seconds
- Last Scene – 15 Seconds
- Clouds – 20 Seconds
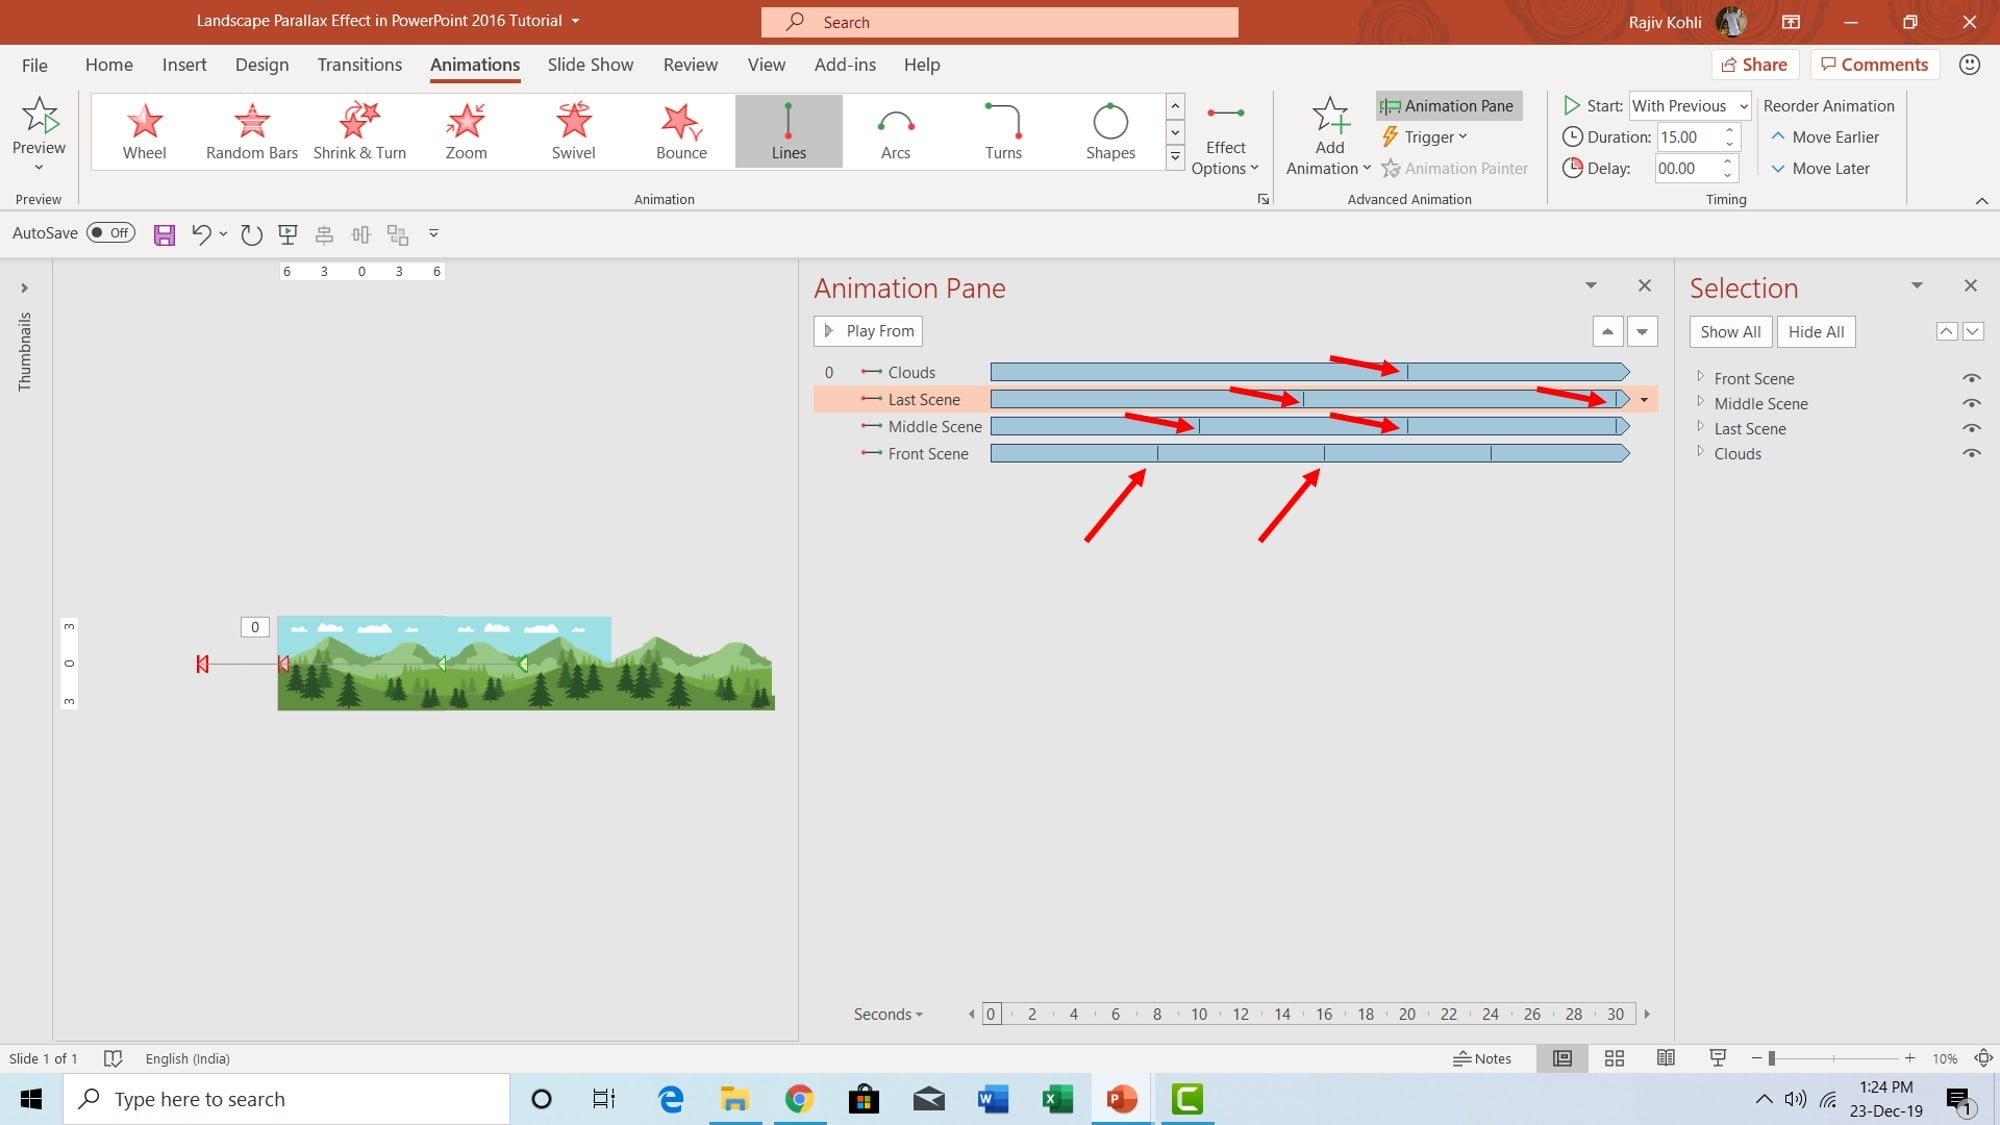
- In Figure 1.4, you can see the Red Arrows indicating the difference between the loop as we had applied the Left Motion Path with “Repeat Until End of Slide” to make a loop of the entire animation.
Conclusion
You can either insert ready-made transparent PNG files or can create your own using Shape Tools to draw a scene like the above. Then you can apply the Motion Path to each picture with different duration timings while defining the exact length of the Motion Path. Due to the difference between the Duration Timings and Delay Timings between the Motion Path of the pictures, it looks as if each layer is moving separately and creating an illusion of the Parallax Effect.
I hope you got The Teacher Point.
Watch Landscape Parallax Animation PowerPoint Tutorial
The article also applies to the following versions:
- PowerPoint 2007
- PowerPoint 2010
- PowerPoint 2013
- PowerPoint 2016
- PowerPoint 2019
- PowerPoint 2021
- Office 365
Download Landscape Animation PowerPoint PPT
PPT Info.
PowerPoint Template
Landscape Parallax Animation
No. of Files: 4
File Type: PPT / PPTX
File Size: 502KB / 42.6MB / 41.9MB / 46.9MB
Number of Slides: 1
Download LANDSCAPE POWERPOINT TEMPLATE ppt 1
Download Dinosaur in Landscape Animation PPT 2
Download Dinosaur in jungle Animation PPT 3
Download Dinosaur walk cycle Animation PPT 4
DON’T FORGET TO LEAVE A RESPONSE.