

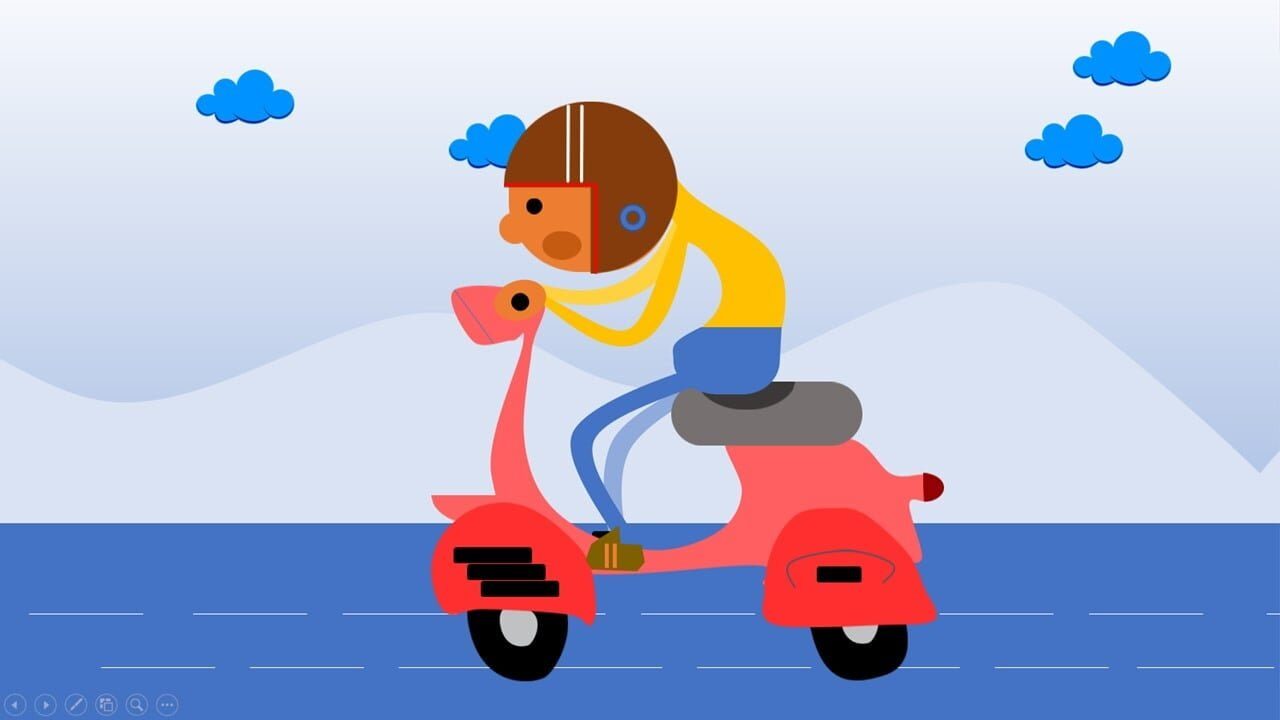
Introduction To Scooter Animation
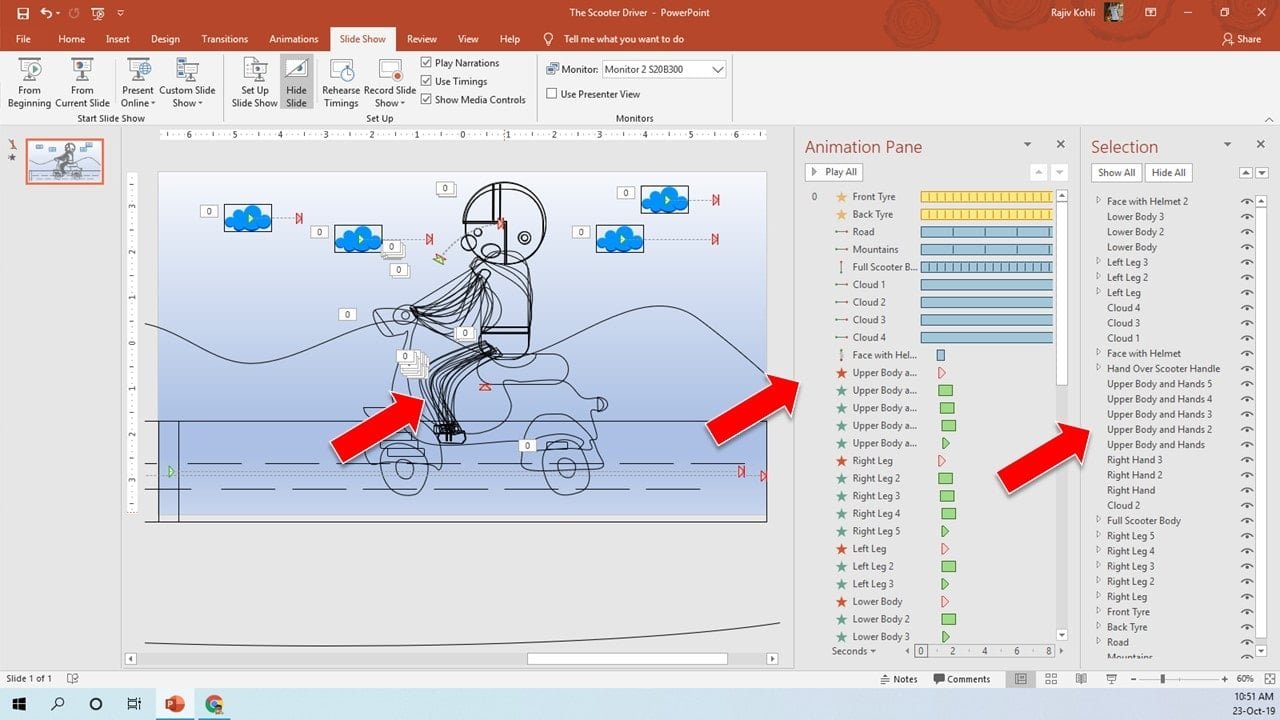
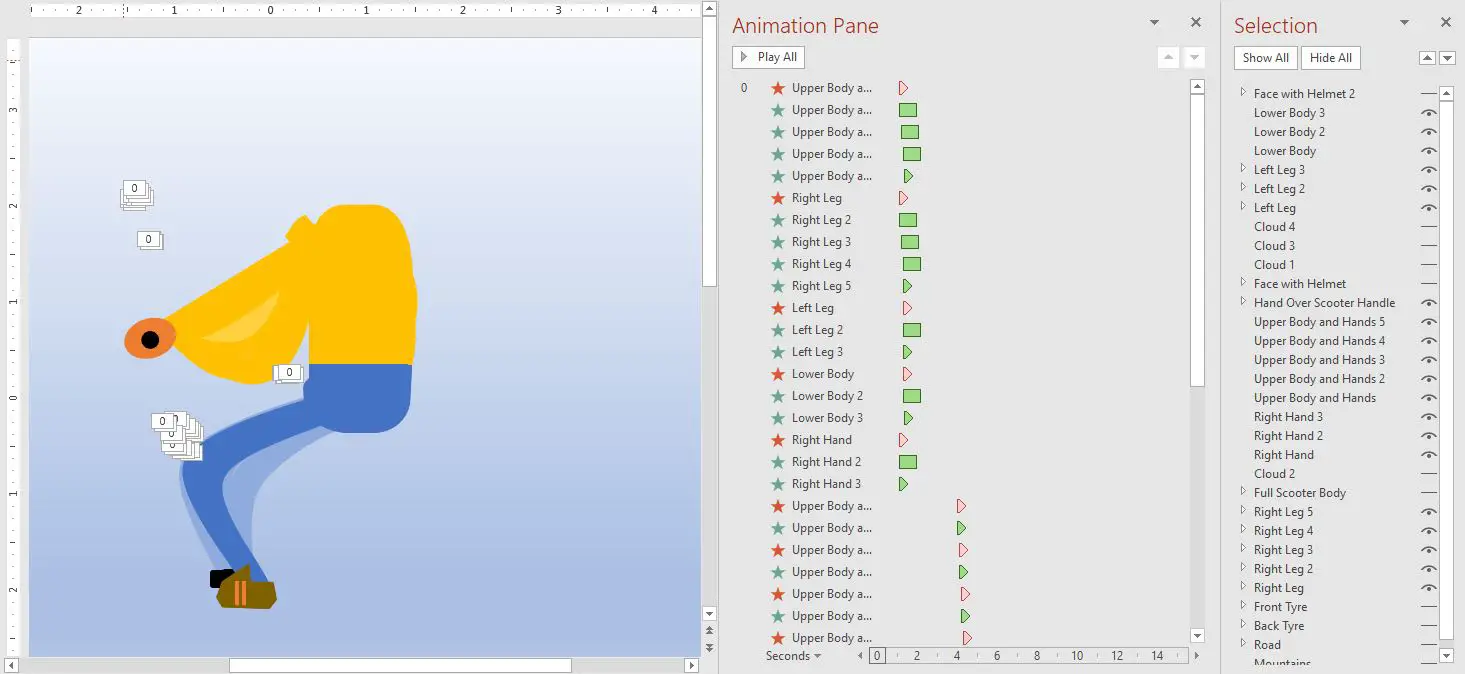
You might find The Scooter Animation in PowerPoint Tutorial a bit complicated while looking at a long list of animations and objects used in the presentation as shown in Figure 1.1. It is complicated as I did not use the right method. Those were the days when I started replicating some Motion Graphics animations in PowerPoint, a Beginner!

Animation is inspired by Tumblr.
If you have not read my article on How To Use Flash Once in PowerPoint then you must give it a read. The Flash Once is an incredible effect that can help you to create some realistic animations in PowerPoint.
Shape Layers and Animation Effects Used
Look into the Selection Pane and you can notice that a lot of different parts of the characters have been drawn separately like Left Leg, Right Leg, Lower Body, and Upper Body. The mistake was that I should draw different but complete motion poses of the Scooter Driver instead of drawing separate parts as shown in Figure 1.2.
A total of 51 animations on 22 different body parts of the Scooter Driver have been applied. If you read my article on creating Horse Walk Cycle in PowerPoint then you can easily guess the mistakes that I did in this presentation. I should draw completely different poses of the Scooter Driver and should apply the Flash Once animation on each of the poses as I did in the Horse Walk Cycle presentation. A long list of animations because I applied Flash Once, Appear and Disappear effects on different body parts to show or hide them at a particular time. We could show 8 completely different poses of the scooter driver using Flash Once only.
Scooter Animation Effects Detailed Explanation
- Scooter Tyres: Grow/Shrink Emphasis Effect with 115% rate with Auto Reverse and No Smoothness with a very short duration of 0.25 and Repeating 20 Times. Later, use Animation Painter to replicate the Front Tyre effects on Back Tyre as both objects have the same animations.
- Road: Road has been drawn using Rectangle and Straight Connectors and even you can use a picture. Right Motion Path with 5 Repeats and 2 Seconds Duration Timings. No Smoothness and without Auto Reverse. Path length has been set preciously to match the length of the road so that during repeats it will not flicker.
- Mountains: We replicate the animations from Road to the Mountains using the Animation Painter as both animate in the same manner during Slideshow.
- Full Scooter Body: A very short Up Motion Path has been applied to the scooter body with Auto Reverse, without Smoothness with a short duration of 0.25 seconds. So the body moves a bit up and down 17 times. You can set the Repeats for these particular animations according to the total length of the animation you need during the slideshow.
- Clouds: All clouds are moving to the Right through the Motion Path and Auto Reversing to their previous location with a duration of 5 seconds. Clouds take 10 seconds to move to the right and reverse back to the default location and that is what exactly the above effects Repeat total duration is. See Figure 1.3 for a preview of the above-mentioned effects.

Now, let’s talk about the Scooter Driver Body Parts animations and that is what I was trying to explain before. For instance, there are two objects named: Face with Helmet and Face with Helmet 2. During the slideshow, the face makes a down curve after 1 Second but reverses back at a delay of 4 seconds. So, there is a 3 seconds delay between the reverse. #ListenMicrosoft as you might know that you cannot add a delay between an Auto Reverse. If you are applying a Left Motion Path with Auto Reverse with 1-second duration then the object will move to the left but will immediately auto-reverse after 1 second.
- So, we used two different faces with the helmet. The Face with Helmet moves after a 1-second delay. This object gets disappeared at 4 seconds. At the same time, Face with Helmet 2 appears. The starting motion path position of this object is exactly matched with the ending position of the previous face but the path is in reverse direction. See Figure 1.4 and Figure 1.5:


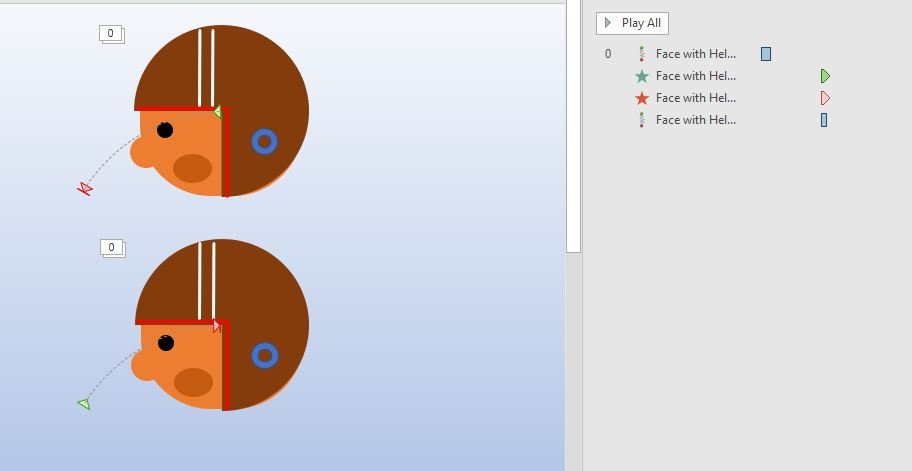
Both objects have been placed on top of each other in the presentation but both appear/disappear at specific times.
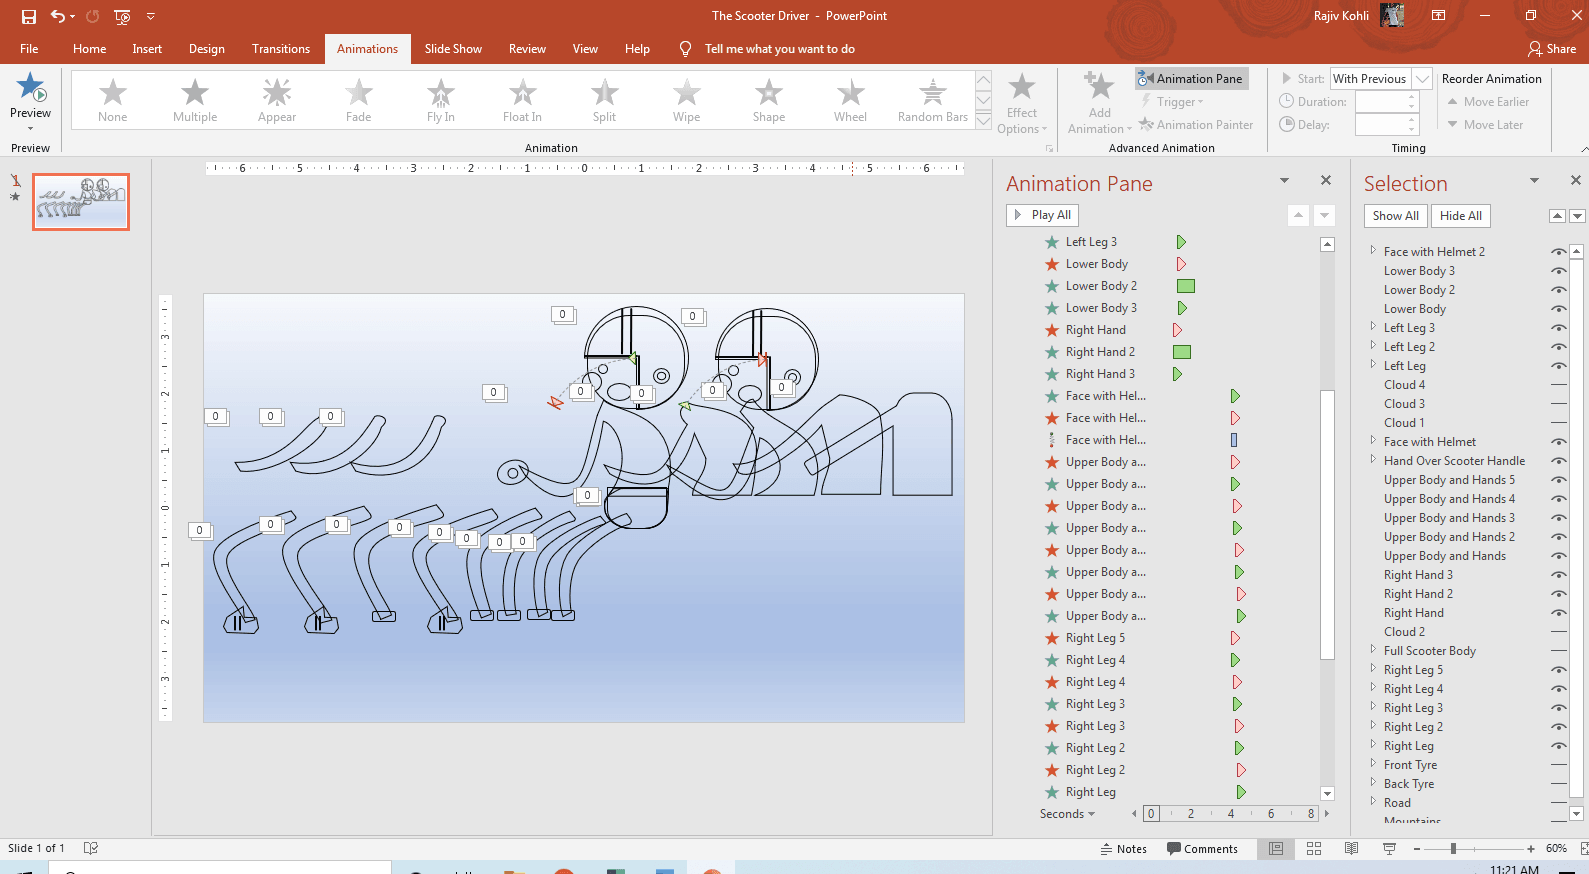
Finally, take a look at Figure 1.6 and Figure 1.7; where we are only showing the animation effects applied to the scooter driver body parts.

Instead of drawing so many different body parts and applying different animations to them; I could draw 9 complete poses of the scooter driver character and could show them at specific times using Flash Once. That could easily decrease the pressure of applying and remembering so many animations. The Horse Walk Cycle presentation could be used as an example.
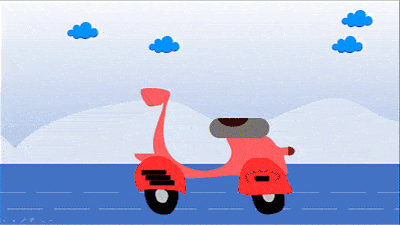
So, here are the final results:
I hope you got The Teacher Point.
Watch The Scooter Animation in PowerPoint Tutorial
