
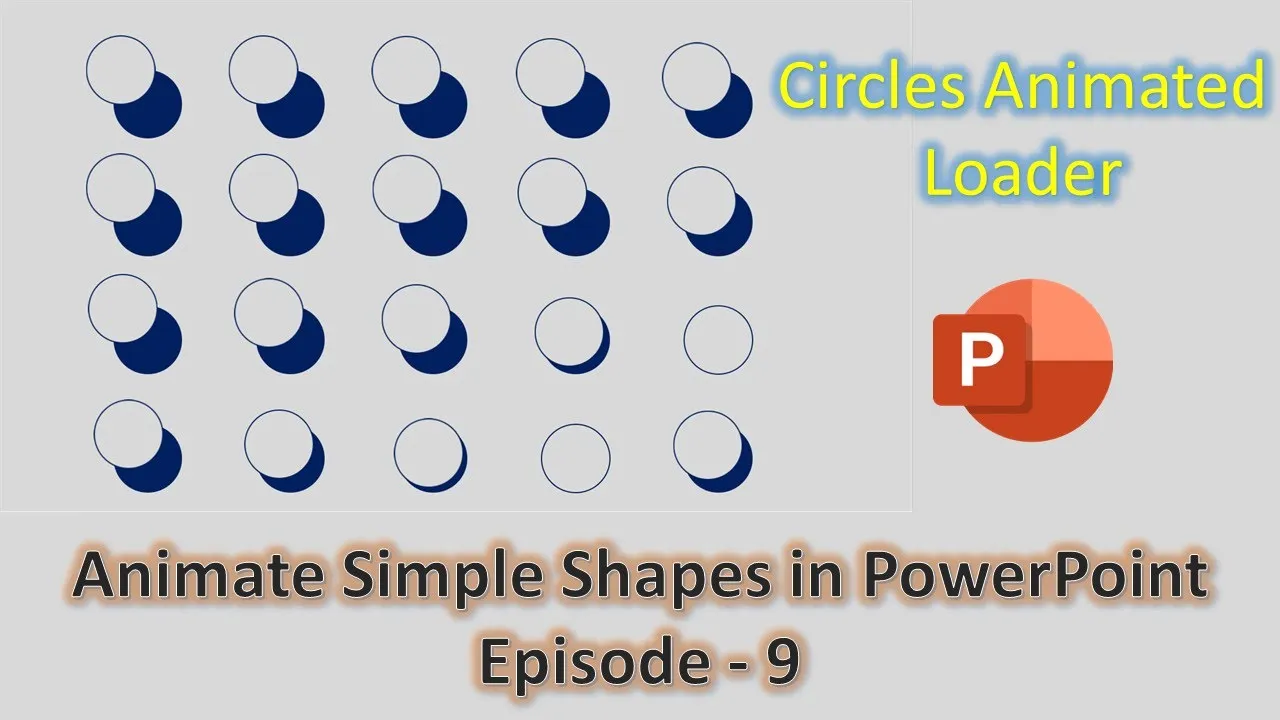
PowerPoint is a versatile tool that goes beyond static slides. You can create dynamic and engaging presentations by incorporating animations. In this tutorial, Episode 9 of our PowerPoint animation series, we’ll explore how to animate simple shapes in PowerPoint. We will create an intriguing animation effect with “holes,” and you can follow along by watching the embedded video tutorial for a visual representation.
Watch The Video Tutorial Here:
Before we dive into the tutorial, make sure you have PowerPoint open and ready. Let’s get started:
1. Create a New Slide:
Begin by opening PowerPoint and creating a new slide or presentation. Start with a blank layout to remove any default text boxes. This sets the stage for our animation.
2. Insert Oval Shapes:
Now, go to the “Insert” tab, click on the “Shapes” drop-down button, and select “Oval.” Click inside the slide to insert a default one-inch oval shape. You can customize the oval’s color (for example, dark blue) and remove the outline.
3. Duplicate the Oval:
To create the animated effect, we need two ovals. Copy and paste the same oval. Remove the fill color from the duplicate (choose “No Fill”) and apply a dark blue outline.
4. Set Background Color:
Right-click on an empty area of the slide and choose “Format Background.” Select a solid fill color for the background (e.g., white with a 50% darker shade). This step enhances the visual appeal of the animation.
5. Match Oval Colors:
Fill the top oval with the same background color to make it blend seamlessly with the background.
6. Position the Ovals:
Arrange both ovals on the slide as you desire, keeping in mind the starting and ending positions of your animation.
7. Apply Motion Path Animation:
Head to the “Animations” tab, click on the “Add Animation” drop-down button, and select “More Motion Paths.” Choose a motion path, like “Diagonal Up Right,” and adjust the path direction as needed.
8. Configure Animation:
Open the Animation Pane from the “Animations” tab. Locate the animation effect (“Diagonal Up Right”) and set it to “Start With Previous” with a duration of one second. Double-click the effect to open the effect options. Enable “Auto Reverse” to make the oval move diagonally up-left and back to its original position. Set it to repeat until the end of the slide.
9. Duplicate and Arrange:
Duplicate both ovals and arrange them horizontally. Adjust the delay timings between the animation effects for each pair of ovals to create variation in the animation.
10. Repeat for Additional Rows:
Copy, paste, and adjust the delay timings for the next rows of ovals as needed. This repetition creates a captivating animation effect.
11. Review the Animation:
Start the slideshow to see the animation in action. Remember that the timing and arrangement of ovals and animation delays are customizable based on your preferences.
Conclusion:
Animating simple shapes in PowerPoint can add a dynamic and engaging element to your presentations. The concept is relatively easy to grasp, and by following this tutorial and watching the embedded video, you can quickly master the technique.
We hope you found this tutorial helpful and that it inspires you to explore more creative possibilities with PowerPoint animations. Don’t forget to watch the video tutorial for a more visual representation of the steps. If you enjoyed this tutorial, please show your support by liking, sharing, and commenting on the video. Also, subscribe to our channel for more upcoming tutorial videos.
Thank you for watching, and we wish you a great day filled with exciting PowerPoint animations!