Creating Stunning PowerPoint 3D Animation : A Step-by-Step Tutorial
In today’s tutorial, we’ll explore the exciting world of combining 2D shapes and 3D models to create visually stunning PowerPoint 3D Animation. This tutorial is …

All About Tech Since 1997
A tutorial series to explore animation possibilities using some simple techniques with the in-built PowerPoint animation effects.
In today’s tutorial, we’ll explore the exciting world of combining 2D shapes and 3D models to create visually stunning PowerPoint 3D Animation. This tutorial is …
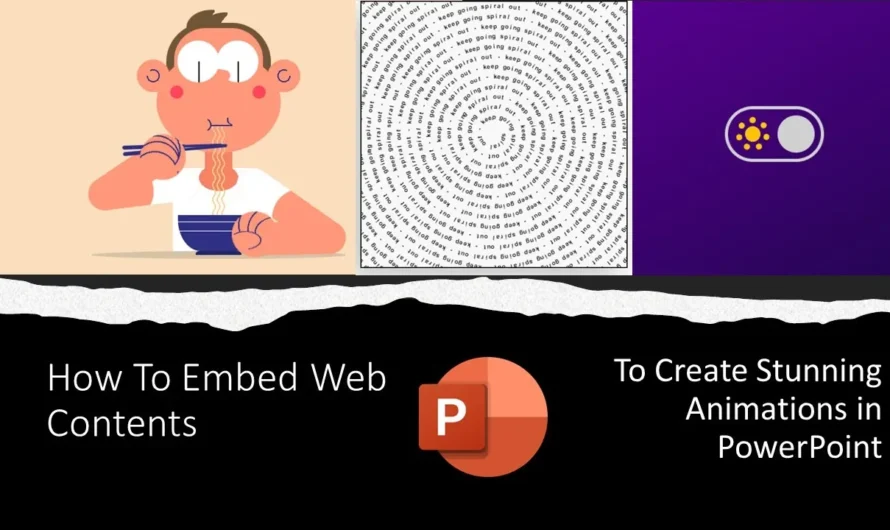
Today, we’ll learn how to seamlessly embed web animations in PowerPoint presentations. This adds a whole new dimension of visual appeal and interactivity to your …
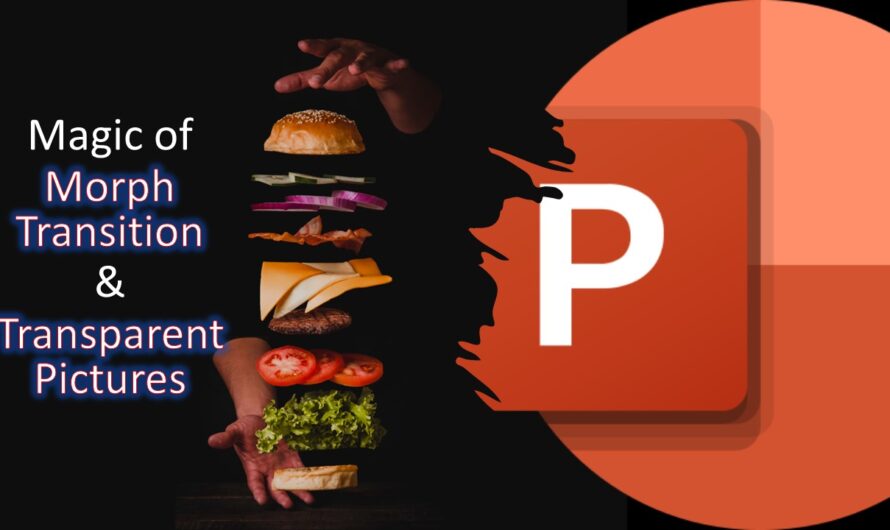
Today, we embark on a creative journey into the fascinating world of animations, focusing on the magic of Morph Transition PowerPoint paired with transparent pictures …
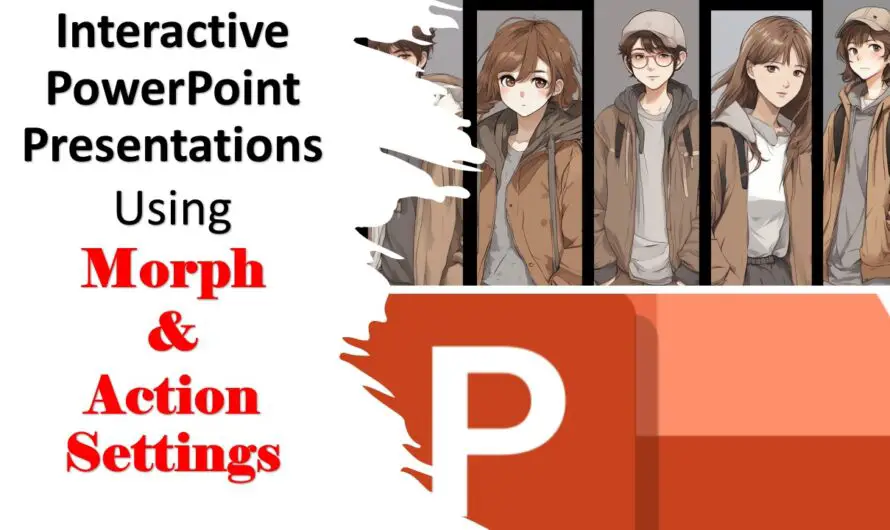
In today’s tutorial, we’re delving into the captivating realm of PowerPoint presentations, unraveling the magic of Morph Transitions complemented by Action Settings and Mouse Over …
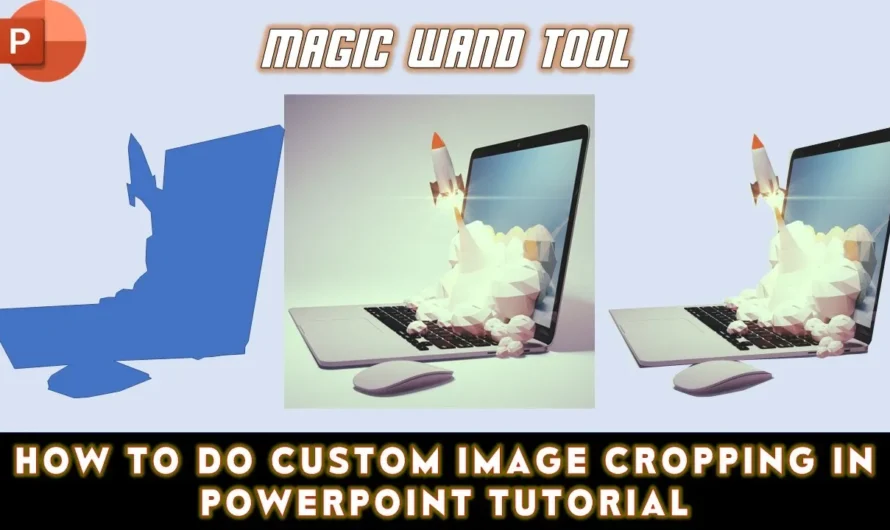
In this session, we’ll delve into the art of custom image cropping in PowerPoint, akin to the functionality offered by the magic wand tool in …
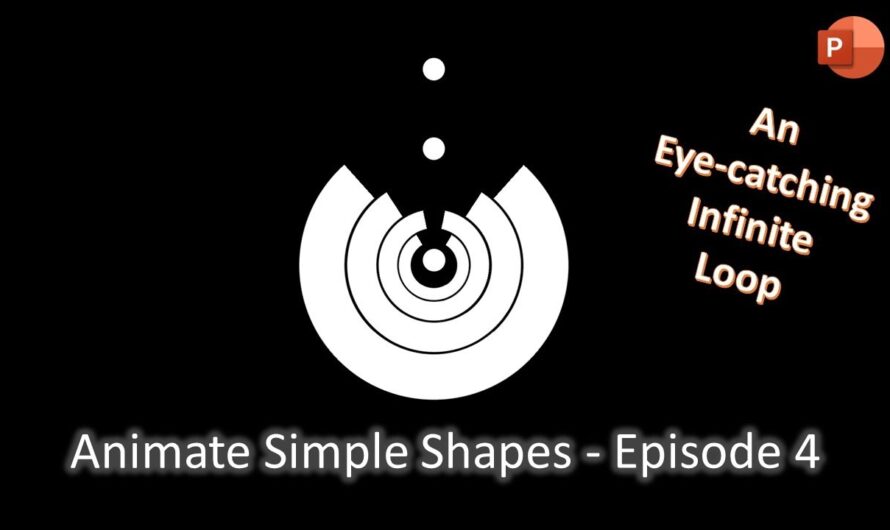
In this step-by-step guide, we’re going to show you how to create a mesmerizing infinite loop animation using only simple shapes. Whether you’re a seasoned …
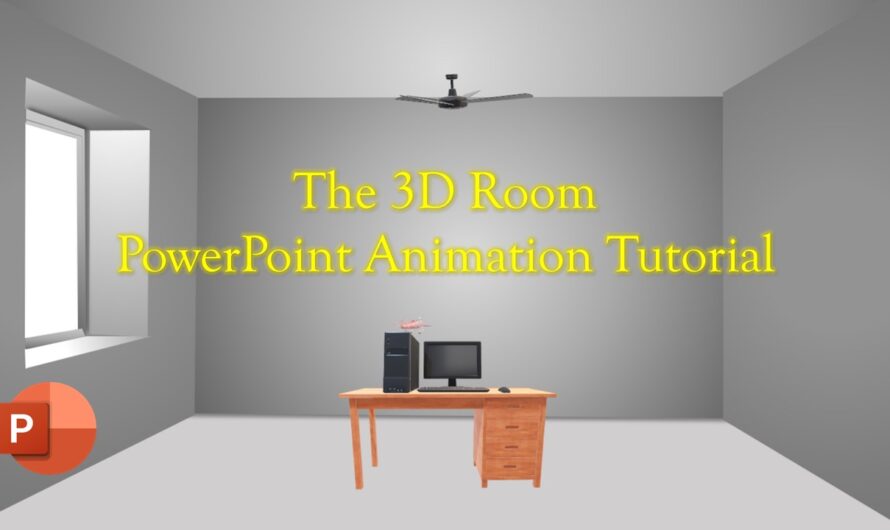
In the world of presentations, we often strive to capture our audience’s attention and convey our message in an engaging and memorable way. One powerful …
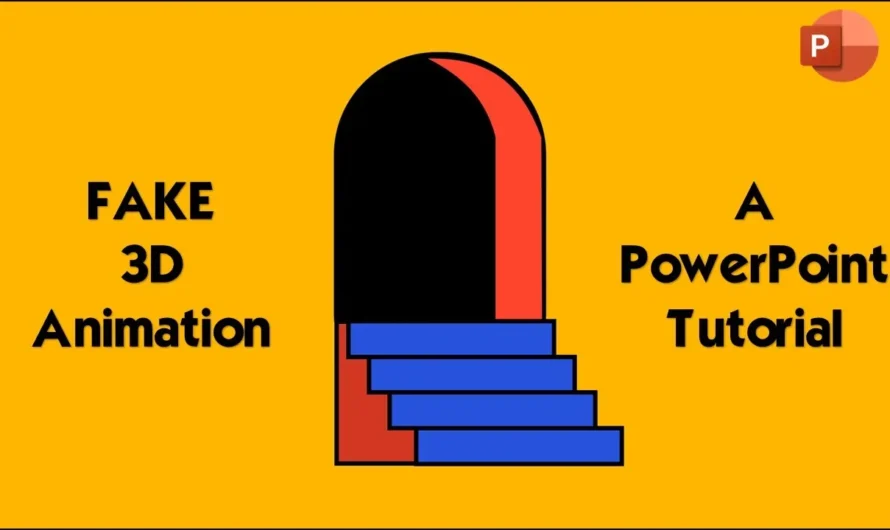
Are you looking to add a touch of 3D magic to your PowerPoint presentations? If so, you’re in for a treat! In this tutorial, we’ll …
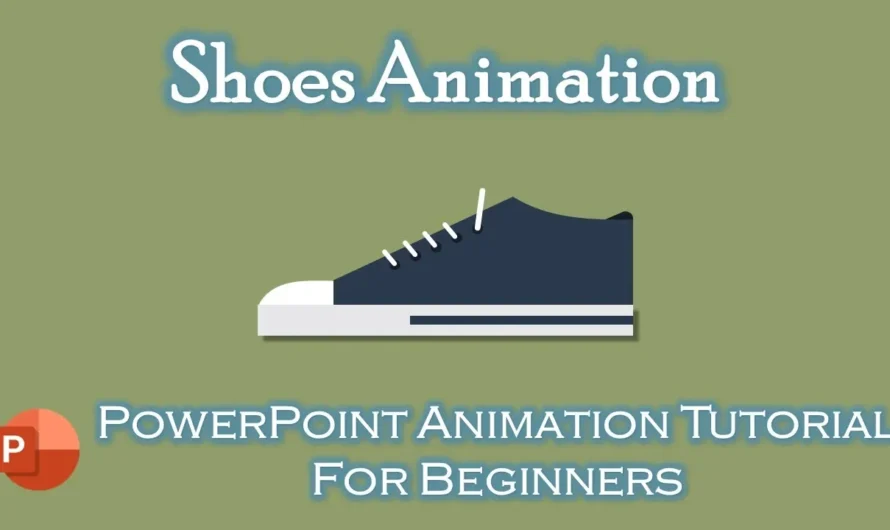
PowerPoint is not just for static presentations; it’s a powerful tool for creating dynamic animations too. In this tutorial, we’ll show you how to use …
In this Painting Girl Animation in PowerPoint Tutorial, we will be using still images with Motion Path, Grow/Shrink and Spin animation effects. We replicated one …