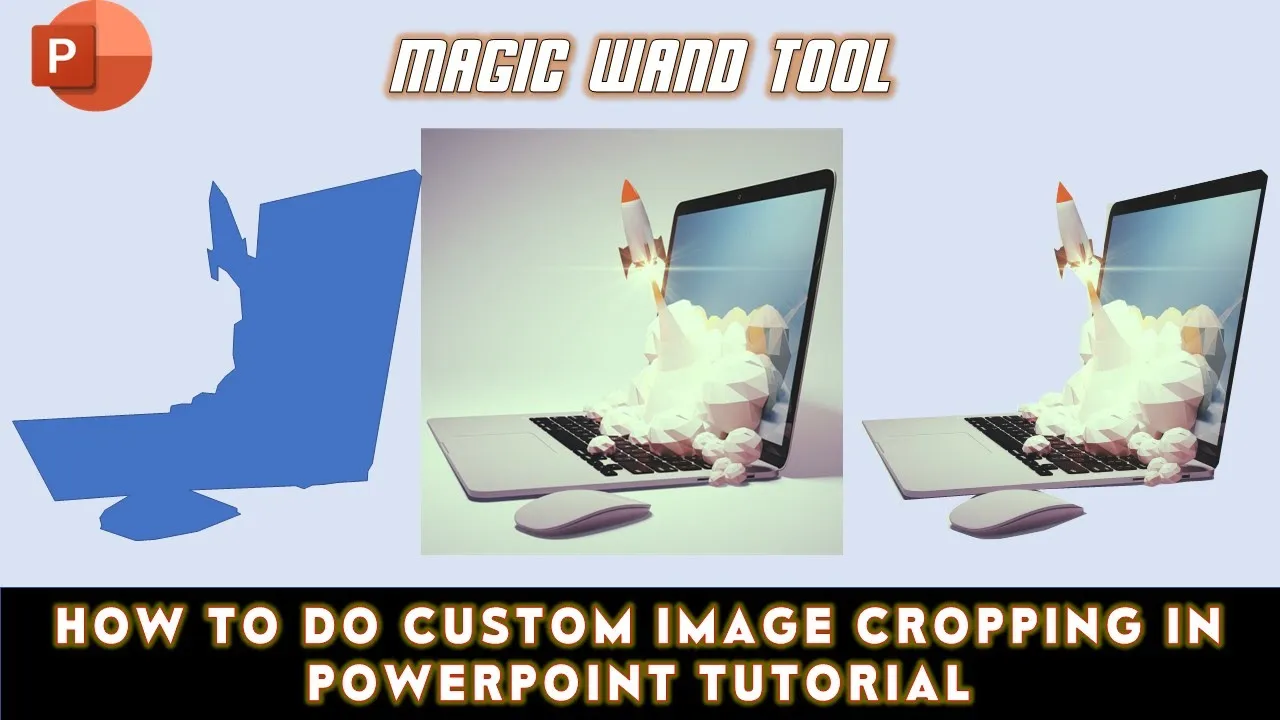
In this session, we’ll delve into the art of custom image cropping in PowerPoint, akin to the functionality offered by the magic wand tool in Adobe Photoshop. While PowerPoint primarily supports rectangular cropping, we’ll explore creative ways to freely select and crop specific parts of an image.
Rectangular Cropping in PowerPoint:
As many of you know, PowerPoint’s default cropping tool confines us to rectangular shapes. When you select a picture and navigate to the Picture Format tab, the Crop command enables you to crop within the rectangular boundaries defined by the handlers around the image.
Freeform Cropping in Older PowerPoint Versions (e.g., 2007):
For those using older PowerPoint versions, where the cropping options are limited, an alternative method involves drawing a freeform shape around the desired area. Simply head to the Insert tab, choose Freeform Shape, and draw your custom shape. To fill the shape with the image, use the Copy command, right-click the shape, and select Format Shape. Opt for Picture or Texture Fill, and choose Clipboard as the Picture Source.
Advanced Techniques for Freestyle Cropping:
For a more refined approach, consider these advanced techniques:
- Rectangular Crop and Fill: Initially crop the image in a rectangular form, then copy and paste it into the desired shape. Adjustments can be made using the Shape Format options, including removing the outline and editing points.
- Merge Shapes (Latest PowerPoint Version): In the latest PowerPoint version, leverage the Merge Shapes Intersect command. Draw a freeform shape, select the image, and intersect the two using the Shape Format tab. This method provides precise and customizable cropping results.
- Glow Effect: Smooth out any sharp edges around the cropped image using the Glow command in the Picture Effects dropdown menu of the Picture Format tab.
- Set Transparent Color: For images with a single-color background, explore the Set Transparent Color option from the Color dropdown menu in Picture Format.
- Remove Background Tool: In some cases, the Remove Background tool can be a powerful ally. Refer to our detailed tutorial for a step-by-step guide [link to video].
Conclusion:
Custom image cropping in PowerPoint opens a realm of possibilities beyond the conventional rectangular limits. Whether you’re using an older version or the latest PowerPoint, mastering these techniques empowers you to tailor your visuals with precision. We hope this tutorial sparks creativity in your presentations. Don’t forget to like, share, and comment. Subscribe for more tutorials, and stay tuned for exciting content ahead. Wishing you a fantastic weekend filled with PowerPoint prowess!

