
Are you looking to add a touch of 3D magic to your PowerPoint presentations? If so, you’re in for a treat! In this tutorial, we’ll show you how to create a captivating fake 3D animation effect using the Morph Transition feature in PowerPoint. Inspired by the “Easy Fake 3D Animation in After Effects” tutorial by MoveShapes, this technique will elevate your presentation game to a whole new level.
Why Fake 3D Animation?
While true 3D animations can be complex and time-consuming, this fake 3D animation technique offers a visually striking result with relatively simple steps. Even if you’re a beginner, you can achieve professional-looking 3D effects that will leave your audience in awe.
Getting Started: The Basics
To begin, you’ll need two slides in your presentation. No animation effects are required; we’re relying solely on the Morph Transition. It’s essential to understand how the shapes on both slides are designed and positioned.
Shapes and Layers
On each slide, you’ll work with a total of 10 shape objects. The key to creating the illusion of depth is to layer these shapes effectively. Here’s a breakdown of the process:
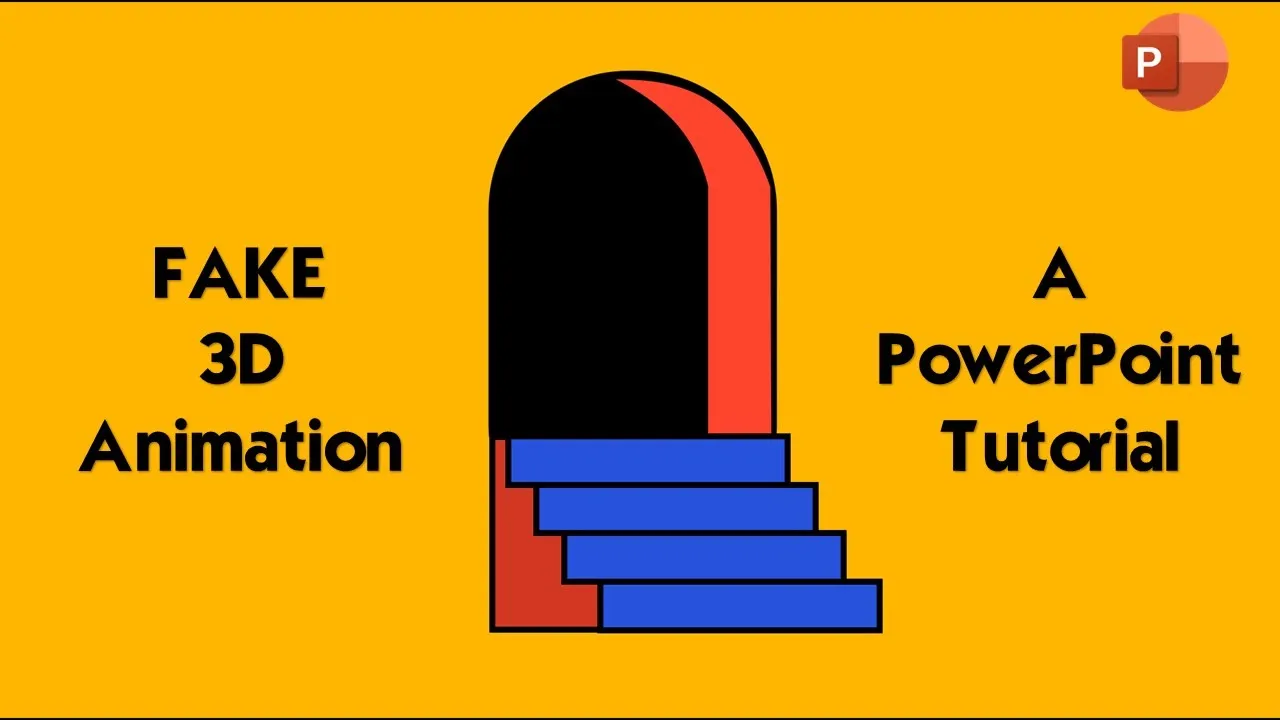
- Subtracted Background: Start with a rounded corner rectangle and subtract a smaller rectangle from it. This will be your window.
- Large Rectangle: Draw a rectangle larger than the slide size.
- Stairs: Create stairs using the rectangle shape.
- Left and Right Stair Bases, Left and Right Doors: These shapes are best created using the Freeform Shape tool.
For the black background, you can either use the same subtracted rounded corner rectangle shape or fill the slide background with black color. On the first slide, ensure that the left stair base and right door are hidden behind other shapes for a realistic 3D effect.
Slide Duplication and Transition
Once you’ve completed the design of the first slide, make a duplicate by right-clicking on the thumbnail view. On the duplicate slide, shift the positions of the shapes. For instance, hide the left door behind the subtracted rectangle and adjust the stairs to achieve the desired effect.
Now, select both slides and apply the Morph Transition from the Transitions tab. Adjust the transition duration to control the animation speed and uncheck “On Mouse Click.” Match the time duration under Advanced Slide Timings.
Seeing the Magic Unfold
With the transition applied, play the slideshow. You’ll witness your fake 3D animation come to life. It’s that easy!
Creating an Infinite Loop
If you wish to extend the animation or create an infinite loop, make more duplicates of both slides. To loop continuously during the presentation, navigate to the Slideshow tab and click “Setup Slideshow.” Check the “Loop Continuously Until the Escaped Key is Pressed” option.
Export as an Animated GIF
For those who want to turn their animation into an infinite GIF, duplicate the first slide and place it as the third slide. Remove the Morph Transition from the first slide while keeping it on the second and third slides. Finally, export the presentation using the “Create an Animated GIF” option in the File menu.
Conclusion
This tutorial takes the complexity out of creating an impressive fake 3D animation effect in PowerPoint. While this blog post provides a clear overview of the process, we highly recommend watching the video tutorial for a more visual representation of each step.
Ready to impress your audience with stunning 3D animations? Check out the video tutorial and embark on your journey to PowerPoint mastery. Don’t forget to like, share, and comment on the video, and subscribe to the channel for more exciting tutorials. Thanks for tuning in, and have a fantastic day!


