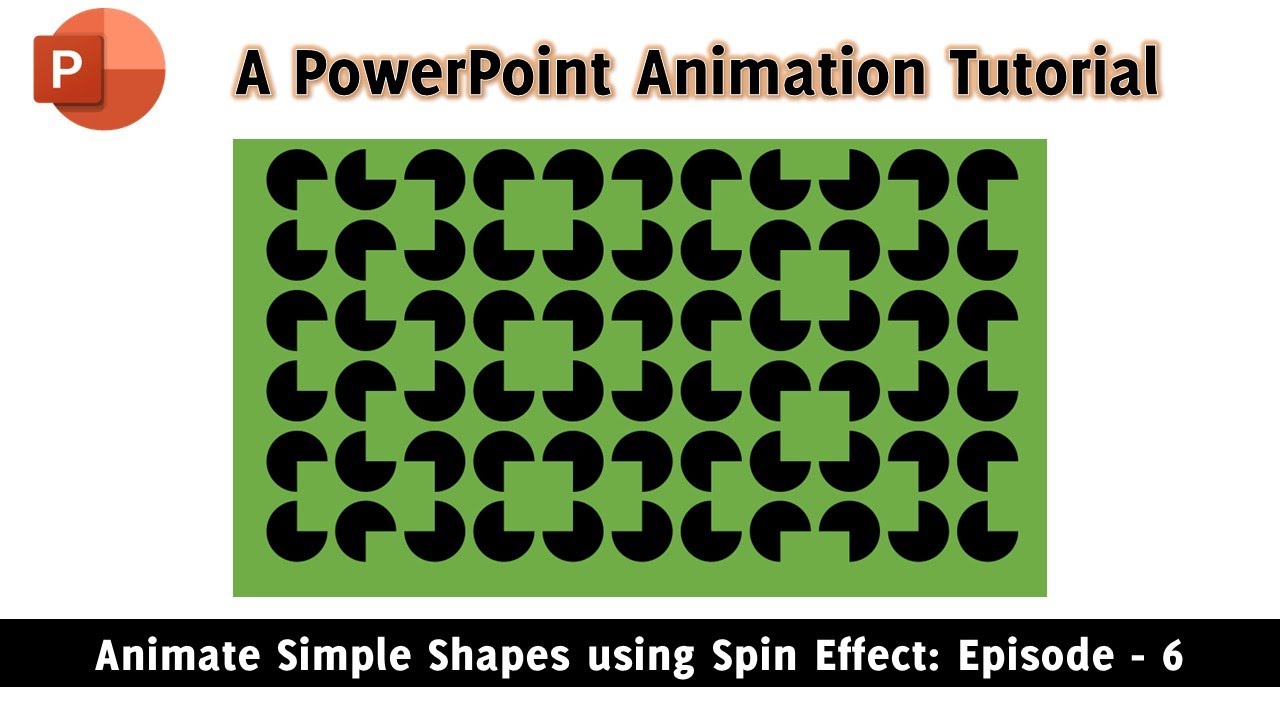
PowerPoint presentations don’t have to be dull or monotonous. With the power of Spin Animation, you can make your slides come alive and engage your audience. In this tutorial, we’ll walk you through the process of creating a captivating spin animation using PowerPoint. This tutorial is inspired by the work of Andrew Wong and is designed to help you add a touch of creativity to your presentations.
Step 1: Drawing the Partial Circle
To start, we need a partial circle shape. There are three methods to achieve this:
- Partial Circle Shape: You can use the pre-made partial circle shape from the Shapes dropdown menu.
- Oval and Rectangle: Insert an oval shape and a rectangle. Adjust their positions and sizes, and make sure their colors match the slide background.
- Merge Shapes Subtract Command: Draw an oval and a rectangle on top, set their position and size, and use the Merge Shapes subtract command to create the partial circle.
Step 2: Applying the Spin Animation
Once you have your partial circle, it’s time to make it spin. Here’s how:
- Select the shape, then go to the Animations tab.
- Click the Add Animations dropdown and choose Spin from the Emphasis Animation Effect list.
Note: If you used the second method (oval and rectangle), you might notice non-circular rotation due to grouping. Here’s a workaround: draw a larger oval and group it with the existing shapes, then remove its fill and outline color.
Step 3: Configuring the Spin Effect
After applying the spin effect, customize its properties by double-clicking on the effect in the Animation pane:
- Set the amount of rotation to a quarter spin (90 degrees clockwise).
- Optionally, apply start and end smoothness.
- Move to the Timings tab and change the start type from “On Click” to “With Previous.”
- Set the time duration to 0.50 seconds.
Repeat these steps three more times for a full 360-degree rotation. Adjust delay timings to create a smooth animation with pauses between spins.
Step 4: Replicating the Animation
Now that you have one animated shape, it’s time to replicate it across the slide. The easiest way to do this is:
- Select the shape, then hold Shift and Ctrl keys.
- Drag and drop the shape to the desired position.
- Tap the F4 key to create more replicates, maintaining the same distance between them.
Before replicating downwards, you can change the rotation of a few shapes using the Rotate dropdown menu from the Shape Format tab.
To create a mesmerizing effect, change the direction of alternate rows to counter-clockwise from the Effect Options dropdown.
Step 5: Making the Animation Infinite
To make this animation loop continuously, go to the Slideshow tab:
- Click on Setup Slideshow.
- Check the option “Loop Continuously Until the Escape Key is Pressed.”
- Under the Transition tab, set Advanced Slide Timing to 3 seconds and uncheck the “On Mouse Click” option.
Now, when you run the slideshow, you’ll have an infinite loop of the animation, sure to captivate your audience.
Conclusion
PowerPoint doesn’t have to be boring, and animations can be a game-changer. In this tutorial, we’ve shown you how to create an engaging spin animation that will impress your viewers. However, for a more detailed and visual understanding of the process, make sure to watch the accompanying video tutorial. With a little creativity and some PowerPoint magic, you can bring life and excitement to your presentations.
So why wait? Try it out, and you’ll have your audience spinning with excitement at your next PowerPoint presentation!


