
Tables are a versatile tool in Microsoft Word, essential for organizing data and content efficiently within your documents. They allow you to present information in a structured manner, making it easier for readers to comprehend the data. In this blog post, we’ll delve into the various methods for creating and formatting tables in Microsoft Word, accompanied by a video tutorial that visually demonstrates each step.
Video Tutorial:
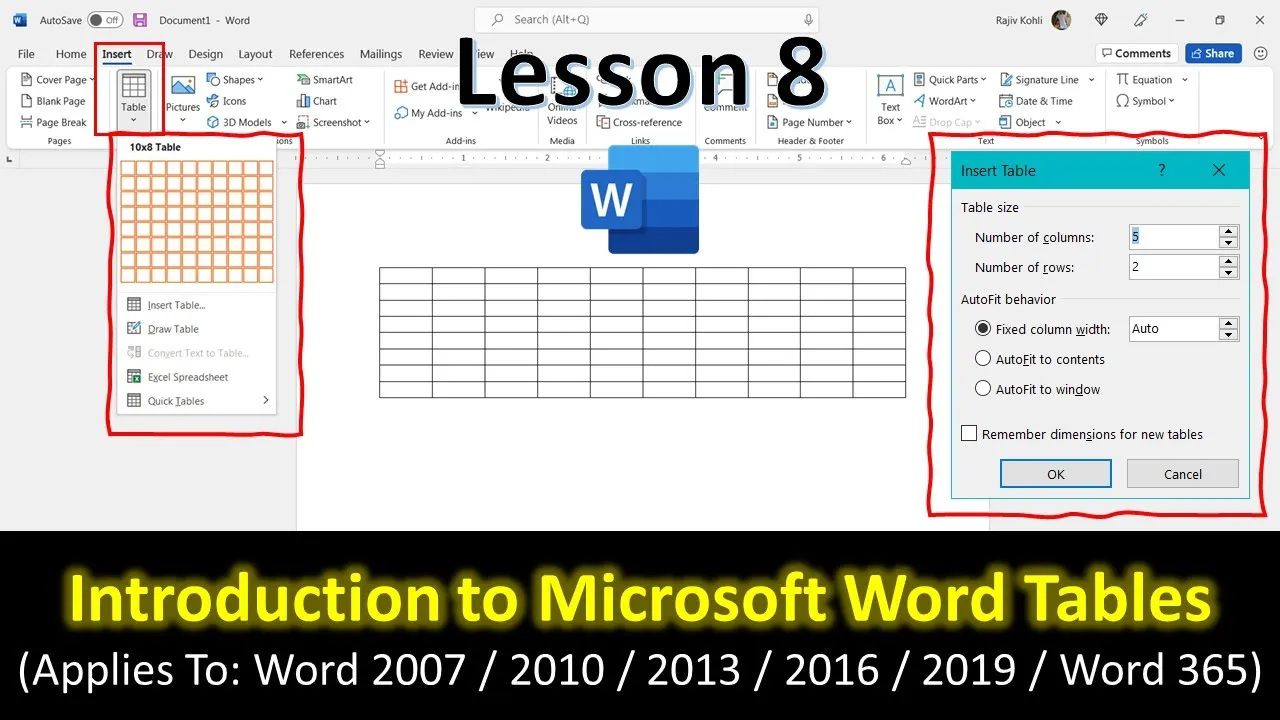
Introduction to Tables in Microsoft Word
Before we delve into the nitty-gritty of creating and formatting tables, let’s briefly introduce the concept. Tables in Microsoft Word are a grid of cells, where data can be entered in rows and columns. They are incredibly useful when you need to display data in an organized manner, such as lists, comparisons, schedules, and more.
Creating Tables in Microsoft Word
Method 1: Using the Insert Tab
- To create a new table, navigate to the “Insert” tab in the Ribbon.
- Click the “Table” dropdown button.
- Hover your mouse over the grid of boxes, representing the number of columns and rows.
- Click and drag to select the desired number of columns and rows.
- A live preview will appear in your document, and upon clicking, the table will be inserted.
Method 2: Using the Insert Table Dialog
- Go to the “Insert” tab in the Ribbon.
- Click “Table,” and then select “Insert Table.”
- In the dialog box, specify the number of columns and rows.
- Choose the desired column width behavior, such as “Fixed Column Width,” “Auto Fit to Contents,” or “Auto Fit to Window.”
Method 3: Using the Draw Table Option
- Access the “Table” menu.
- Choose “Draw Table.”
- Your cursor will transform into a pencil, allowing you to draw the table freehand.
- You can draw a single-cell table or add lines to divide cells further.
Understanding Column Width and Page Layout
Microsoft Word automatically distributes the column width based on the available space within the page layout. This distribution depends on the paper size and margins you’ve set. The tutorial explains that the available space is the page width minus the sum of left and right margins.
Adjusting Column Width
You can fine-tune the column width using two methods: by dragging the column dividers or by using the ruler. The tutorial explains the differences between these methods and when to use each.
Tips and Tricks
The tutorial offers some additional tips and tricks for working with tables in Microsoft Word:
- To move to the next column while entering data, press the “Tab” key.
- To move back to the previous cell, use “Shift+Tab.”
- Adding new rows can be as simple as pressing the “Tab” key in the last cell.
Design and Layout Menus
Depending on whether your cursor is inside a table or not, you’ll have access to the “Design” and “Layout” menus in the Ribbon. These menus provide various options for formatting and adjusting tables.
Erasing Lines
If you need to erase lines within your table, make sure the “Layout” menu is highlighted, then select the “Eraser” tool to remove the lines.
Conclusion
Creating and formatting tables in Microsoft Word is an essential skill for anyone working with documents that require organized data presentation. The video tutorial accompanying this blog post will visually guide you through each step, making it even easier to understand the concepts discussed here.
If you found this tutorial helpful, please consider watching the video for a more in-depth visual representation. Don’t forget to leave a comment and hit the like button if you found this content useful. Subscribe to our channel for more upcoming videos, where we’ll explore advanced table formatting techniques and other valuable Microsoft Word features.
Thank you for watching and take care!