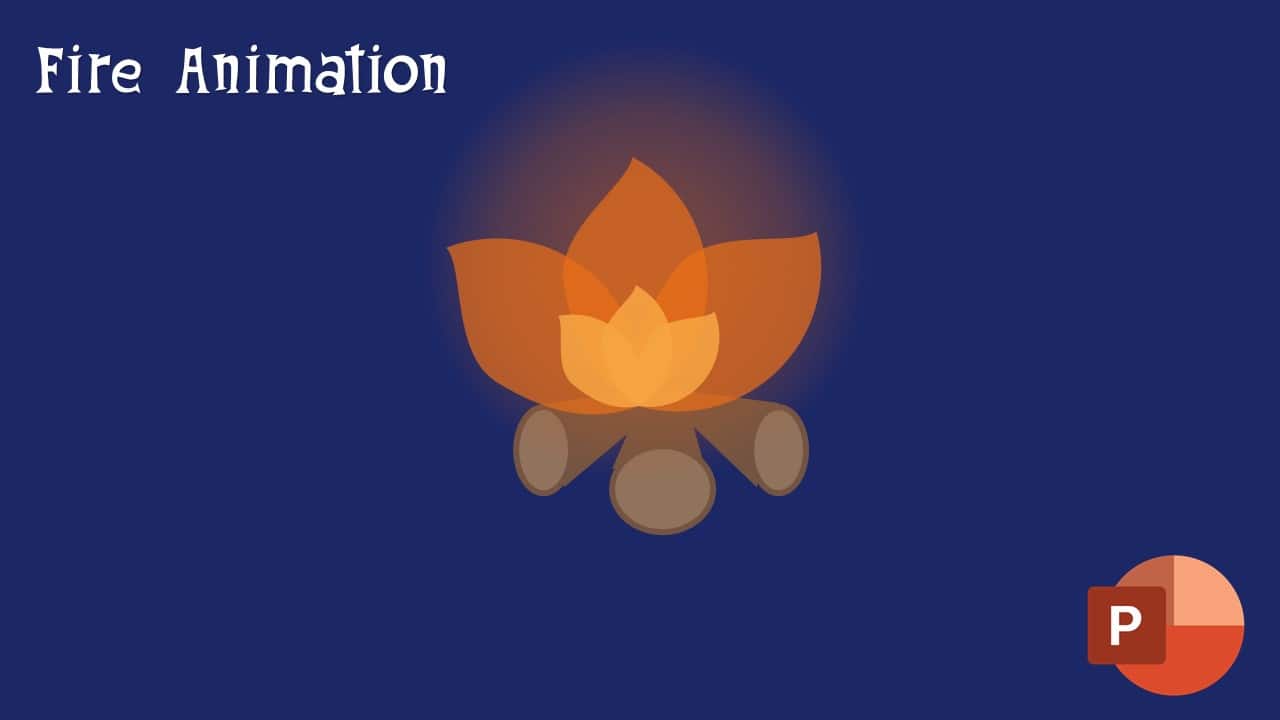
Are you tired of the same old, dull PowerPoint presentations? Want to make your slides truly captivating and memorable? Well, it’s time to bring some fiery magic into your presentations with a stunning campfire animation in Microsoft PowerPoint. In this step-by-step guide, we’ll show you how to create a mesmerizing 2D campfire animation that will set your slides on fire (figuratively, of course!). Follow along as we uncover the secrets to mastering fire animation in PowerPoint, courtesy of Rajiv Kohli, the creative mind behind “The Teacher.”

Watch Fire Animation in PowerPoint Tutorial
Step 1: Campfire Brilliance
Let’s kick things off by creating a dazzling 2D campfire animation. This is the core of our visual journey. Follow these steps:

- Step 1.1: Open PowerPoint and start with a blank slide.
- Step 1.2: Go to the “Insert” tab, select “Shapes,” and choose the “Oval” shape. Make it larger by holding down the Ctrl, Shift, and Alt keys while dragging it.
- Step 1.3: Duplicate the oval by holding Ctrl and Shift and then drag and drop it to create the base of your campfire.
- Step 1.4: Select both ovals, go to the “Format” tab, click “Merge Shapes,” and choose “Intersect” to create the campfire base shape.
Step 2: Color Mastery
Now, let’s explore the art of color combinations to add a touch of personalization and enhance the visual appeal of your fiery animation.

- Step 2.1: Experiment with different color combinations for your campfire. This step is all about letting your creativity shine.
Step 3: Fiery Leaves
Creating the fiery leaves is where the magic truly happens. We’ll use shape tools and editing points to craft these dynamic elements.

- Step 3.1: Select the campfire shape and go to “Edit Shapes” > “Edit Points.”
- Step 3.2: Delete unnecessary points and use handlers to adjust the shape, forming the fiery leaves.
Step 4: Animation Prowess
To make your campfire animation come alive, we’ll add grow/shrink and spin effects to the leaves.

- Step 4.1: Apply the “Grow/Shrink” animation to the leaves. Set it to “Play With Previous” with a duration of 0.50 seconds and no delay. Adjust the growth rate and enable “Auto Reverse.”
- Step 4.2: Apply the “Spin” animation to the leaves. Set it to “Play With Previous” with a duration of one second and no delay. Adjust the rotation angle and enable “Auto Reverse.”
Step 5: Woodland Artistry
Create a charming forest setting for your campfire animation using the freeform drawing tool.

- Step 5.1: Use the “Freeform” tool from the “Shapes” menu to draw trees and woods. This tool allows you to create organic shapes effortlessly.
Step 6: Background Brilliance
For the perfect backdrop, we’ll use gradient fills and transparency.

- Step 6.1: Insert an oval shape, enlarge it, and apply a gradient fill to create a captivating background.
- Step 6.2: Define colors, set transparency, and send the oval to the back to complete the backdrop.
Step 7: Custom Anchor Points
Control your animations with precision by defining custom anchor points.

- Step 7.1: Learn how to define custom anchor points to control animations, allowing for dynamic growth and rotation effects.
Step 8: Animation Inspiration
Explore the original animation that inspired this tutorial on CodePen and witness the possibilities that await you.

- Step 8.1: Visit the original animation inspiration on CodePen to gather ideas and insights.
Step 9: Tutorial Video
For a more in-depth guide, watch the full tutorial on “The Teacher’s” YouTube channel and unleash your PowerPoint animation prowess.

- Step 9.1: Dive into the tutorial video for a comprehensive visual walkthrough of the campfire animation creation process.
Step 10: Subscribe and Stay Informed
Don’t miss out on future tutorials and subscribe to “The Teacher” for more creative PowerPoint insights.
With the steps laid out, you’re now equipped to set your creativity ablaze with “Mastering Fire Animation in Microsoft PowerPoint.” Transform your presentations into captivating visual experiences that leave a lasting impression on your audience.
Get ready to spark creativity, enchant your viewers, and set your presentations ablaze. Your audience won’t know what hit them when they see your next fiery PowerPoint masterpiece! 🔥
The article How To Make Animation with Vector Files also applies to the following versions:
- PowerPoint 2007
- PowerPoint 2010
- PowerPoint 2013
- PowerPoint 2016
- PowerPoint 2019
- PowerPoint 365
Download Fire Animation PowerPoint PPT
PPT Info.
PowerPoint Template
Animated Fire
File Type: PPT / PPTX
File Size: 441KB
Number of Slides: 1
Download FIRE ANIMATION POWERPOINT TEMPLATE
DON’T FORGET TO LEAVE A RESPONSE.

