Welcome back, tech enthusiasts! In this comprehensive blog post, we’re delving into the realm of hard disk management using the versatile MiniTool Partition Wizard. Whether you’re a seasoned IT professional or a casual user looking to optimize your storage, MiniTool Partition Wizard has you covered.
Before we dive into the details, make sure to check out our video tutorial on mastering MiniTool Partition Wizard. The visual guide will walk you through the steps, making it easy to follow along.
Download MiniTool Partition Wizard
Overview of MiniTool Partition Wizard:
MiniTool Partition Wizard comes in various editions, catering to different user needs. The Free, Pro, Pro Deluxe, Server, and Enterprise editions offer a range of features. Visit the official webpage to explore the options and decide which version suits your requirements.
To get started, download the free version from the link provided in the video description. Additionally, find a feature comparison chart in the description to make an informed choice.
Partition Management:
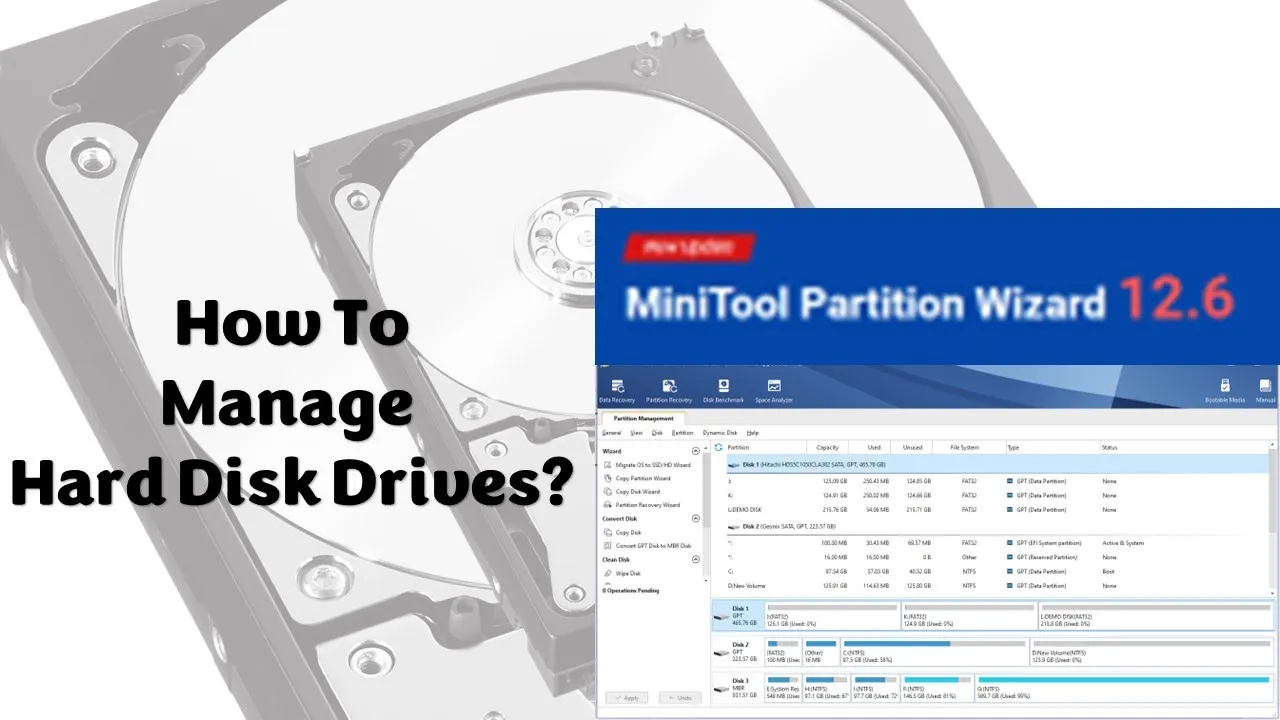
Upon launching MiniTool Partition Wizard, you’ll encounter a detailed view of your hard disk drives and their partitions. The left-side pane offers various disk management commands, while right-clicking on drives or partitions provides additional options.
Basic Tasks:
For demonstration purposes, the tutorial covers three attached hard disk drives. Deleting partitions, a common task, is showcased with a reminder to back up data before such operations. The “Undo” button helps rectify accidental commands. Deleted partitions leave unallocated space on the disk, requiring further actions to utilize it.
Partition Creation:
Creating a new partition on unallocated space is explained next. Right-click, choose “Create,” and specify details like label, type, drive letter, file system, and size. While formatting isn’t mandatory during creation, it’s essential to assign a drive letter.
Formatting:
Formatting a partition can be done at any time by right-clicking and selecting “Format.” Choose between NTFS and FAT32 file systems. Multiple tasks can be added and applied together for efficiency.
Data Recovery:
MiniTool Partition Wizard offers data recovery options. Access it by right-clicking on unallocated space and selecting “Data Recovery.” Whether you accidentally formatted or deleted a partition, this feature helps recover lost files through individual drive or entire HDD scans.
Advanced Operations:
The tutorial delves into advanced operations such as resizing, extending, merging, splitting partitions, changing file systems, hiding/unhiding partitions, converting disk partition tables (GPT to MBR or vice versa), securely wiping disks, migrating operating systems, copying partitions, and cloning disks.
Conclusion:
In this tutorial, we’ve covered an array of disk management commands available in the free version of MiniTool Partition Wizard. Whether you’re a novice or an experienced user, we hope you found this guide insightful.
Don’t forget to check out the video for a step-by-step visual representation. If you have any questions or suggestions, leave them in the comments section. Like, share, and subscribe for more tech tutorials.
Thanks for watching, and until next time, take care!
