
Are you tired of manually formatting your Microsoft Word documents every time you create a new one? Do you wish there was a quicker and more efficient way to ensure consistent styling across all your documents? Well, you’re in luck! In this Word 2016 tutorial, we’re going to explore the magic of using Styles in Microsoft Word.
What Are Styles?
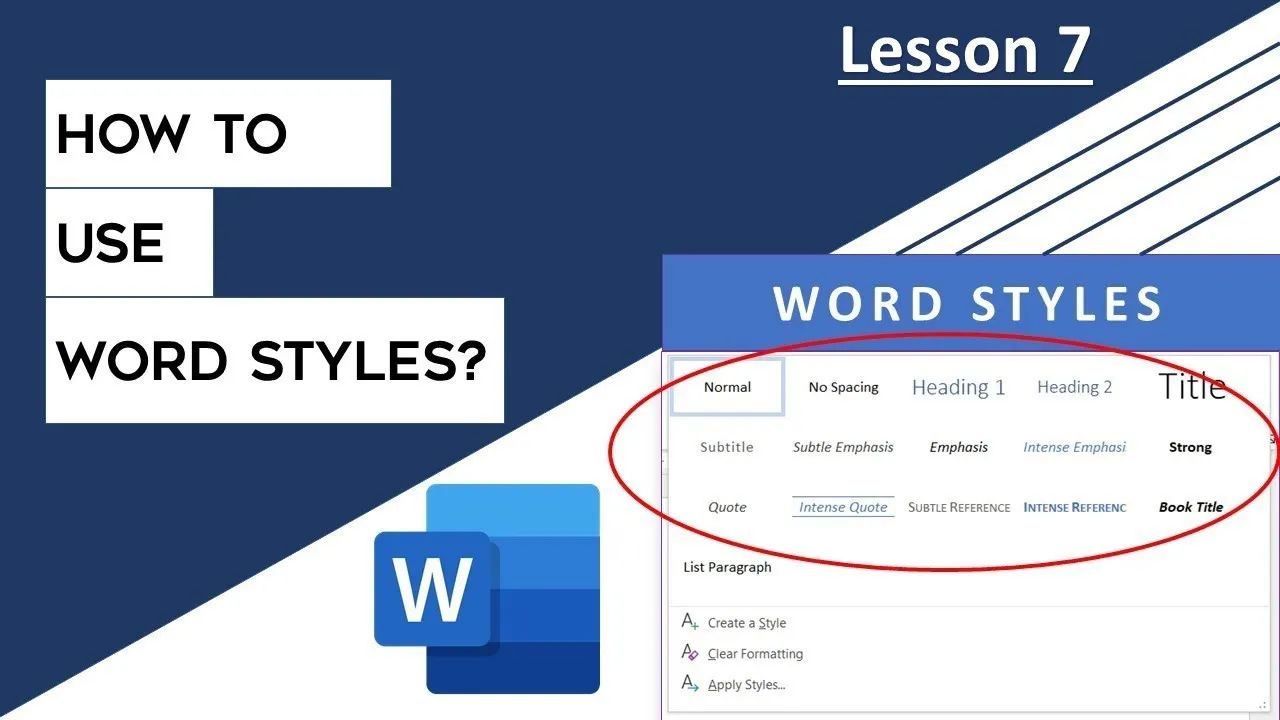
Before diving into the tutorial, let’s understand what Styles are. In Microsoft Word, Styles are predefined text and paragraph settings that encompass a wide range of formatting elements such as font size, font style, font color, paragraph and line spacing, and indents. Styles are like shortcuts that allow you to apply consistent formatting to your documents with just a few clicks.
Why Use Styles?
Styles are incredibly useful because they save you time and ensure a consistent and professional look for your documents. For instance, imagine you have a paragraph and want to change its style to a quote or turn a line into a heading. With Styles, this is as simple as selecting the appropriate predefined style from the Styles dropdown menu.
But the real power of Styles comes when you want to create and save your own custom styles. If you have specific formatting preferences that you use consistently across many documents, you can create a custom Style that includes your preferred font, alignment, line spacing, indents, and more. This allows you to apply the same formatting to all your documents without the need for manual adjustments every time.
Creating and Saving Your Own Styles
To create and save your own style, follow these steps:
- Select the paragraphs or text that you want to format.
- Click on the Styles dropdown button in the Home tab.
- Choose “Create a Style.”
- Give your style a name, such as “My Paragraph Style.”
- Click the “Modify” button to fine-tune your style by adjusting font size, alignment, and other settings.
- Ensure “Add to the Styles Gallery” is checked, so your new style appears in the Styles section.
- Choose whether to save the style only for the current document or for all documents based on the Normal Word Template.
Additionally, you can opt to “Automatically Update” your style. This means that any changes you make to a paragraph’s formatting using the style will automatically update the style itself, saving you from having to modify the style separately.
Now, you’ll have your custom style available in the Styles section for easy access.
Using Your Saved Styles
The next time you need to apply your favorite style to a paragraph in any document, follow these simple steps:
- Select the paragraphs or text you want to format.
- Choose your custom style from the Styles dropdown menu.
With Styles, you can save as many formatting options as you want, making your document creation process more efficient and consistent.
Example Styles
As an example, let’s say you often use specific formatting for headings, like font size 14, font Calibri, black shading, and white font color. You can save this formatting as a style and use it in any document with just one click. This feature is a real time-saver, as it eliminates the need to manually apply the same formatting repeatedly.
Conclusion
In conclusion, Styles in Microsoft Word 2016 are a game-changer when it comes to document formatting. Whether you need to apply predefined styles or create custom styles to match your preferred formatting, using Styles will significantly improve your productivity and ensure a consistent and professional look for all your documents.
So, give it a try and start making your document formatting process a breeze with Microsoft Word Styles. Watch the video tutorial above for a visual representation of how to use Styles effectively.
We hope you found this tutorial informative. If you have any questions or feedback, please leave your comments, give us a thumbs up, and share this video with your friends. For more upcoming tutorial videos, don’t forget to subscribe to “The Teacher.” Thanks for watching, and take care!