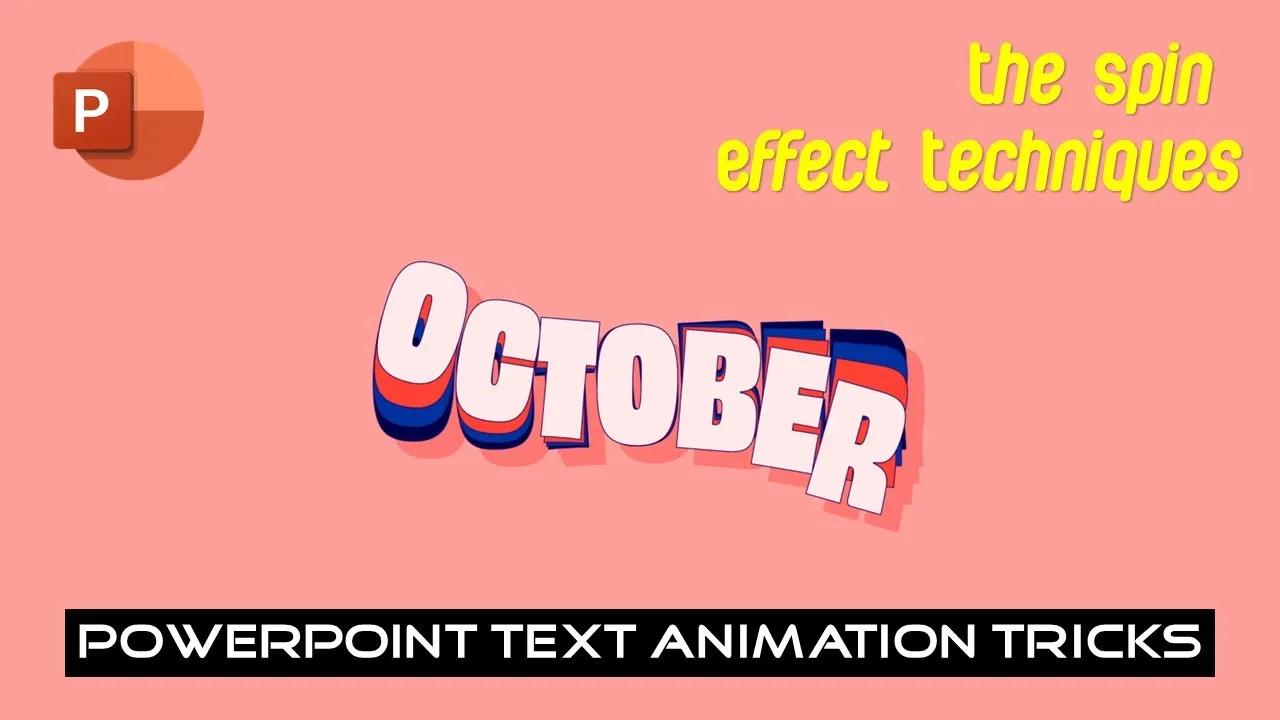
Today, we’ll delve into the intricacies of a mesmerizing spin text animation that adds a dynamic flair to your presentations. In this tutorial, we draw inspiration from the brilliant work of Matt Voyce, showcased on behance.net.
Before we dive in, you can watch the full tutorial here for a visual walkthrough. Additionally, you can download the presentation file from the link provided in the video description.
Tutorial Overview:
Slide Setup:
Our tutorial comprises two slides, each with a unique design. Opening the Selection Pane reveals the layers used in crafting these slides. The second slide boasts a higher layer count and a subtly different animation effect.
Design Breakdown – First Slide:
Let’s dissect the design of the first slide. By hiding layers selectively, we observe that each layer represents a pair of letters, for instance, ‘o’ and ‘r’ in white. To achieve this, start with a new slide and type your text, ensuring each letter resides in a separate text box.
Text to Shapes Conversion:
Following a technique from a previous tutorial, convert the text into shapes by overlaying a rectangle and using the ‘Fragment’ command from the ‘Merge Shapes’ dropdown menu in the ‘Format Shape’ tab.
Adding Spin Effects:
The magic happens with spin effects! Each letter undergoes three spin effects, creating a captivating sequence. For example, the letter ‘o’ spins counterclockwise, then clockwise, and repeats. The ‘r’ follows a similar pattern. An invisible oval shape is utilized for grouping.
Color Variation:
Duplicating layers and changing fill colors introduces vibrant layers, each with its spin sequence. Delays are strategically added to stagger the spin effects, creating a visually appealing cascade of colors.
Repeat for Each Letter Group:
This process is replicated for each letter group (‘c’ and ‘e’, ‘t’ and ‘b’), with variation in delay timings for distinct layers. The middle letter ‘o’ stands alone but undergoes the same four-color treatment.
Second Slide:
The second slide mirrors the first but with individual layers for each letter. The selection pane displays a layer for every letter, facilitating precise animation control.
Conclusion:
Mastering this technique allows you to create visually stunning presentations. Download the presentation file from the video description to explore the detailed animation effects and delay timings for each layer.
Conclusion:
We hope this tutorial sparks your creativity and adds a new dimension to your PowerPoint skills. Feel free to explore, experiment, and share your creations. If you found this tutorial helpful, don’t forget to like, share, and comment on the video. Subscribe and hit the bell icon for more exciting tutorials in the pipeline. Thanks for watching, and take good care of yourself!
Download Spin Text Animation in PowerPoint Presentation File
Note: The tutorial and presentation file are properties of the respective content creator mentioned in the tutorial.

