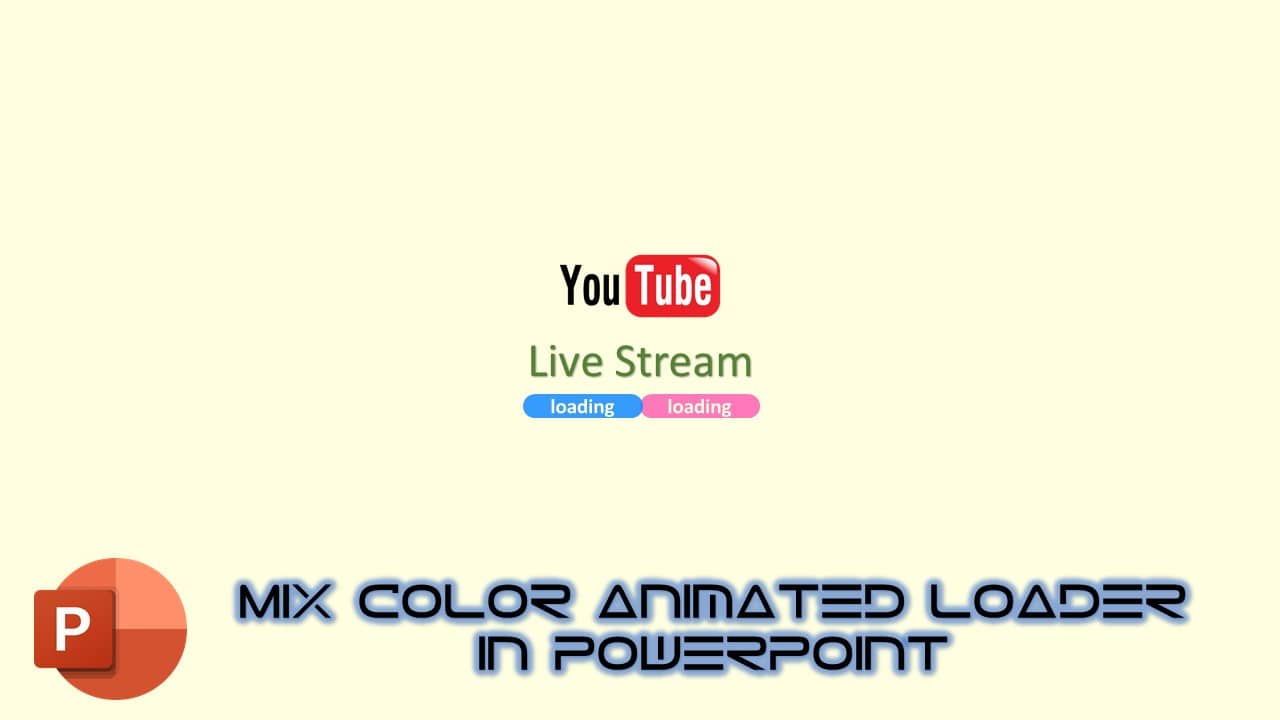
Are you looking to enhance your PowerPoint presentations with dynamic material or dots? In this tutorial, we’ll guide you through the process of creating a visually engaging animation inspired by “Kumho” at Corpn.io. Rajiv Kohli, the host of “The Teacher” channel, will walk you through the steps to craft an eye-catching animation in PowerPoint 2016. This tutorial combines shapes, text, and animations to bring your slides to life. Let’s dive into the details:
Watch Mix Color Animated Loader in PowerPoint Tutorial Video
Getting Started
- Open a New Presentation: Start by opening PowerPoint 2016 and create a new blank presentation.
- Layout Selection: Choose a blank layout from the “Layout” option under the “Home” tab.
Creating the Rounded Corner Rectangle
- Adding the Shape: Go to the “Insert” tab, click on “Shapes,” and select “Rounded Corner Rectangle.” Click inside the slide, adjust the size to a height of 0.25 and a width of 1.25.
- Styling the Shape: Remove the outline by selecting “No Outline” in the “Shape Outline” options. Position the rectangle in the center of the slide both vertically and horizontally.
Adding Text
- Inserting Text: To add text, go to the “Insert” tab, click “Word Art,” and choose a style. Type your text, select the text rectangle, and adjust the font size and positioning.
- Customizing Character Spacing: To adjust the spacing between characters, navigate to “Character Spacing” in the font dialog box and increase the width between characters by specifying a value in points.
- Aligning Text and Shape: Select the text and the rectangle, go to the “Format” tab, and choose “Align Center” and “Align Middle” to align the text to the rectangle.
- Combining Text and Shape: Select the rectangle, hold “Shift,” click on the text, go to the “Format” tab, choose “Merge Shapes,” and select “Subtract” to combine the text and shape into a single object. Rename it accordingly.
Duplicating the Object
- Duplicating the Object: To duplicate the object, hold “Ctrl” and “Shift,” and drag the object to the right. Adjust its position as needed.
Styling the Rectangles
- Adjusting Transparency: For the left rectangle, go to the “Format” tab, click “Shape Fill,” and choose “More Fill Colors.” Set the transparency level to 10%.
- Changing Fill Color: For the right rectangle, select the rectangle, change the fill color to match magenta, and set the transparency level to 10%.
- Animating the Left Rectangle: Select the left rectangle, go to the “Animations” tab, choose “More Motion Paths,” and select the “Right Path.” Adjust the path length, set it to “Play with Previous,” and specify a duration. Open the Animation Pane, make adjustments to the animation settings, and rename it.
- Copying Animation to the Right Rectangle: Use the Animation Painter to copy the animation from the left rectangle to the right rectangle. Customize the animation as needed.
Adding the YouTube Logo and Text
- Inserting the YouTube Logo: Open your web browser, search for a YouTube logo, copy the image, and paste it into PowerPoint. Resize it as necessary.
- Adding “Live Stream” Text: Insert “Word Art” for the text “Live Stream,” customize its style, size, and position.
- Styling the Background: Modify the background by right-clicking, going to “Format Background,” and selecting color options.
Preview and Conclusion
- Preview the Animation: Review the animation and make necessary timing and smoothness adjustments.
- Final Preview: Take a final look at the animation, ensuring it meets your expectations.
Your Interactive PowerPoint Animation is Ready!
Congratulations, you’ve successfully created a dynamic and engaging animation in PowerPoint 2016. We hope this tutorial has been informative and helpful for enhancing your presentations. If you found this video tutorial valuable, please don’t forget to show your support by leaving comments, liking the video, and sharing it with your friends. Stay tuned for more upcoming tutorial videos by subscribing to “The Teacher” channel. Thank you for watching, and we wish you a fantastic day filled with creative PowerPoint endeavors!
[Music]
Note: Please refer to the accompanying video tutorial by Rajiv Kohli on “The Teacher” channel for a visual step-by-step guide to follow along with this written tutorial.
The article Mix Color Animated Loader is still under construction. Meanwhile, you can watch our Video Tutorial and Download the PowerPoint Presentation.
Download Mix Color Animated Loader Animation PowerPoint Presentation PPT
PPT Info.
PowerPoint Template
Mix Color Animated Loader
File Type: PPT / PPTX
File Size: 62KB
Number of Slides: 1
Download MIX COLOR ANIMATED LOADER POWERPOINT TEMPLATE
DON’T FORGET TO LEAVE A RESPONSE.

