
Microsoft Office is an essential suite of productivity tools, used by millions of professionals worldwide. While the software itself is incredibly powerful, customizing the Quick Access Toolbar and Office Ribbon can significantly enhance your workflow and boost productivity. In this comprehensive guide, we’ll explore various customization options that allow you to tailor Microsoft Office to your specific needs.
Understanding the Quick Access Toolbar
The Quick Access Toolbar is a customizable element located at the top of the Office Ribbon, providing quick access to your most-used commands. By personalizing this toolbar, you can streamline your workflow and eliminate the need to switch between various tabs. Let’s dive into the customization process.
Adding Commands to the Quick Access Toolbar
- Click the dropdown menu on the Quick Access Toolbar to access customization options.
- You’ll find default buttons with checkmarks next to them, indicating they’re already added.
- To add a new command, simply click on the desired command, such as “New Document.”
Organizing and Customizing
- You can rearrange the Quick Access Toolbar by choosing to position it above or below the Ribbon.
- To reset all customizations to their default settings, click the “Reset” option.
Customizing the Office Ribbon
Customizing the Office Ribbon allows you to create your own tabs and groups, tailored to your specific tasks. This can significantly improve efficiency, as you won’t need to search through various tabs to find the commands you frequently use.
Accessing Ribbon Customization
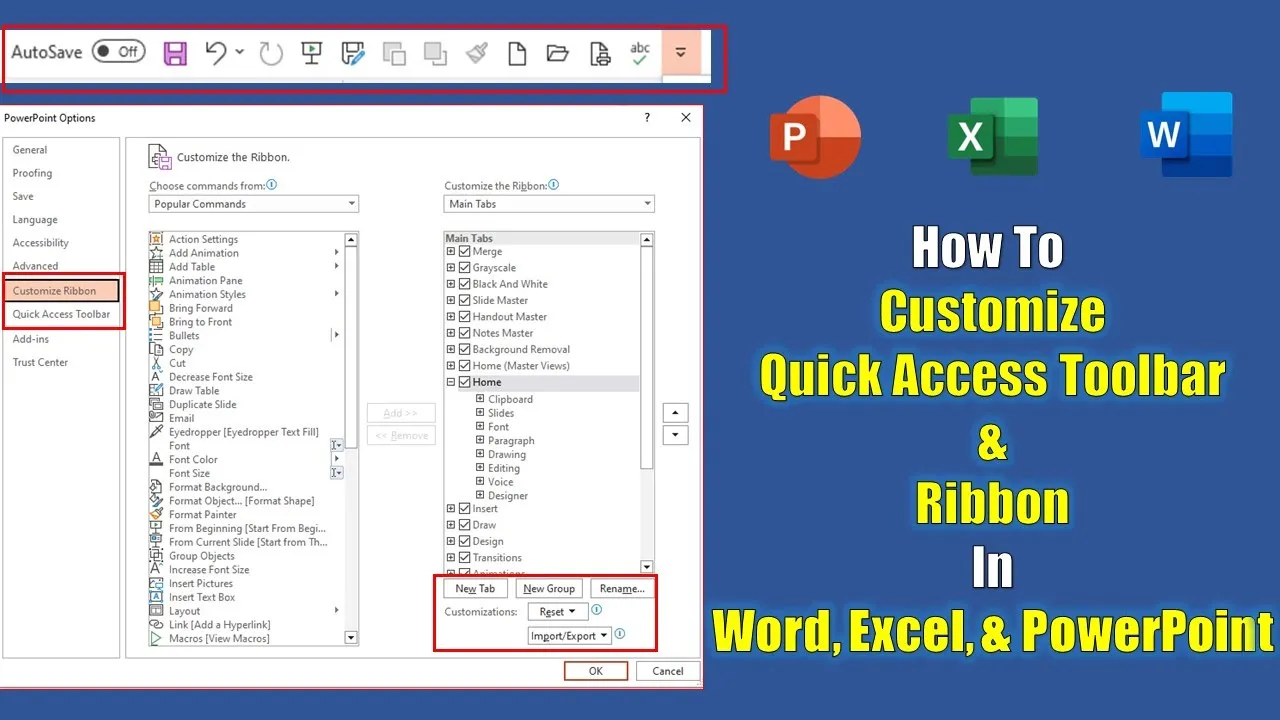
- Click on the “File” menu and select “Options.”
- In the Options menu, you’ll find “Customize Ribbon” and “Quick Access Toolbar.”
- Alternatively, you can access this screen by clicking the “Customize Quick Access Toolbar” dropdown button and selecting “More Commands.”
Adding Favorite Commands
- Under “More Commands,” explore the “Popular Commands” option, listing the most commonly used commands.
- To add a command, click on the desired one and then click “Add.”
- If you want to add commands from a specific tab, select that tab from the dropdown menu.
Creating New Tabs and Groups
- To create a new tab, right-click on any existing tab and select “Customize the Ribbon.”
- Click “New Tab” to add a new tab and group, which you can rename according to your preference.
- Add commands to your new group from the dropdown menu, and then click “OK.”
Exporting and Importing Customizations
You can export your customizations as a file to save them or import them later if needed. To export:
- Click “Export All Customizations.”
- Choose a location and save the file.
Conclusion
Customizing the Quick Access Toolbar and Office Ribbon in Microsoft Office applications can save you valuable time and streamline your workflow. Whether you’re working with Word, Excel, or PowerPoint, these customization options empower you to create a workspace that caters to your specific needs, enhancing your overall productivity.
We hope you found this guide informative and useful. If you did, please consider sharing, liking, and commenting on this post. Don’t forget to subscribe to our channel for more tutorial videos and stay updated with the latest Microsoft Office tips.
Customizing your Microsoft Office experience is a journey toward becoming a pro user. By making these changes, you’ll transform your Office experience into a seamless and efficient one, enabling you to work more effectively and get more done. Happy customizing!