
Introduction To SeaBird Animation
Another easiest Morph Transition Tutorial showing a flying SeaBird Animation in PowerPoint created using only three slides and we are making this without using any PowerPoint animation effect.
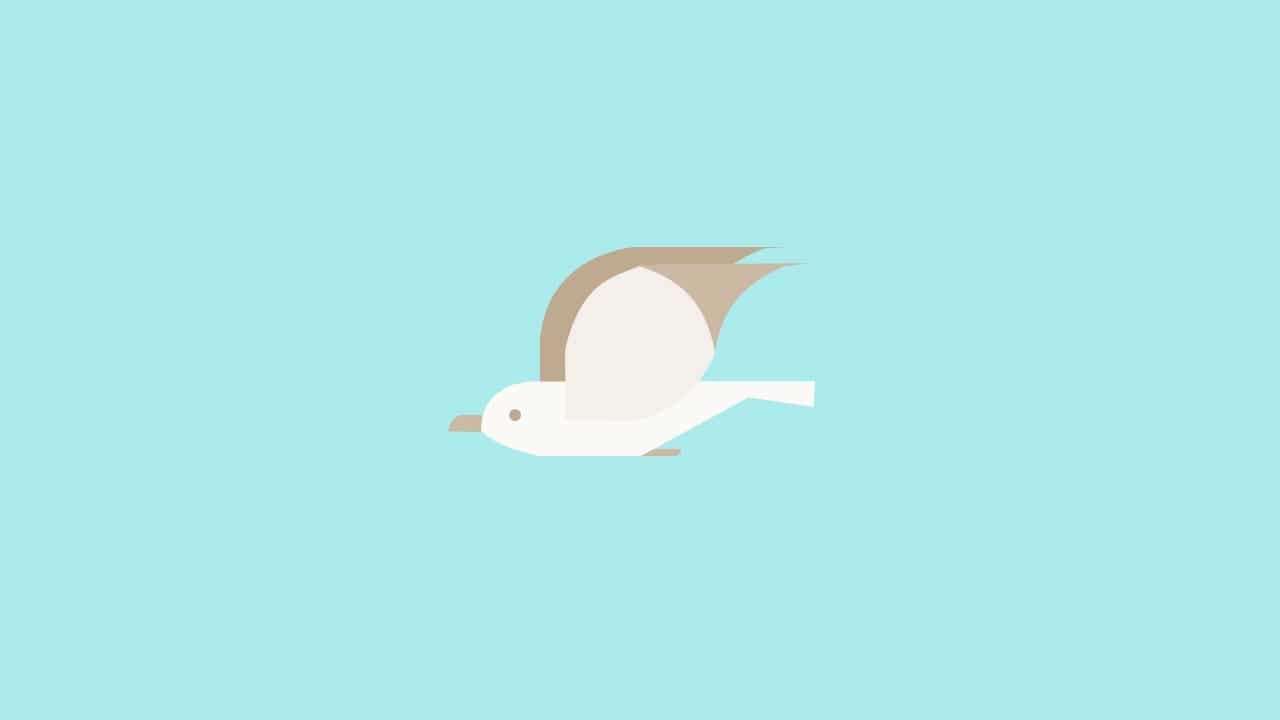
The SeaBird is drawn using the FreeForm and Rounded Corner Rectangle Shape Tools. See Figure 1.1:
Setup The First Slide
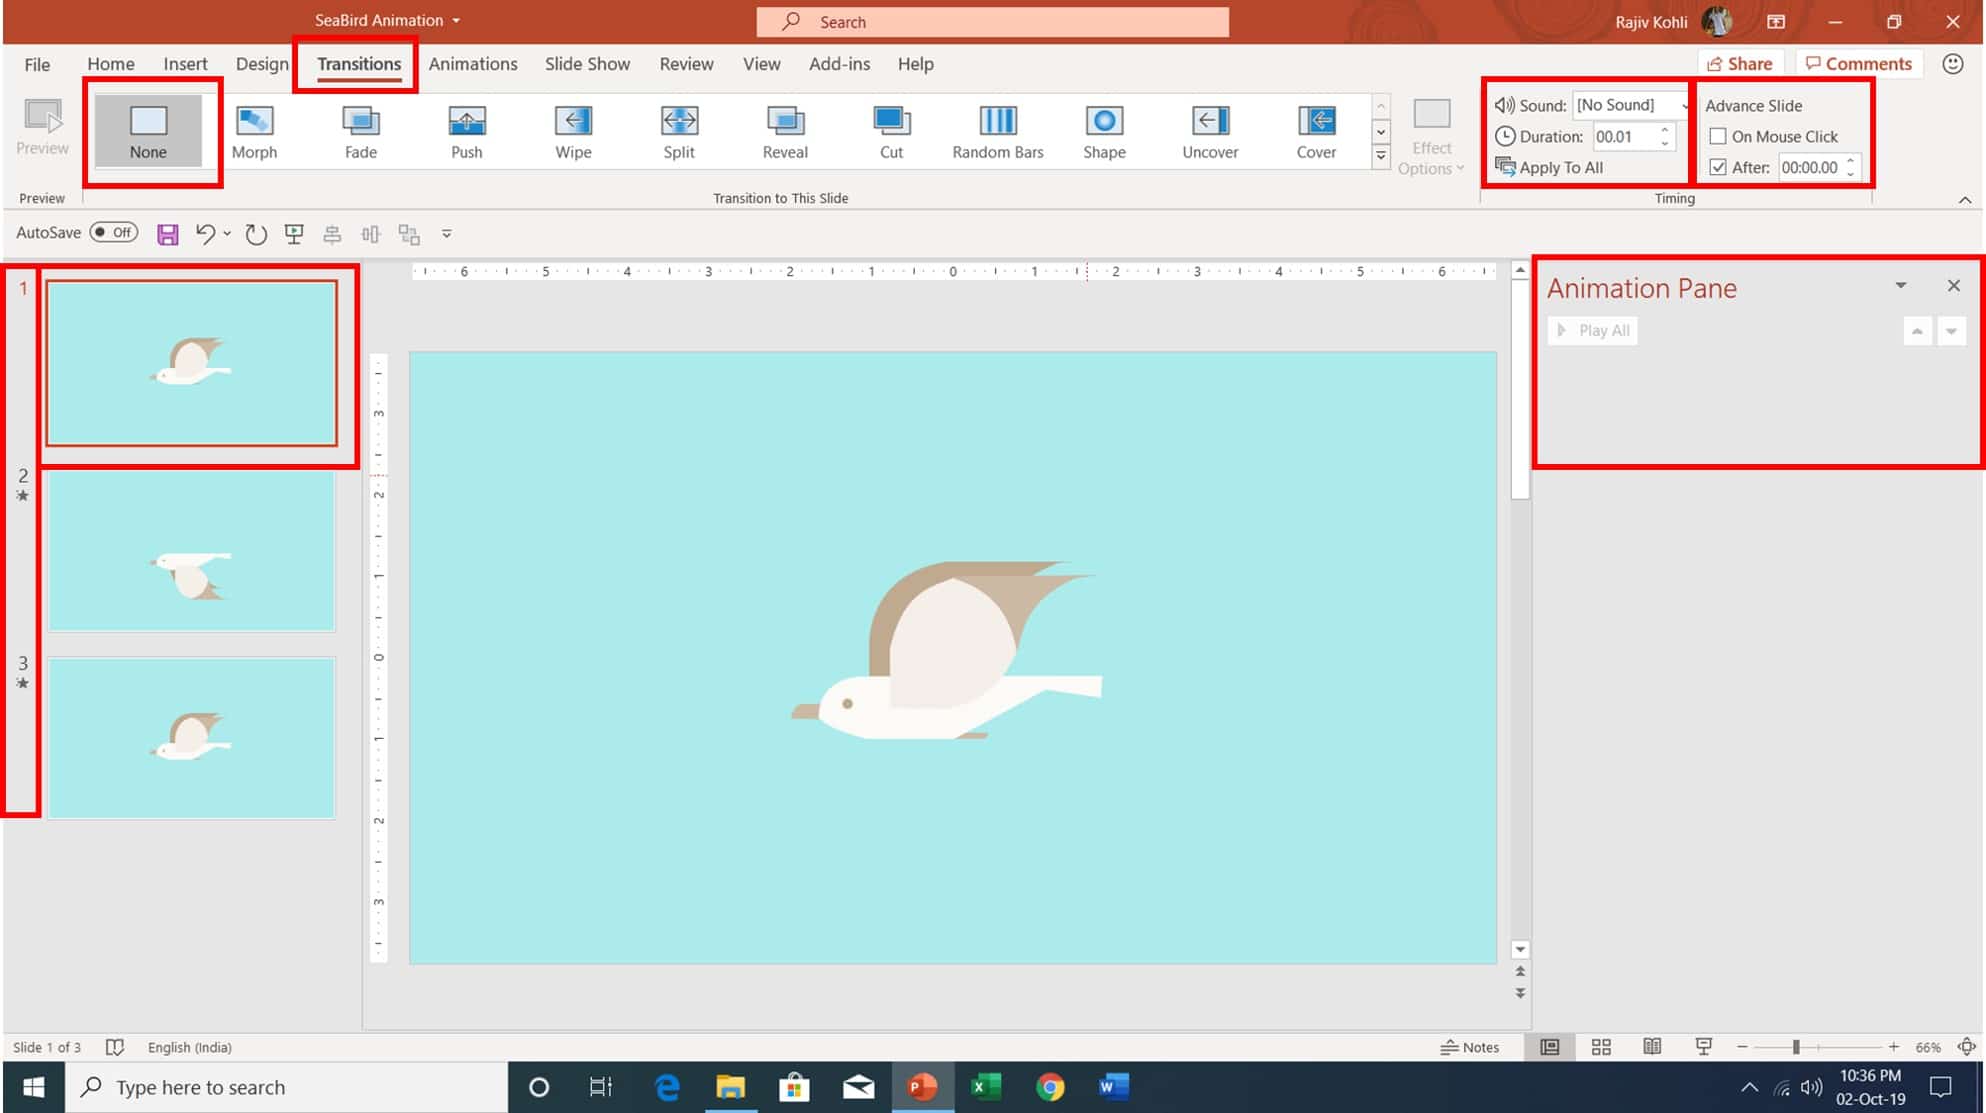
- The Thumbnail view displays that Slide No. 1 is selected and this presentation contains a total of 3 slides.
- The Transition tab shows that No Transitions have been applied on Slide No. 1 and as I always said, “There is no use of applying Morph to the first slide in PowerPoint. It will behave like Fade In effect for the first slide.”
- Advance Slide is set to After with 00.00.00 Seconds duration. You will see the first slide just for 0.01 Seconds.
- Animation Pane shows that no animation effects have been applied.
Wireframe View of Seabird
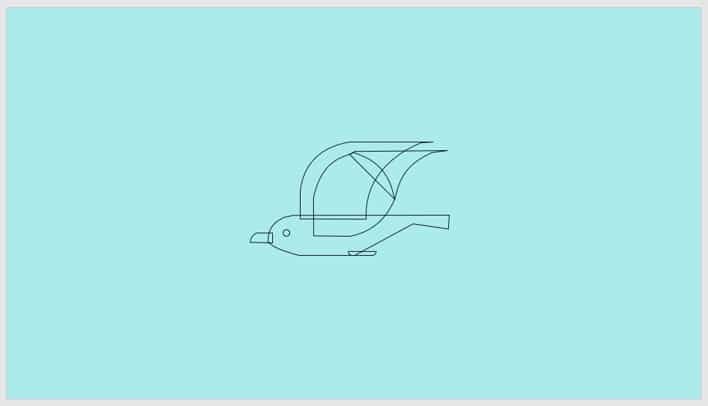
- The wireframe view in Figure 1.2 shows all the different shapes used to draw Seabird. We have a total of 3 grouped objects: Body, Front Wing, and Back Wing.
Setup The Second Slide
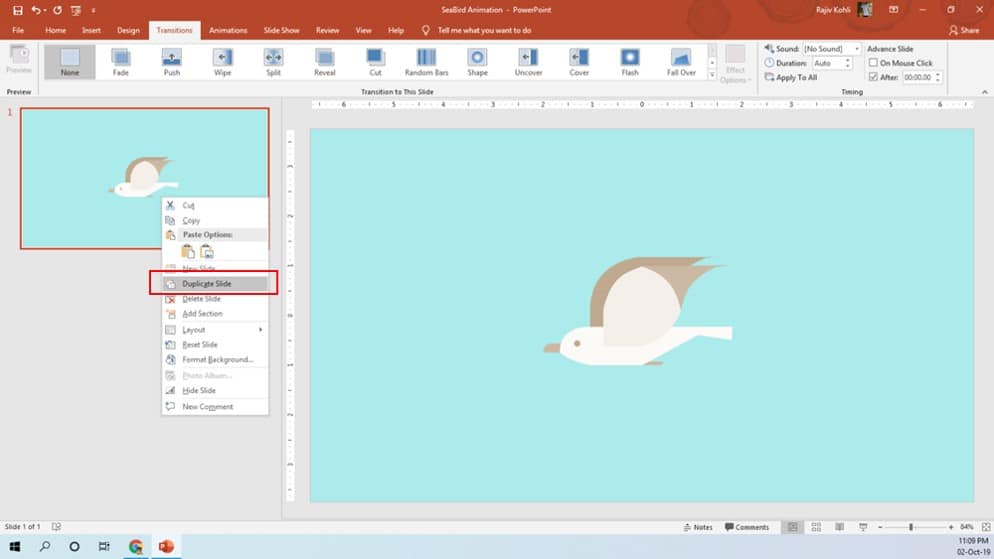
- We need the same Seabird on Slide No. 2 but have the wings positioned downwards. You can duplicate the first slide by right-clicking on the Thumbnail view and choosing Duplicate Slide from the context menu. See Figure 1.3:
- On Slide No. 2, select the Front Wing and then apply the Flip Vertical command from Rotate drop-down menu in Format Tab. See Figure 1.4:
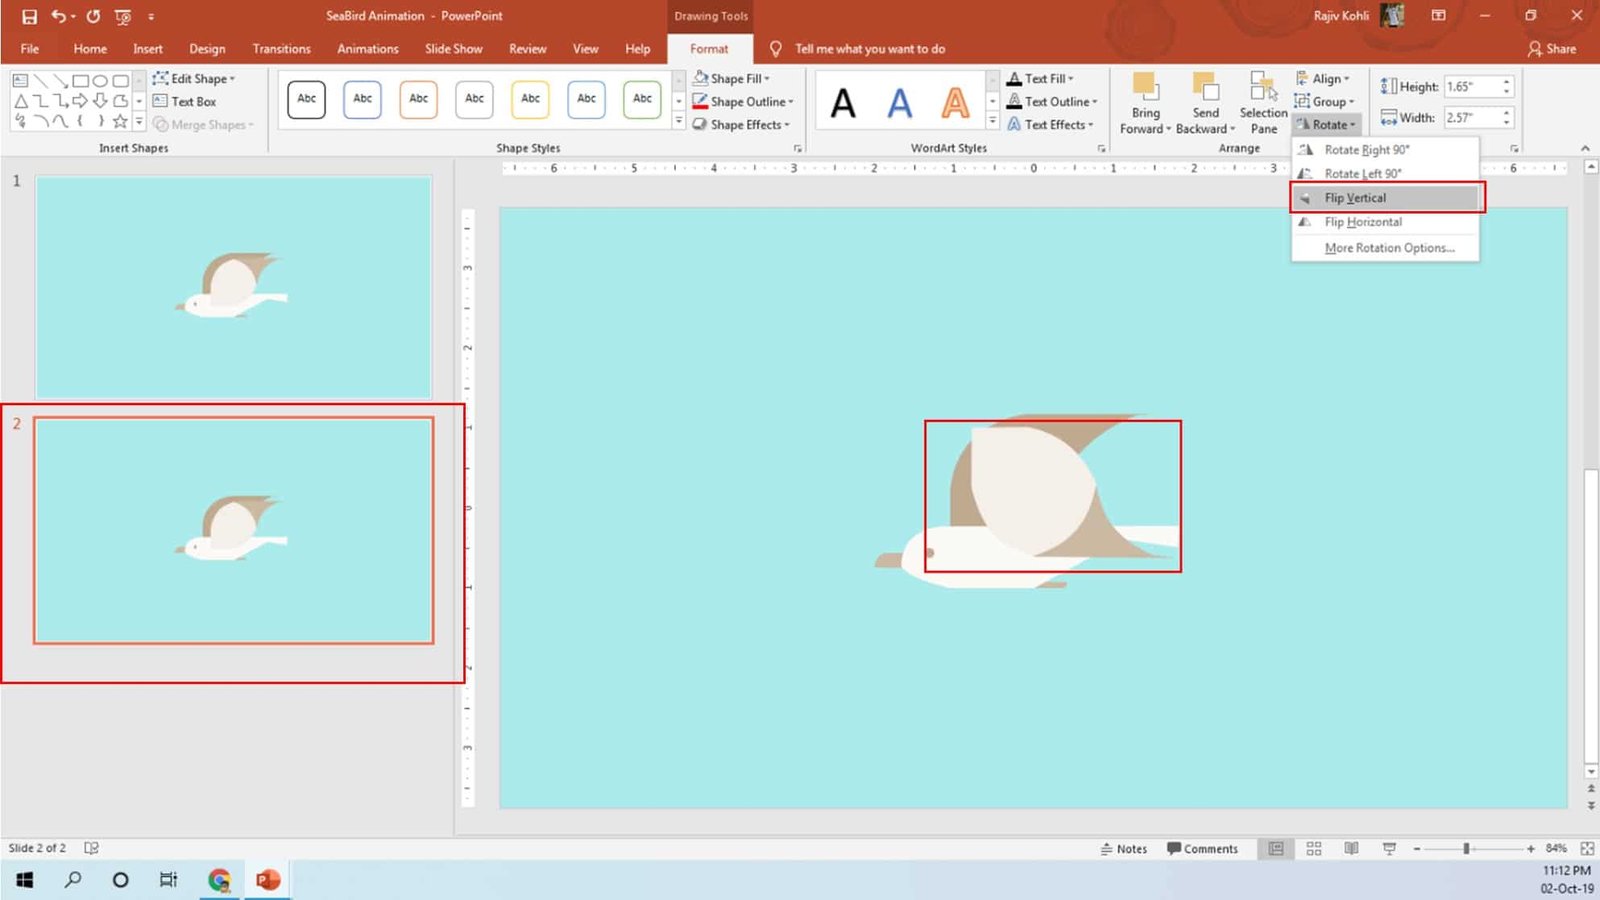
- Front Wing is now upside down. Repeat the same steps for the second wing to Flip Vertically and then adjust the position.
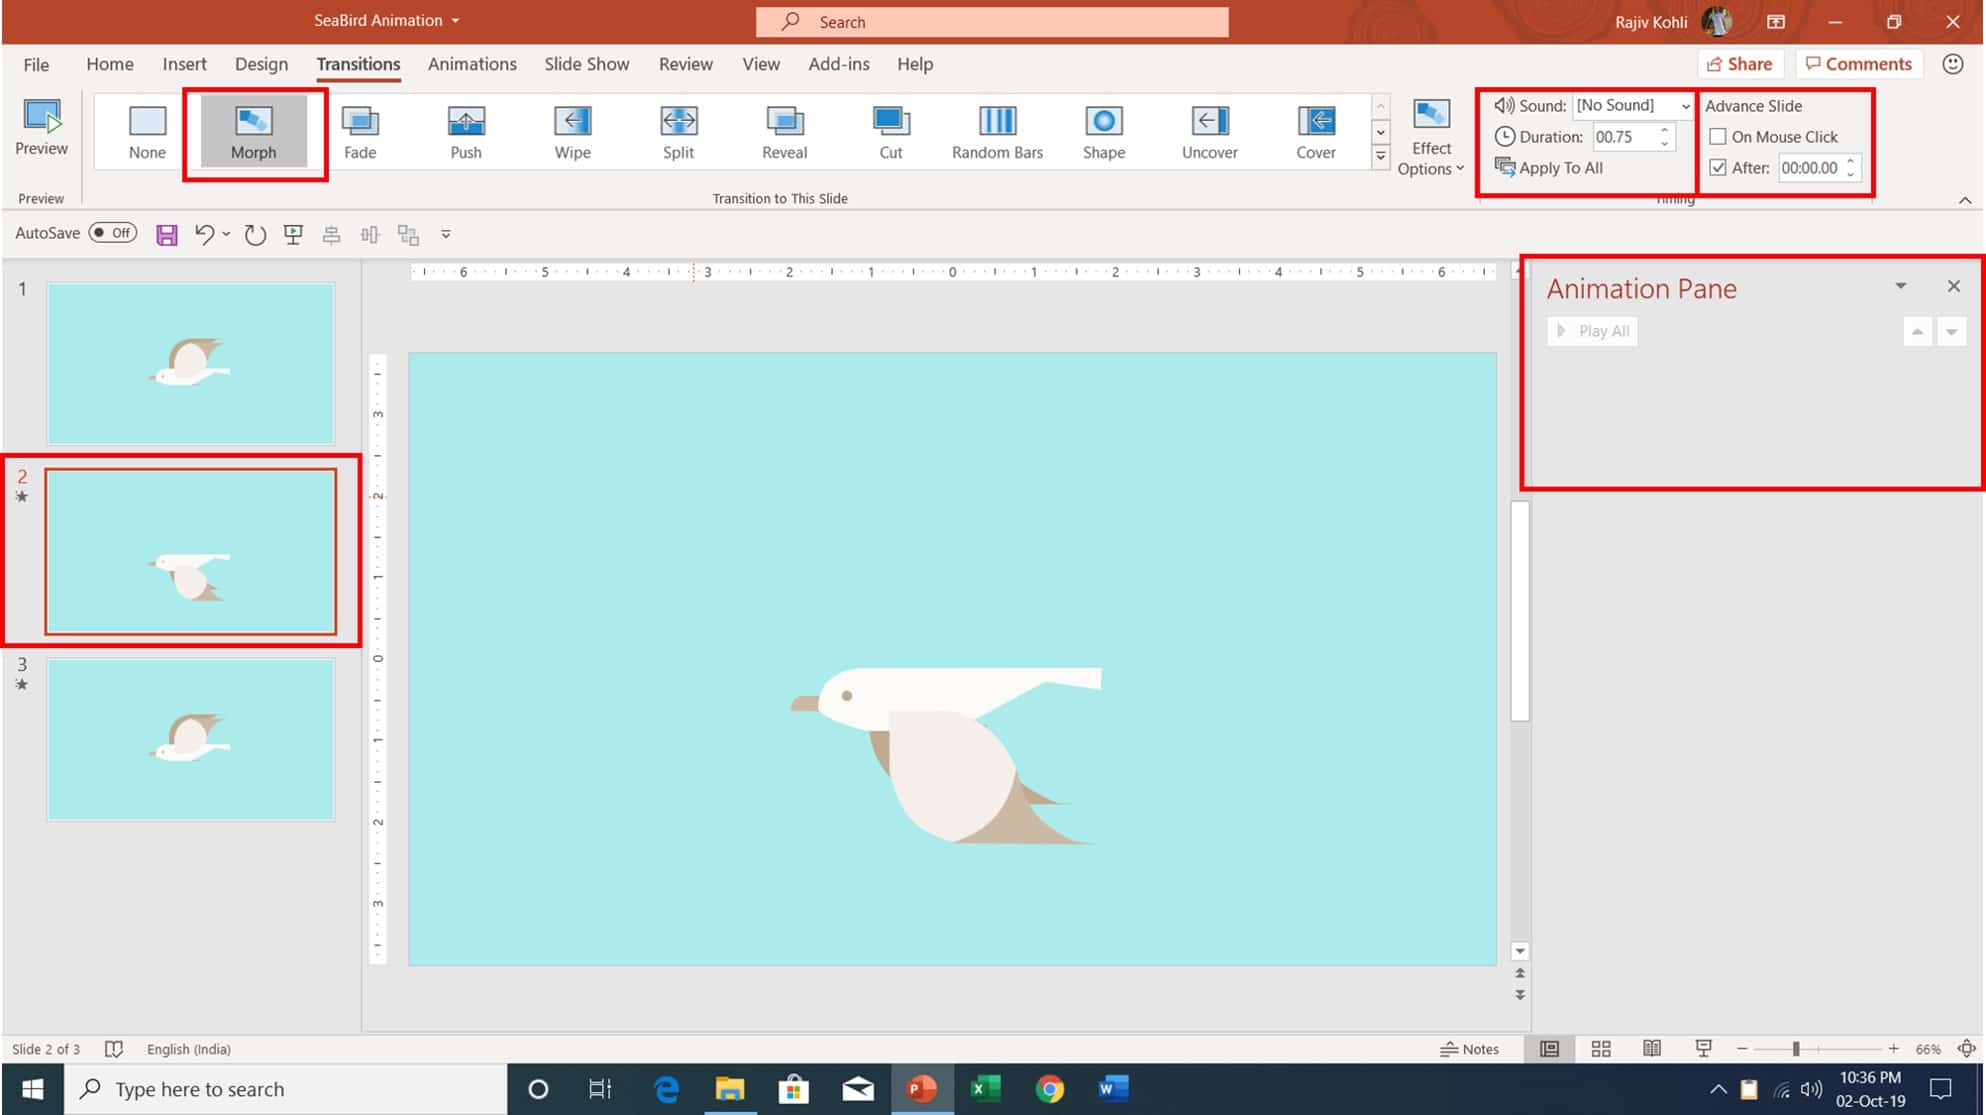
- Apply Morph Transition on the 2nd slide with 0.75 Seconds Duration and Advance Slide set to After with 0.00 Seconds.
- In Figure 1.6, you can see that Body and Wings have been moved a bit up from the middle of the slide on the 2nd Slide. The guidelines are indicating the difference in position. During the slideshow, when the Wings will go down, the body will move a bit up.
- Finally, make another duplicate of the 1st slide and place it on Number 3.
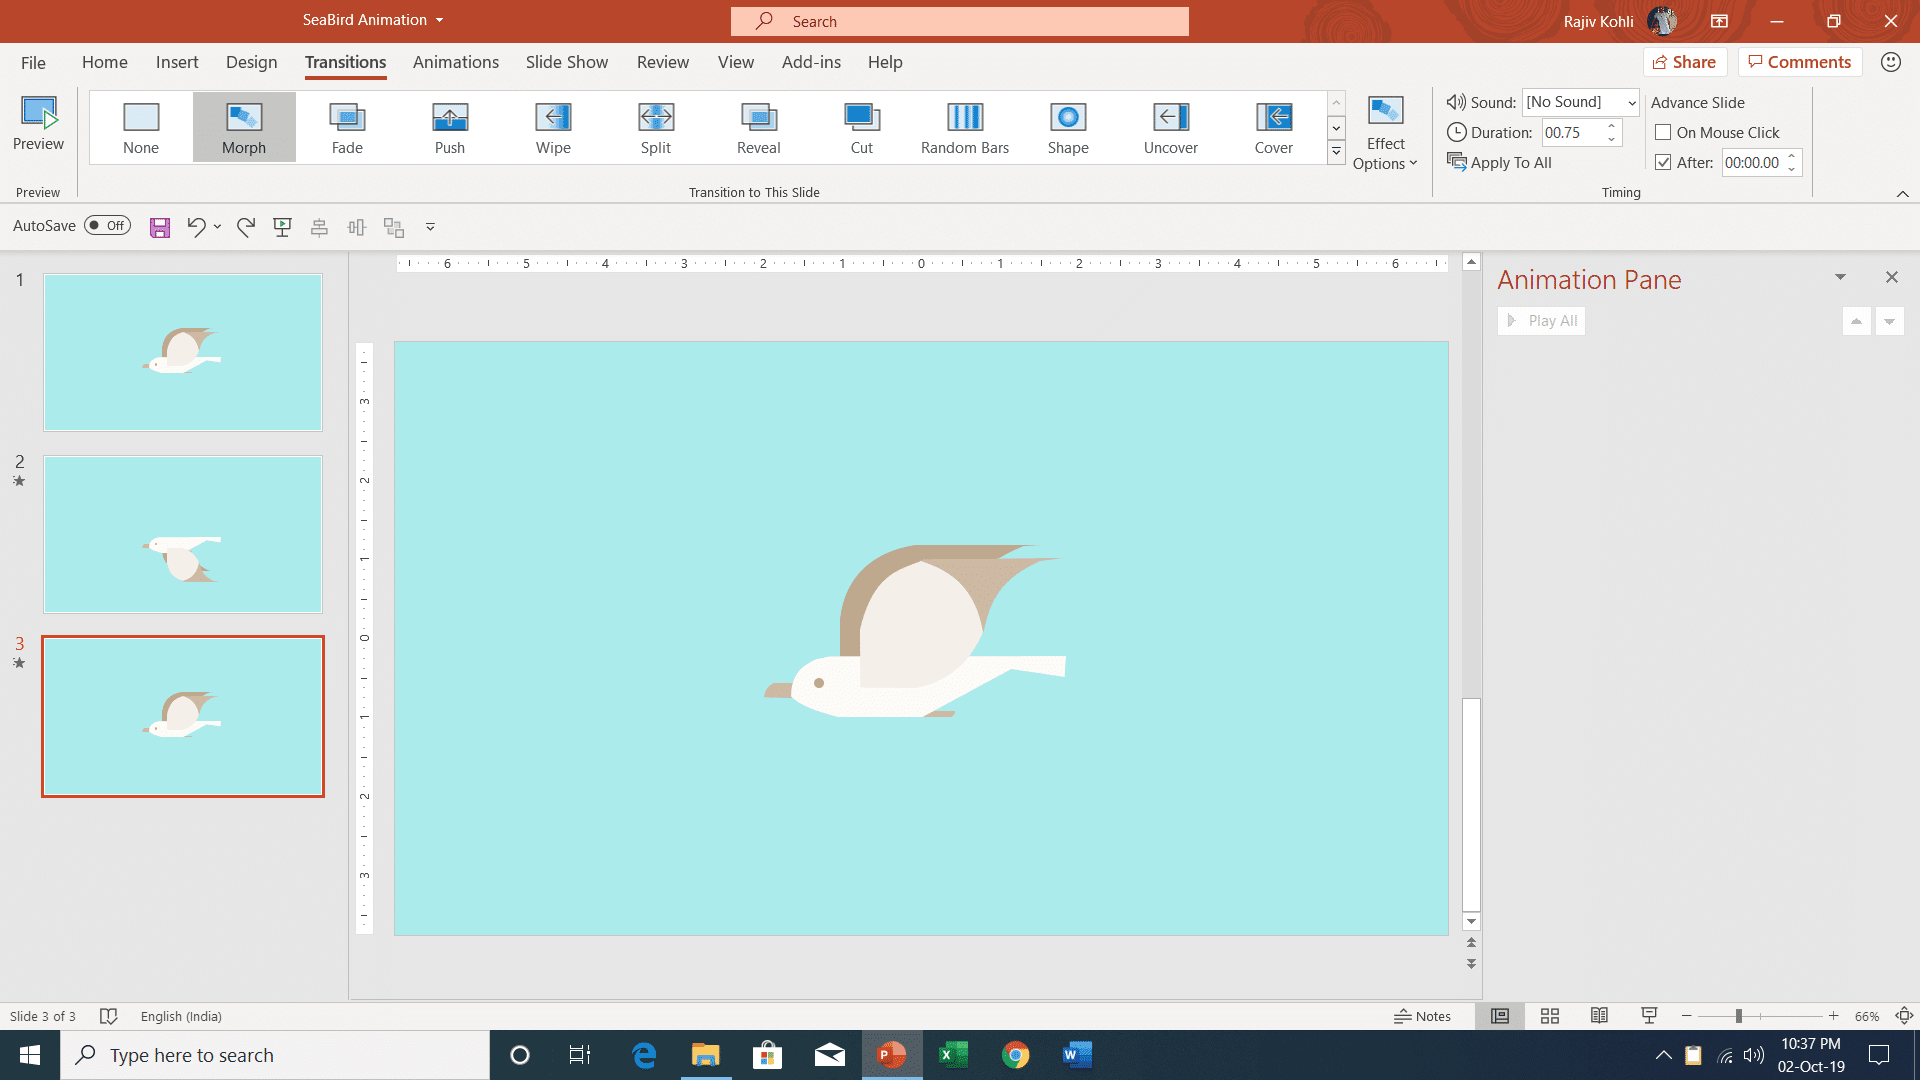
- Apply Morph Transition on the 3rd slide with 0.75 Seconds Duration and Advance Slide set to After with 0.00 Seconds.
I hope you got The Teacher Point!
Watch SeaBird Animation in PowerPoint Tutorial Video
The article How To Make Sea Bird Animation also applies to the following versions:
- PowerPoint 2013
- PowerPoint 2016
- PowerPoint 2019
- Office 365