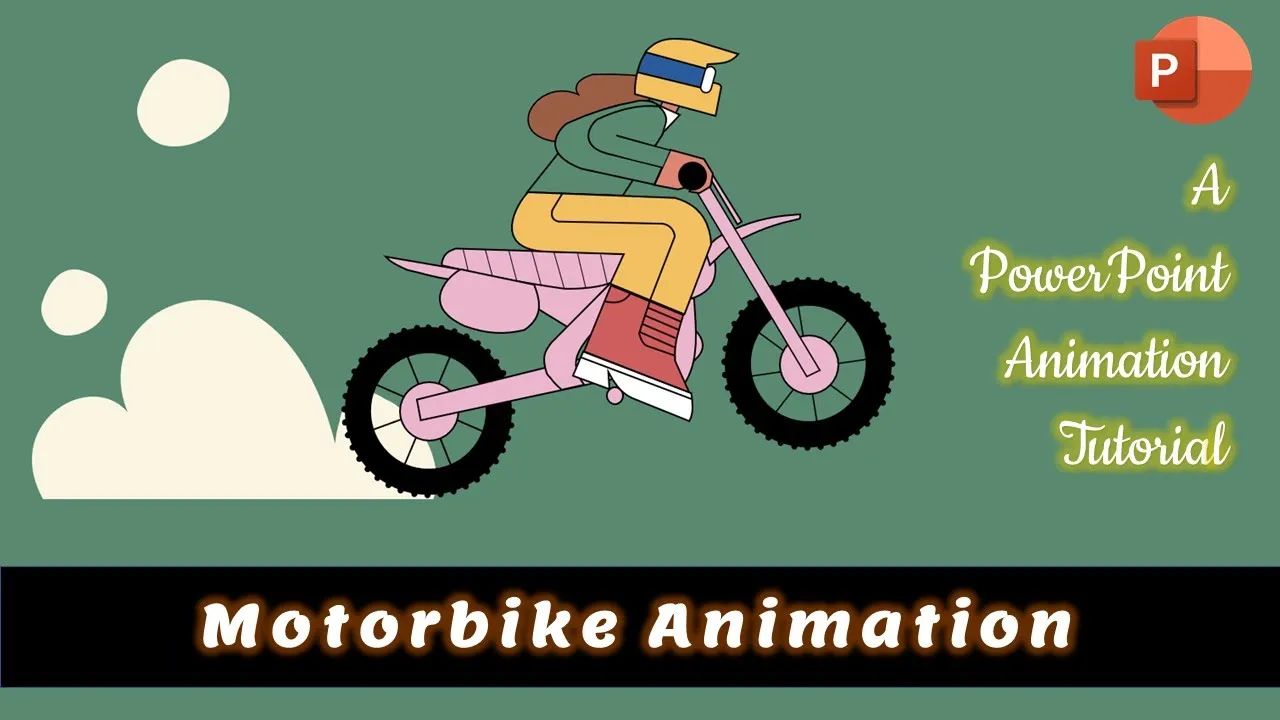
Greetings, design enthusiasts! Today, we’re diving into an exciting Motorbike Animation in PowerPoint tutorial inspired by the incredible work of Lewis West, showcased on behance.net. We’ve meticulously crafted a dynamic presentation that combines character design and animation effects to bring your slides to life.
Before we delve into the specifics, take a moment to watch our video tutorial here, and don’t forget to download the presentation file for the link below for a hands-on experience
Watch Motorbike Animation in PowerPoint Tutorial
Designing the Scene
Let’s start by breaking down the character design on the first slide. We’ve used various shape layers, skillfully crafted with the Shapes tool from the Insert tab. The girl and motorbike, portrayed in an outline view, are a result of meticulous layering and grouping. The Selection Pane, accessed from the Home tab, reveals the intricacies of each object, with many layers being grouped for a more organized structure.
Animation Effects Unveiled
Moving to the second slide, we open the Animation Pane from the Animations tab to showcase the magic happening behind the scenes. Here, we’ll discuss the animation effects applied to different layers.
- Head Layer:
- Spin effect: 25-degree clockwise rotation with Auto Reverse.
- Diagonal motion path: Move to a specific point with Auto Reverse. The head’s movement is carefully coordinated to match the rotation of the biker’s body.
- Bike and Biker’s Body:
- Spin effect: 20-degree counterclockwise rotation. To maintain synchronization, a motion path is applied to the head layer.
- Collar and Neck:
- Animation effects replicated from the head layer using Animation Painter. Separate layers enhance realism, and motion paths are adjusted as needed.
- Tires and Hair:
- Spin effect and diagonal motion path applied to both. Consistent animation effects maintain a cohesive visual experience.
- Smoke Layers:
- Appear, Custom Motion Path, Grow/Shrink, and Disappear effects. Delicate timing and careful adjustments create a visually stunning smoke effect.
- Base and Large Smoke:
- Zoom effect with a defined custom anchor point. Grouping shapes ensures a precise and controlled zooming effect.
Bringing It All Together
With all these layers and animation effects seamlessly combined, the result is a captivating slideshow that breathes life into your presentation. Watch as the character design and elements come to life with fluid animations and synchronized movements.
Conclusion
We hope this tutorial sparks your creativity and helps you elevate your PowerPoint presentations. Feel free to explore, experiment, and customize these techniques to suit your unique design needs. If you found this tutorial insightful, show your support by liking, sharing, and commenting on our video. Subscribe to our channel for more exciting tutorials in the pipeline.
Thank you for your time, and keep creating stunning presentations!

