
Introduction
In 2017, I published Harlow and Buddy Dog Animation in PowerPoint Video tutorials but unfortunately, both of them were without voice-over narration. So, here writing a complete blog post with a new animation explaining how to make a realistic Househead Dog Animation in Microsoft PowerPoint.
The original animation inspiration is by Po Chut’ Chut’ @ dribbble.com
Dog Graphics Design in PowerPoint using Shape Tools
As I always said that making animation in PowerPoint is easy if you know how to draw using Shape Tools. It is certain that once you have your characters ready then you can easily add motion to them using PowerPoint animation effects.
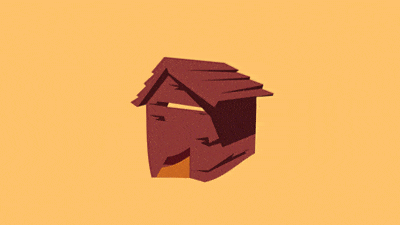
- Figure 1.1 illustrates all the shapes that have been used to draw the Dog Character. Except for the Eyes (Ovals), for the rest of the objects, FreeForm Shape Tool has been used.
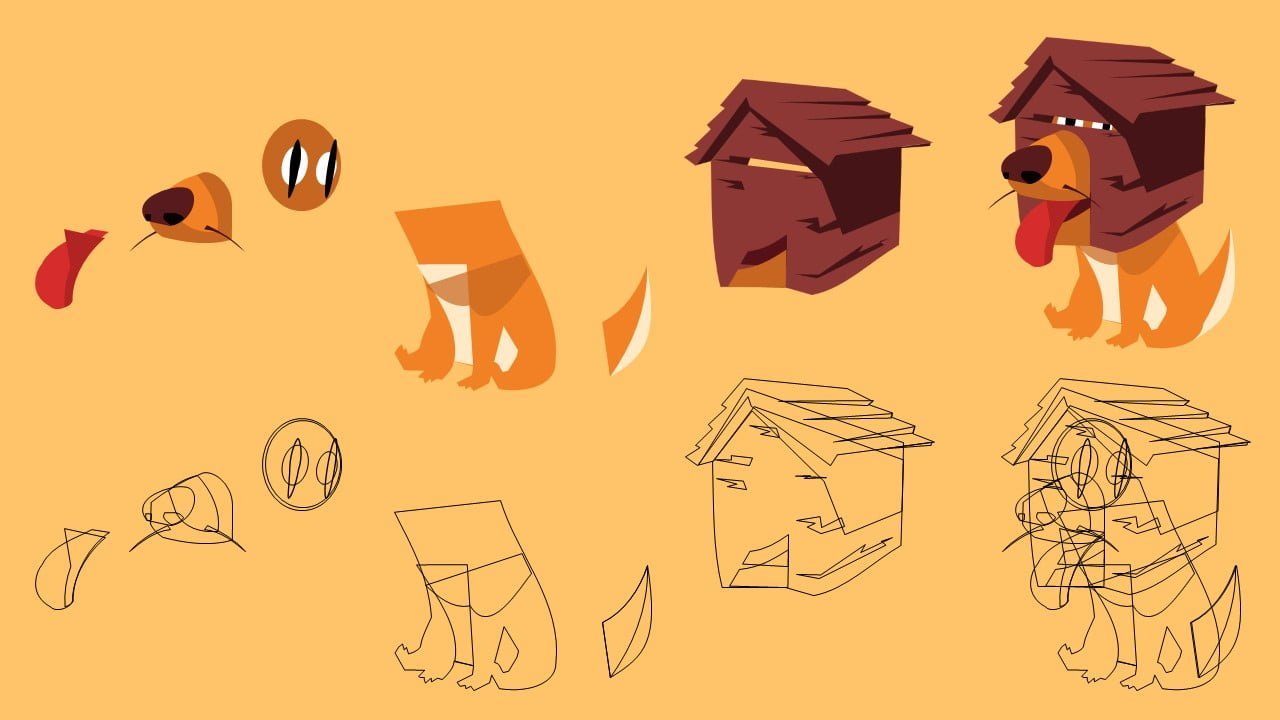
Figure 1.1
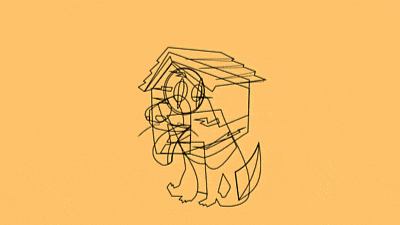
- Take a look at the positioning of the objects in the Selection Pane in Figure 1.2. All the shape layers have been designed and arranged in a manner that when you will place one on top of the other then they will create a bit 3D HouseHead Dog Character.

- As you may know that you cannot use the Merge Shapes command on Grouped objects. So, after designing the House, we Copy and Pasted the House As A Picture and subtracted the part, and placed the Eyes behind it and it seems as if the Dog Mouth is in between the House. Please watch the embedded video below for more information.
PowerPoint Effects Used For Dog Animation
Let’s talk about the animation effects that we used to create motion in the dog. Basically, we used 3 effects: Spin, Grow/Shrink, and Motion Paths.
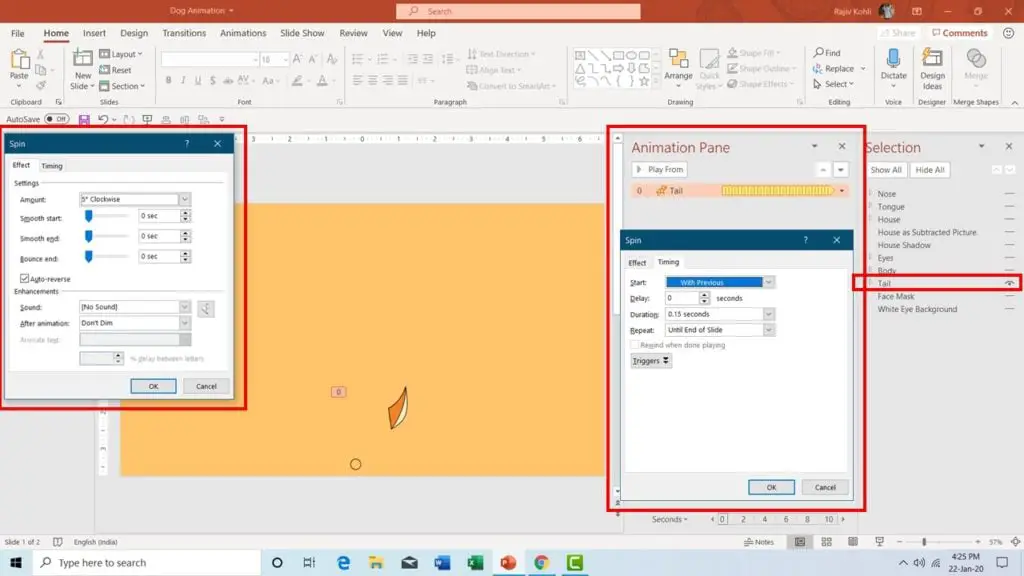
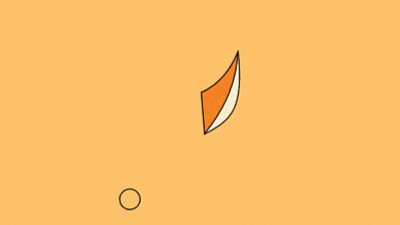
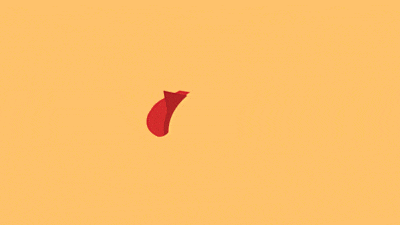
Dog Tail Animation
- Keep in mind that a Custom Anchor Point has been defined for the Tail to rotate from a specific position. We applied the SPIN Emphasis effect with 5 Degree Clockwise Rotation, No Smoothness, Auto Reverse, Duration 0.15 Seconds, and Repeat Until End of Slide. You can hide the Oval Anchor Point by using No Fill and No Outline from the Shape Format tab. See Figure 1.3:
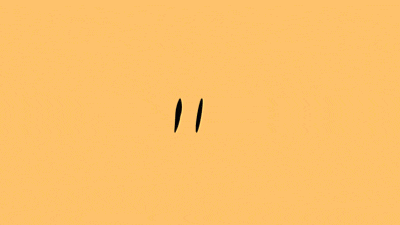
Dog Head, Nose, and Eyes Animation
- As we have placed the Dog Eyes behind the House, so here I am explaining both of the animation effects. For House, we define a very short Down Motion Path with Default Smoothness and Auto Reverse, a short Time Duration of 0.15 Seconds, and Repeat Until End of Slide. See Figure 1.4:

- For Dog Nose, we used the Animation Painter to replicate the same effect from House.

- For the Eyes, we are using the Left Motion Path with Default Smoothness, Auto Reverse, Delay Timing of 0.05 Seconds, and a Time Duration of 1 Second while Repeat Until End of Slide. See Figure 1.5:

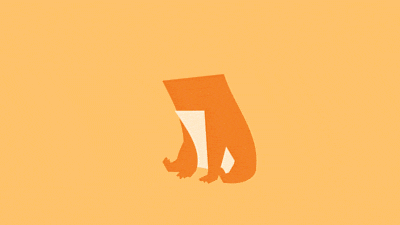
Dog Body, Tongue, and House Shadow Animation Effects
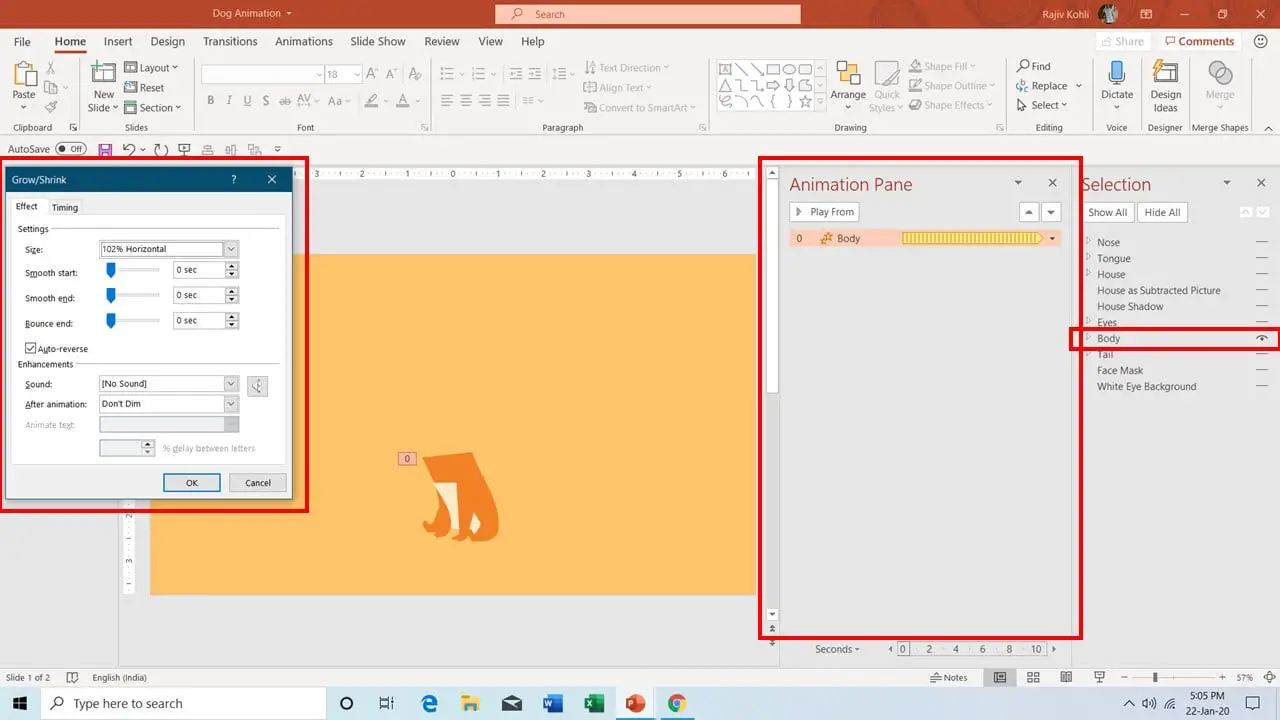
- To create a little bit of movement in the Dog’s Body, we used the Grow/Shrink with 102% Horizontal growth only, no Smoothness, Auto Reverse, a Time Duration of 0.15 Seconds, and Repeat Until End of Slide. See Figure 1.6:
- We replicated the same animation effect on the Tongue and just changed the Grow Rate to 105% Horizontal, with the rest of the settings remaining the same as Auto Reverse, 0.15 Seconds Duration, and Repeat Until End of Slide. If you like then you can also apply the Short Down Motion Path as we applied to the Head and Nose.
- So we did the same with House Shadow; another short Motion Path with Auto Reverse.
I hope you got The Teacher Point.
Watch Dog Animation in PowerPoint Tutorial Video
The article also applies to the following versions:
- PowerPoint 2007
- PowerPoint 2010
- PowerPoint 2013
- PowerPoint 2016
- PowerPoint 2019
- Office 365
Download Dog Animation PowerPoint PPT
PPT Info.
PowerPoint Template
Youtube Intro
File Type: PPT / PPTX
File Size: 93KB
Number of Slides: 2
Download dog animation powerpoint template
DON’T FORGET TO LEAVE A RESPONSE.


