
In this step-by-step guide, we’ll explore how to transform static pictures into dynamic, engaging elements within your presentations. Hosted by Rajiv Kohli on ‘The Teacher’ channel, this tutorial draws inspiration from the creative work of Wakana Y.K. on codepen.io. While Wakana used HTML, CSS, and JS, Rajiv challenges us to achieve similar effects using only PowerPoint.
Background Music and Audio Setup:
The tutorial begins with an overview of incorporating background music. Rajiv recommends accessing royalty-free music from YouTube Studio’s Audio Library. Detailed instructions are provided on how to insert and configure the audio file settings. A pro tip emphasizes planning audio settings in advance, ensuring a seamless presentation.
Layer Management:
Understanding PowerPoint layers is crucial. Rajiv demonstrates a methodical approach to revealing layers one by one, using the Selection and Animation Panes side by side. This technique allows for a comprehensive view of objects and their corresponding animation effects on the current slide.
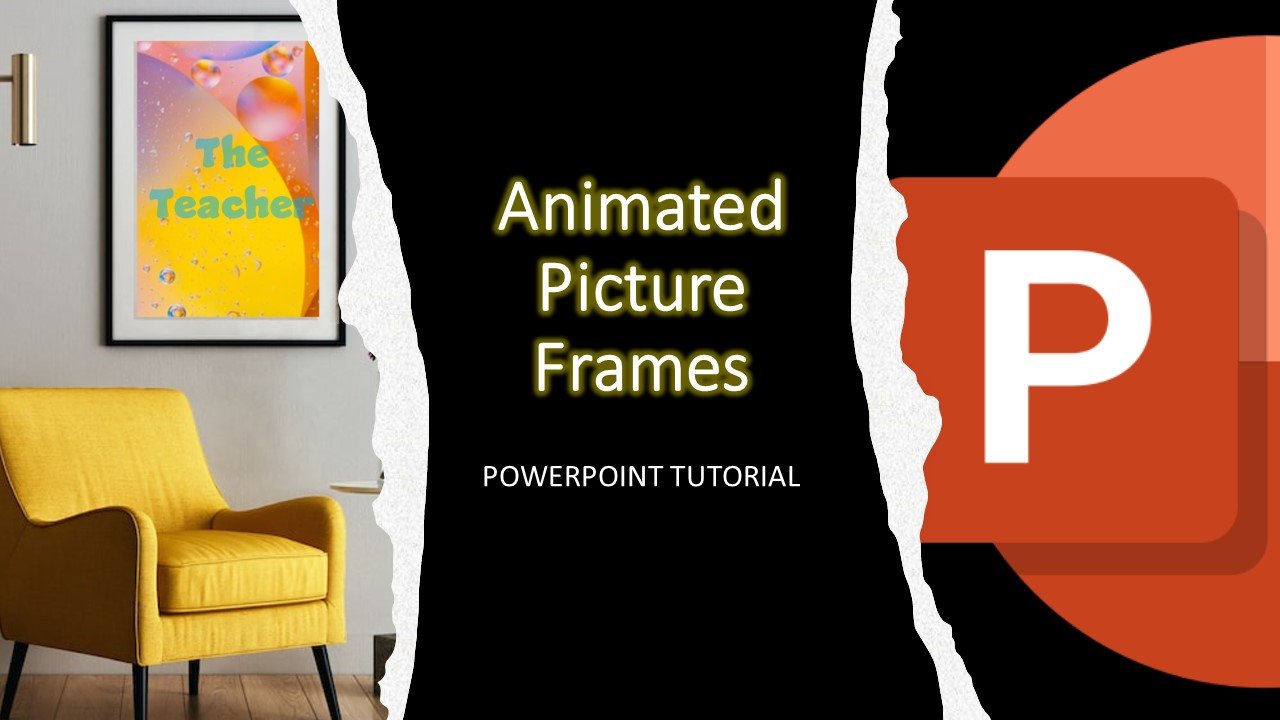
Animating Static Pictures:
The heart of the tutorial lies in animating static pictures. The presenter introduces a living room picture with a hanging picture frame, aiming to create a digital picture frame illusion. Using motion paths and fade effects, Rajiv meticulously guides viewers through the animation process for each picture, creating a visually appealing sequence.
Layer Positioning and Illusion Creation:
The Selection Pane is utilized strategically to position layers effectively. The tutorial highlights the importance of layer arrangement, demonstrating how a subtracted picture layer can create the illusion of depth and realism. This technique involves carefully subtracting a portion of a picture using the Merge Shapes command.
Recap and Pro Tips:
Rajiv concludes the tutorial with a recap of the animation process. Pro tips include adjusting layer positions, utilizing the Auto Reverse feature for added flair, and fine-tuning start, duration, and delay timings. The tutorial encourages experimentation and provides viewers with the tools to craft dynamic presentations.
Conclusion:
We hope this tutorial has been both useful and enlightening. If you’ve picked up a new skill or have any thoughts, share them in the comments section of the video. Don’t forget to like and subscribe to ‘The Teacher’ for more insightful tutorials. Until next time, happy presenting!
Download the Presentation
Note: The above is a written representation of the tutorial. For a more visual and detailed guide, make sure to watch the complete video tutorial embedded above.


