
In today’s digital age, effective communication often relies on more than just plain text and static images. Visual storytelling can take your message to the next level, making it not only informative but engaging as well. One powerful tool for achieving this in business presentations and educational content is PowerPoint, and specifically, using Motion Paths to animate simple shapes. In this tutorial, we’ll explore the art of animating shapes in PowerPoint to create captivating presentations that leave a lasting impression.
Watch the Tutorial
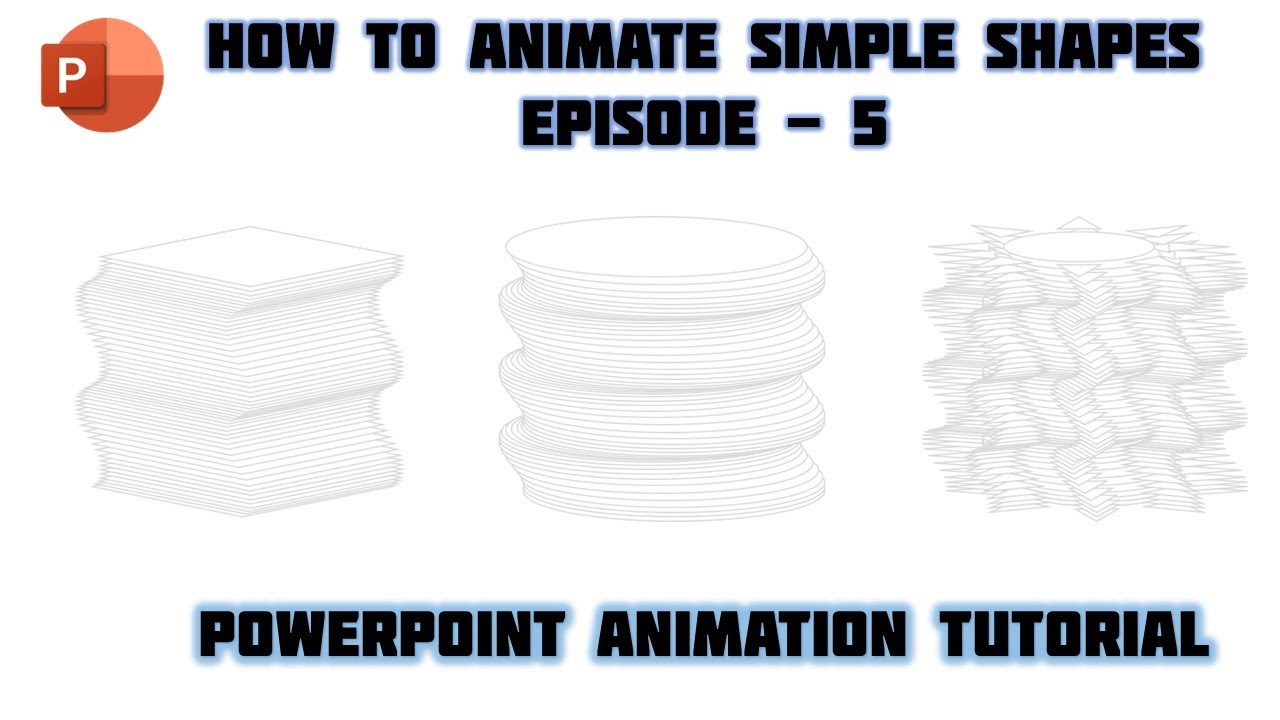
Before we delve into the details, why not take a quick look at the step-by-step video tutorial? It’s an excellent visual representation of the process we’re about to discuss, and it will help you grasp the concept even more effectively.
The Inspiration
Our journey into the world of animating shapes in PowerPoint is inspired by the ingenious work of Andrew Wang. He used C++ to create and animate shapes, and while we’ll be using PowerPoint for this tutorial, the results are equally impressive.
Getting Started: Shape Creation and Modification
To animate shapes in PowerPoint, you first need a shape. We start by creating a simple rectangle shape. If you’re not sure how to do this, the tutorial provides a step-by-step guide. Once you have your rectangle, we’ll make it a bit more interesting. The Edit Points command allows us to tweak the shape by manipulating its points. For a more in-depth tutorial on using edit points, you can find a link in the video description.
Color Customization
Presentation aesthetics matter. To make your animated shapes visually appealing, choose your desired fill and outline colors from the Shape Format tab. In the video, they opt for a white fill color and a light blue outline color.
The Magic of Animation
Now comes the exciting part: animating the shape. Instead of duplicating the shape first, it’s more efficient to apply the animation effect to the initial shape. This way, when you duplicate the shape, the animation effects come along for the ride. In the tutorial, you’ll see how to access the “More Motion Paths” option, choose a motion path effect, and adjust its length.
Timing is Everything
Animating shapes isn’t just about movement; it’s about when and how they move. In the Timing section, you can set the animation to “Start With Previous” and define its duration. The Effect Options window lets you fine-tune the smoothness timing, affecting how the shape moves during the slideshow.
Auto Reverse for Extra Flair
An added touch to make your animation dynamic is the “Auto Reverse” option. This makes your shape move diagonally down and then return to its starting position. Set it to repeat until the end of the slide with a delay of zero seconds.
Duplicate Shapes with Precision
To create duplicates of the shape, you’ll want to cut and paste it onto a new slide to avoid any complications with the previous shapes. The tutorial highlights a key tip: start from the bottom and work your way up to avoid the need for position adjustments. Utilize the “Send to Back” command to arrange the shapes correctly.
Timing is Key
To perfect your animation, adjusting the delay timings for each animation effect is crucial. Adding a delay of 0.25 seconds between them creates a smooth and visually appealing sequence.
The Grand Finale: Your Animated Shapes
After configuring all the delay timings, it’s time to sit back and enjoy the fruits of your labor. View the slideshow to witness your animated shapes in action. And remember, the more you experiment and tweak, the more engaging and dynamic your presentations become.
Beyond the Basics
Want to take your animations even further? Duplicate the slide and select all the shapes. With a few clicks, you can change their shapes using the Shape Format tab. This extra step can add a whole new layer of creativity to your animations.
Conclusion
Animating shapes in PowerPoint is not just a way to make your presentations visually engaging; it’s an art form that can truly captivate your audience. The power of motion paths, as demonstrated in this tutorial, can transform your static slides into dynamic, compelling stories.
So, if you’re ready to bring your presentations to life and make your content truly memorable, check out the video tutorial above for a visual walkthrough of the entire process. Don’t forget to like, share, and comment on the video to show your support, and subscribe to the channel for more exciting tutorials.
Start animating your shapes, and let your ideas take flight in your PowerPoint presentations. The possibilities are limited only by your creativity.


