
Welcome to another easy PowerPoint animation tutorial! In this tutorial, we will replicate the captivating ‘Miner with Jackleg’ animation created by Nick on CodePen using HTML, CSS, and JavaScript. We’ll achieve this in PowerPoint using effects like Flash Once, Spin Motion Path, and Fade Out. To visualize the process, we’ll embed the video tutorial and provide a link to download the presentation file.
Shapes and Selection Pane
Let’s start by exploring the shapes used in the animation. Opening the Selection Pane from the Home tab reveals the order of objects. Proper placement matters, as demonstrated by the miner’s body positioned between the legs, and the head rotating behind the jackleg machine. A custom anchor point is assigned to the miner’s head and light for precise spinning.
Animation Effects
The Animation Pane, accessed from the Animations tab, displays a comprehensive list of applied effects. Focus on the top 9 animation effects, with the rest being variations of the same three effects for smoke and fire particles.
- Jackleg Drill (Blink Emphasis): The drill blinks with a 0.10-second duration, repeating until the end of the slide.
- Head and Light (Spin): A clockwise 10-degree rotation for 1 second. To create a delay, another Spin effect is applied with a counterclockwise rotation after 3 seconds.
- Left Hand, Right Hand, Jackleg Machine (Left Motion Path): A brief 0.05-second Left Motion Path is applied for a shaking effect.
- Smoke and Fire Particles: Diagonal Motion Path, Grow/Shrink, and Fade Out effects are used with varying delay timings for each particle. Animation Painter facilitates easy replication.
Customizing Smoke and Fire
For both smoke and fire particles, similar effects are applied, but with distinct delay timings. For fire particles, the Arc Motion Path is customized using Edit Points for a unique appearance. All particles end at 5.50 seconds in the timeline.
Setting Slide Timing and Looping
To ensure a continuous loop, set the Advanced Slide Timings to 5.50 seconds from the Transition tab. From the Slideshow tab, select Setup Slideshow, and check the Loop Continuously Until Esc option.
Conclusion
Running the slideshow now results in a mesmerizing continuous loop of the animated scene. We hope you find this tutorial informative and useful. For a more in-depth understanding, watch the video tutorial linked below. Don’t forget to like, share, comment, and subscribe. Thanks for watching, and we’ll see you in the next tutorial!
Watch Explainer Video in PowerPoint Tutorial Video
Download the Presentation File
The article How To Create Explainer Video Animation in PowerPoint Tutorial is under process. Meanwhile, you can download the presentation and can watch our video tutorial.
Download Explainer Video PowerPoint PPT
PPT Info.
PowerPoint Template
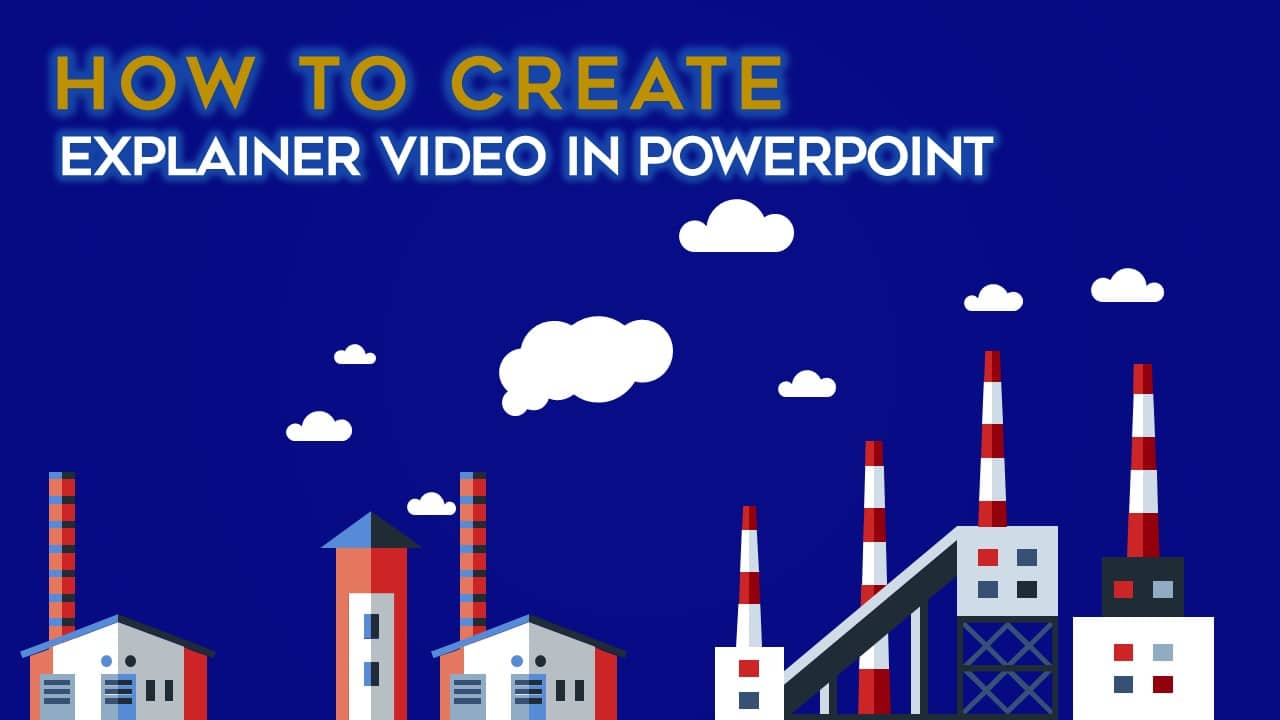
Explainer Video in PowerPoint
File Type: PPT / PPTX
File Size: 73KB
Number of Slides: 1

Download EXPLAINER VIDEO POWERPOINT TEMPLATE
DON’T FORGET TO LEAVE A RESPONSE.


