Microsoft Word is a versatile tool for creating various documents, including notebooks. In this tutorial, we will guide you through the process of designing an A4 single-line notebook in Microsoft Word. This design will allow you to customize your notebook’s layout, add dates and page numbers, and make it ready for printing. So, let’s get started without further ado.
Step 1: Set Page Size and Margins
Before you begin designing your notebook, it’s crucial to configure your page settings. Follow these steps:
- Click on the “Layout” tab.
- Adjust the following settings:
- Page Size: Select A4 or the paper size you intend to use for printing.
- Margins: Set top, bottom, left, and right margins to zero for maximum page utilization.
Step 2: Create the Notebook Structure
The notebook design is based on tables in Microsoft Word. Follow these steps to create the basic structure:
- Click on the “Insert” tab.
- Select “Table.”
- Choose “Insert Table.”
- Specify the number of columns and rows you want for your notebook. For example, you can choose 2 columns and 25 rows.
- Click “OK” to create the table.
Step 3: Customize Table Borders
To give your notebook a distinctive look, you can customize the table borders. Here’s how:
- Select the entire table.
- Go to the “Table Design” tab.
- Click on the “Borders” dropdown menu and select “Borders and Shading.”
- Customize border style, color, and width. You can select specific borders to customize as needed.
Step 4: Add a Shape or Design Element
To make your notebook visually appealing, consider adding a design element, such as a rounded-corner rectangle or another shape. Here’s how:
- Click on the “Insert” tab.
- Select “Shapes” and choose your desired shape.
- Draw the shape on the page.
- Use the “Shape Format” tab to customize the shape’s fill color, outline color, and width.
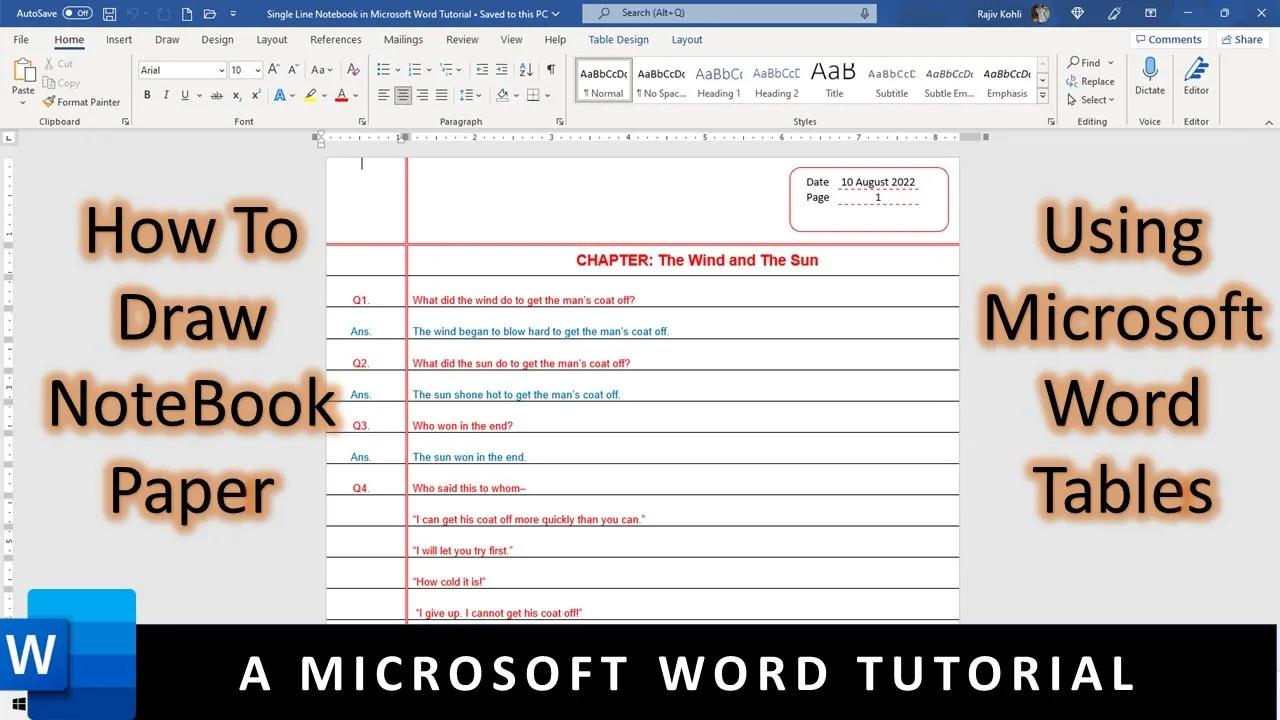
Step 5: Include Date and Page Numbers
In your notebook, you can include a section for dates and page numbers. Here’s how:
- While inside the shape, click on the “Insert” tab.
- Create a new table with two columns and two rows.
- Label the first column as “Date” and the second as “Page.”
- Adjust the column size and text formatting as needed.
Step 6: Customize the Date and Page Number Table
To enhance the appearance of the date and page number section, follow these steps:
- Select the date and page number table.
- Go to the “Table Design” tab.
- Click on “Borders” and then “Borders and Shading.”
- Remove borders from the entire table.
- Customize the style, color, and width of the dotted lines below the “Date” and “Page” labels.
Step 7: Add and Format Text
With the structure in place, you can now add and format your text. Here’s how to format text within cells:
- Add your text to the cells.
- Use the “Home” tab to align text, change font size, and make it bold.
- Adjust the vertical alignment to top, center, or bottom by accessing “Table Properties.”
Step 8: Expanding and Modifying Rows
If your notebook has multiple pages or you need to add more rows, you can easily do so:
- To add a new row, press the Tab key at the last cell of the table.
- Adjust the row height as needed.
- If you want to delete rows or make other modifications, go to the “Layout” tab and use the “Delete Rows” and other options.
Conclusion:
Creating an A4 single-line notebook design in Microsoft Word is a creative and practical project that allows you to personalize your notebook according to your needs. With the step-by-step instructions provided in this tutorial, you can easily design and customize your notebook, making it an ideal tool for note-taking, journaling, or any other purpose you have in mind. Experiment with different styles, colors, and layouts to create a notebook that suits your preferences.
We hope you found this tutorial helpful. Feel free to like, share, and comment on this article if it assisted you in creating your customized notebook. For more informative tutorials and tips, consider subscribing to our channel. Thank you for joining us, and best of luck with your notebook design!