
Have you ever wondered how to create eye-catching, illusionary animated backgrounds in PowerPoint to elevate your presentations and projects? Look no further! In this step-by-step tutorial, we will guide you through the process of crafting captivating animated backgrounds using basic triangle shapes. This unique animation is inspired by the incredible work of So Many Questions, and we can’t wait to share it with you.
Before we dive into the nitty-gritty details, let’s set the stage for what you’ll learn in this tutorial.
Why Animated Backgrounds Matter
Animated backgrounds add a dynamic and engaging element to your PowerPoint presentations, whether it’s for work, school, or creative projects. They captivate your audience’s attention, make your content more memorable, and help convey complex ideas with ease.
In this tutorial, we’ll show you how to create an illusionary animated background that will leave your viewers in awe.
Getting Started
Let’s start with a blank canvas. Open a new presentation in PowerPoint and set the slide layout to “Blank.” Change the slide background color to a sleek black to serve as the backdrop for your animation.
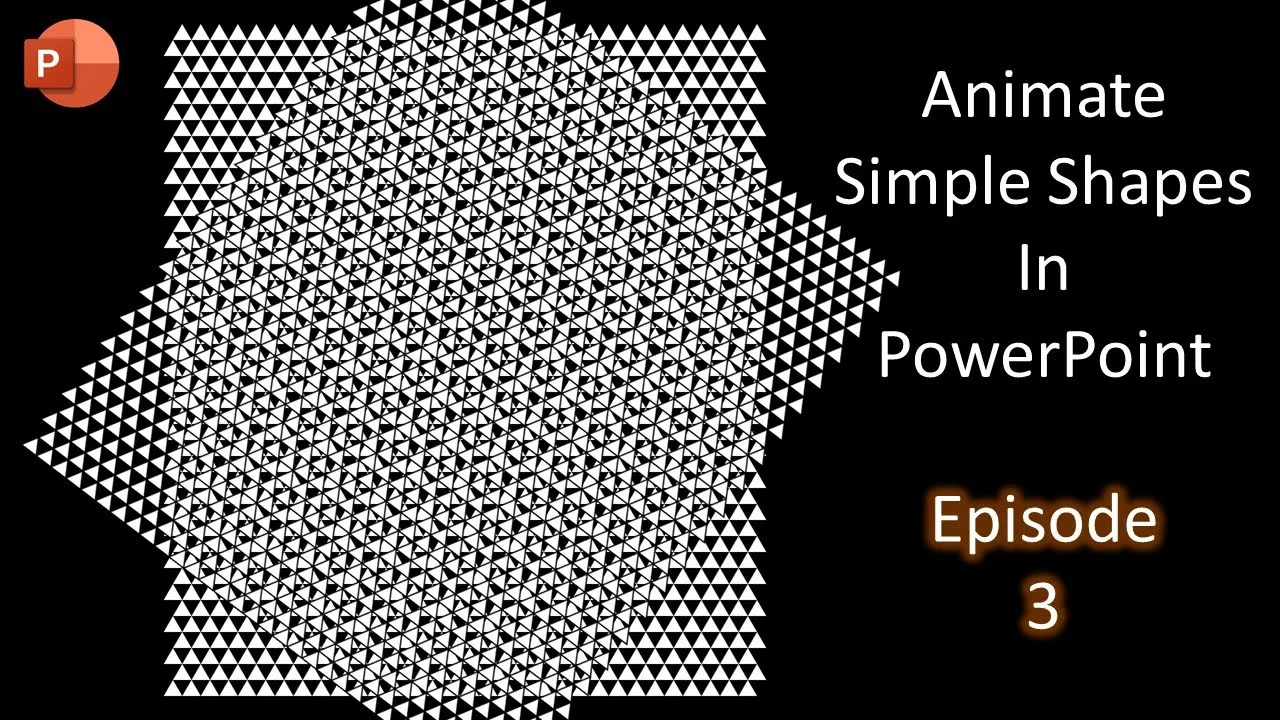
Now, it’s time to create the building blocks of your animation – triangle shapes. Using the Shapes dropdown menu in the Insert tab, draw a small triangle. Pro tip: You can fine-tune the size of your triangle by holding down Ctrl, Shift, and Alt keys while resizing. We’ll make the fill color white and remove the outline.
Duplicating and Arranging Triangles
To create the mesmerizing effect, you’ll need to duplicate and arrange your triangles systematically. We recommend starting with one triangle and making 30 duplicates in a row. You can easily maintain the spacing between the triangles by using keyboard shortcuts (like F4) and red guides to help guide your positioning.
Building Multiple Rows
Next, it’s time to add more rows of triangles to fill up the height of your slide. Select all the triangles in your first row and duplicate them, creating a second row. Adjust the position of the second row by slightly shifting the triangles to the left or right. This process is like creating a staircase of triangles.
To fill your entire slide with these triangles, repeat the process of duplicating rows and pressing F4. You’ll be surprised by how quickly your slide fills up with this hypnotic pattern.
Optimizing Performance
As your slide becomes a mosaic of triangles, it’s a good practice to select all the shapes and use the “Merge Shapes” combine command from the Shape Format tab. This not only streamlines your animation but also improves PowerPoint’s performance when working with numerous shapes on a single slide.
Animating Your Background
With your grid of triangles in place, it’s time to breathe life into your background. Duplicate your complete triangle shape and stack it directly on top of the first one.
Navigate to the Animations tab and click on the “Add Animation” dropdown menu. Here, you’ll apply the “Spin” emphasis effect to your shape. Open the Animation Pane, double-click the effect to access the effect options, and set it to “Start With Previous” with a time duration of 10 seconds. Make sure to set it to repeat until the end of your slideshow.
Now, your background comes alive, creating a captivating illusionary effect that can be used in various projects.
Experiment and Customize
Feel free to experiment further and customize your animation. You can change the fill and outline colors of the top shape to achieve different effects. Tinkering with the “Smooth Start” and “Smooth End” options with “Auto Reverse” can yield entirely new versions of your animation.
Conclusion
We hope you’ve found this tutorial both informative and exciting. It’s amazing how a few simple shapes can transform your presentations and projects. To get a visual representation of each step, make sure to watch our detailed video tutorial.
If you enjoyed this tutorial, please support us by liking, sharing, and commenting on the video. Don’t forget to subscribe to our channel for more upcoming tutorial videos, helping you unlock the full potential of PowerPoint and other creative tools.
Thank you for watching, and we look forward to seeing you in our next video. Bye and take care!


