
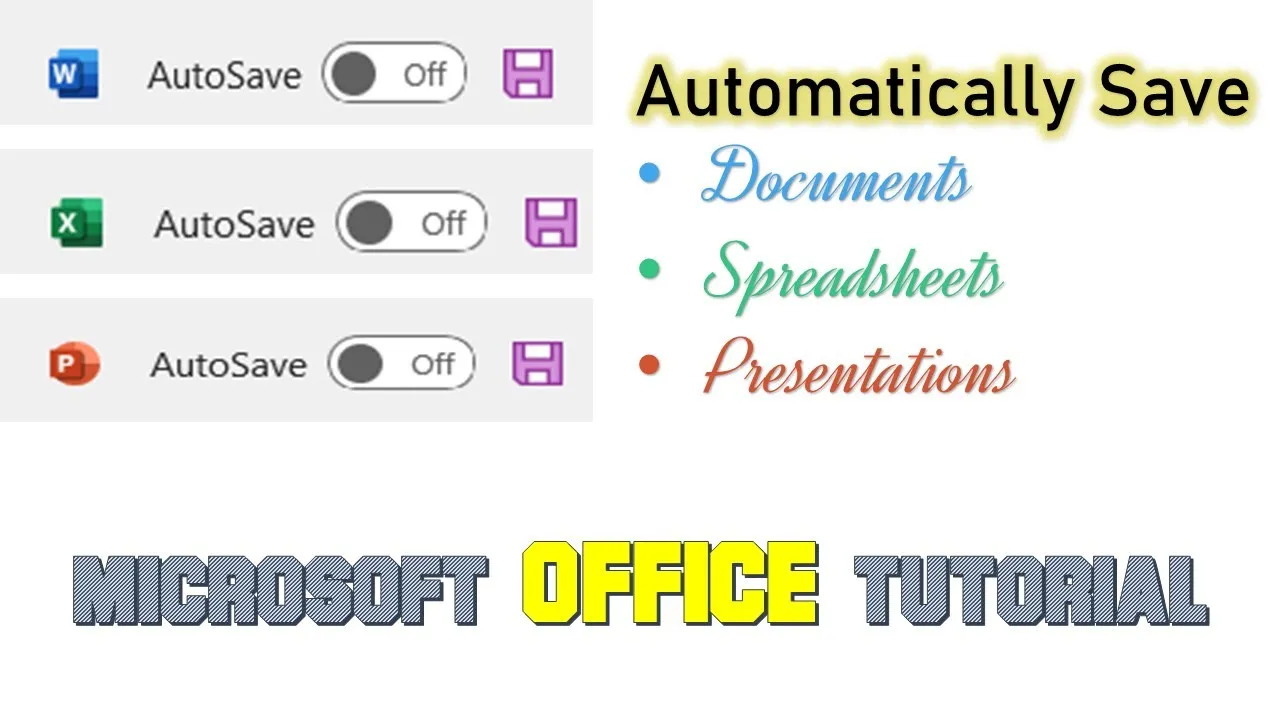
In this tutorial, we will learn how to Auto Save Files in Microsoft Office apps like Word, Excel, and PowerPoint. Working on important documents, spreadsheets, or presentations in Microsoft Office applications like Word, Excel, and PowerPoint can be a bit nerve-wracking when you forget to save your work regularly. Unexpected system crashes, application freezes, or power failures can result in losing valuable data. However, Microsoft Office provides a built-in feature called Auto Save Recovery that can save the day by automatically backing up your work at regular intervals. In this tutorial, we’ll show you how to make the most of Auto Save Recovery in Word, Excel, and PowerPoint.
Step 1: Understanding Auto Save Recovery
Auto Save Recovery is a feature in Microsoft Office applications that, by default, automatically saves a backup copy of your work every 10 minutes. This means that if something goes wrong while you’re working on a document, you can recover your unsaved data from these backup copies.
Step 2: Accessing Auto Save Recovery Options
To customize the Auto Save Recovery timing, you can follow these steps in Microsoft Word:
- Open Microsoft Word.
- Click on the “File” menu in the top left corner.
- Select “Options” at the bottom of the menu.
- In the Word Options window, choose the “Save” section from the left side pane.
Step 3: Changing Auto Save Recovery Timing
In the “Save” section, you can adjust the timing for Auto Save Recovery. By default, it is set to save every 10 minutes. To make it more frequent, such as every 1 minute, follow these steps:
- Locate the option labeled “Auto Save Recovery Information every.”
- Use the dropdown menu to change the timing to your preferred interval. For instance, select “1 minute” to save a backup every minute.
- Click “OK” to save your changes.
Step 4: Applying the Same in Excel and PowerPoint
The same process applies to Microsoft Excel and PowerPoint. You can access the Auto Save Recovery options by following these steps:
- In Microsoft Excel, go to “File,” then “Options,” and select the “Save” section to adjust the Auto Save Recovery timing.
- In Microsoft PowerPoint, navigate to “File,” then “Options,” and choose the “Save” section to customize the Auto Save Recovery timing.
Conclusion:
Customizing the Auto Save Recovery timing in Microsoft Office applications is a simple yet effective way to ensure that your work is continuously backed up at a frequency that suits your needs. By reducing the interval to just 1 minute, you can significantly minimize the risk of losing data due to unexpected disruptions. This feature is a lifesaver for anyone who values their work and wants to avoid the frustration of losing precious information. So, follow these steps and enjoy the peace of mind that Auto Save Recovery brings.
We hope you found this information helpful. If you did, please show your appreciation by liking our video and sharing it with your friends. Don’t forget to subscribe to our channel for more informative tutorials. Thanks for watching, and take care!


