
Today, we’re exploring How To Enable Developer Tools in PowerPoint. Whether you’re a seasoned PowerPoint user or just getting started, enabling developer tools can elevate your presentations to a whole new level. So, let’s jump right in!
Step 1: Open PowerPoint and Check Your Version
First things first, open PowerPoint on your computer. Ensure that you’re running a version that supports developer tools—PowerPoint 2010 and later versions are your go-to options.
Step 2: Navigate to the Developer Tab
Once PowerPoint is open, head to the ribbon at the top of the screen. Locate the “File” tab and click on it. In the file menu, find and click on “Options” to access PowerPoint’s settings.
Step 3: Enable the Developer Tab
Within the PowerPoint Options window, look for the “Customize Ribbon” tab on the left-hand side. Click on it to reveal more options. Check the box next to “Developer” to enable it. This action will add the Developer tab to the ribbon in PowerPoint.
Step 4: Apply Changes
After checking the “Developer” option, click the “OK” button to apply the changes and close the PowerPoint Options window. Now, you’ll see a new tab called “Developer” alongside the other tabs in the ribbon.
Step 5: Explore Developer Tools
Click on the “Developer” tab to reveal a variety of developer tools and options. Congratulations! You’ve successfully enabled developer tools in PowerPoint.
But why enable developer tools? These tools allow you to create and interact with custom macros, scripts, and ActiveX controls, opening up possibilities for automating tasks, creating interactive content, and more.
Time to Code: Creating an Animation Effect with VBA
Now that we’ve enabled developer tools, let’s delve into our first animation using Visual Basic for Applications (VBA). Don’t worry if you’re unfamiliar with coding for VBA; ChatGPT is here to assist us.
Copy the provided VBA code, and return to PowerPoint.
If you prefer using PowerPoint Macros, you can access the PowerPoint Macro feature from the View tab without enabling Developer Tools. However, there’s a slight difference between using the Macro command and the Visual Basic command from the Developer Tools.
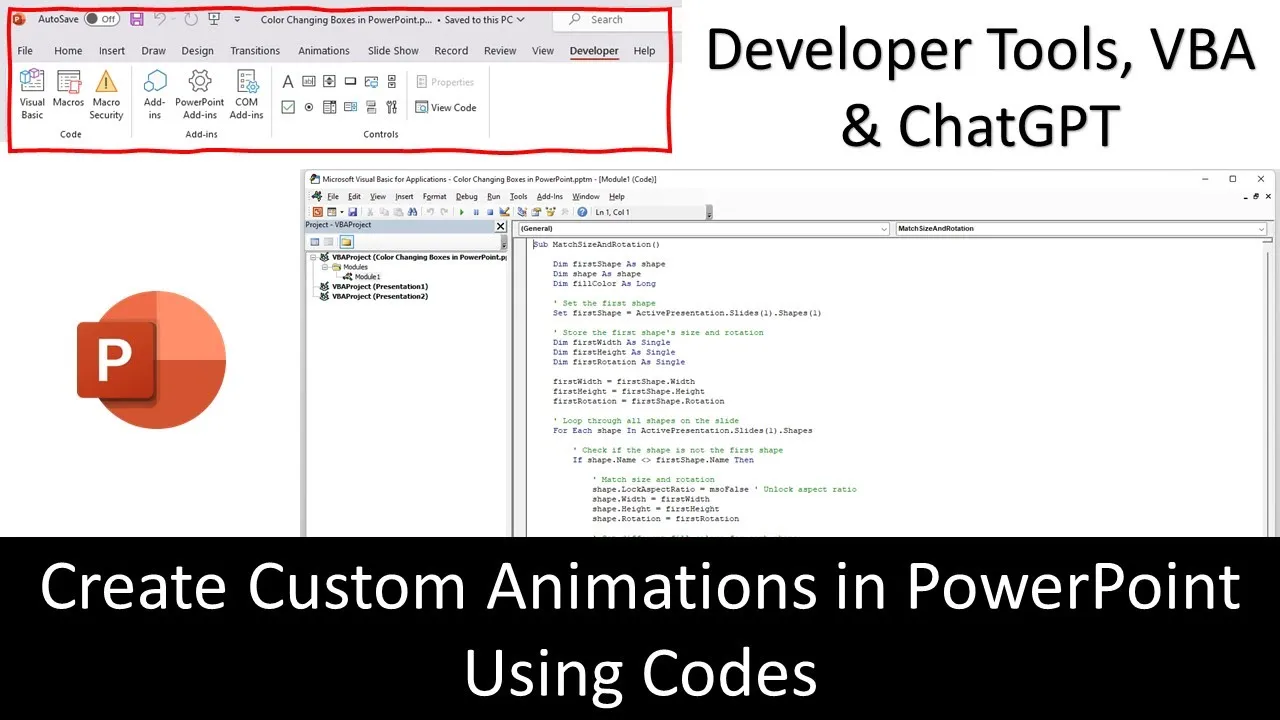
Using Visual Basic for Applications (VBA)
- Click the Visual Basic button from the Developer tab.
- Insert a new module by clicking the Insert menu and selecting Module.
- Paste the VBA code provided by ChatGPT.
- Close the VBA window.
Before running the Macro, ensure you check the Macro settings from the Developer Tab and enable both options: “Enable all macros” and “Trust access to the VBA Project Object Model.”
Given the potential risks associated with enabling macros, exercise caution and avoid running macros from downloaded presentations.
Testing the Macro
Before running our first Macro, draw at least two shapes on the slides for testing purposes. Press ALT+F8 or click the Macros button to run and test the Macro. If any errors occur, ChatGPT is there to help with error codes and corrections.
Creating a Slideshow Animation Effect
To replicate the animation effect during the slideshow:
- Select the first rectangle shape.
- Go to the Insert tab and apply an Action setting.
- Choose Run Macro from the Mouse Over tab.
- Select the Macro name from the list.
- Copy the same rectangle to fill the entire slide.
Run the slideshow, and when you hover your mouse over any rectangle, observe the mesmerizing animation effect as the other rectangles change size, rotation, and color.
Creating, manipulating, and animating through VBA codes can open new opportunities to make captivating presentations in PowerPoint. We hope you find this tutorial useful.
Share your thoughts in the comments. Thanks a lot for watching, and have a great weekend!


