Welcome back to another tutorial! In this guide, we will delve into the versatile IF function in Microsoft Excel. This function allows you to make logical decisions and can be combined with other Excel functions to accomplish a wide range of tasks. We’ll start with the basics of using the IF function and gradually work our way to more complex examples.
What is the IF Function?
The IF function is a logical function in Excel. It’s used to perform specific actions or return values based on logical conditions. Whether you want to categorize data, make decisions, or apply conditional formatting, the IF function is your go-to tool.
Locating the IF Function
To find the IF function in Excel, follow these steps:
- Click on the “fx” button, typically located next to the formula bar.
- In the function library, select the “Logical” category.
- You’ll find the IF function among the available logical functions.
The IF function is used by specifying a logical test. If the test evaluates to true, a specified value is returned; otherwise, another value is returned.
Example 1: Pass or Fail
Let’s start with a simple example. Imagine we have a worksheet with student marks in five subjects, along with columns for total marks and percentages.
- Calculate the total marks using the SUM function and percentages using a formula.
- In the “Result” column, we want to display “Fail” if the total marks are below 300 and “Pass” if they are 300 or above.
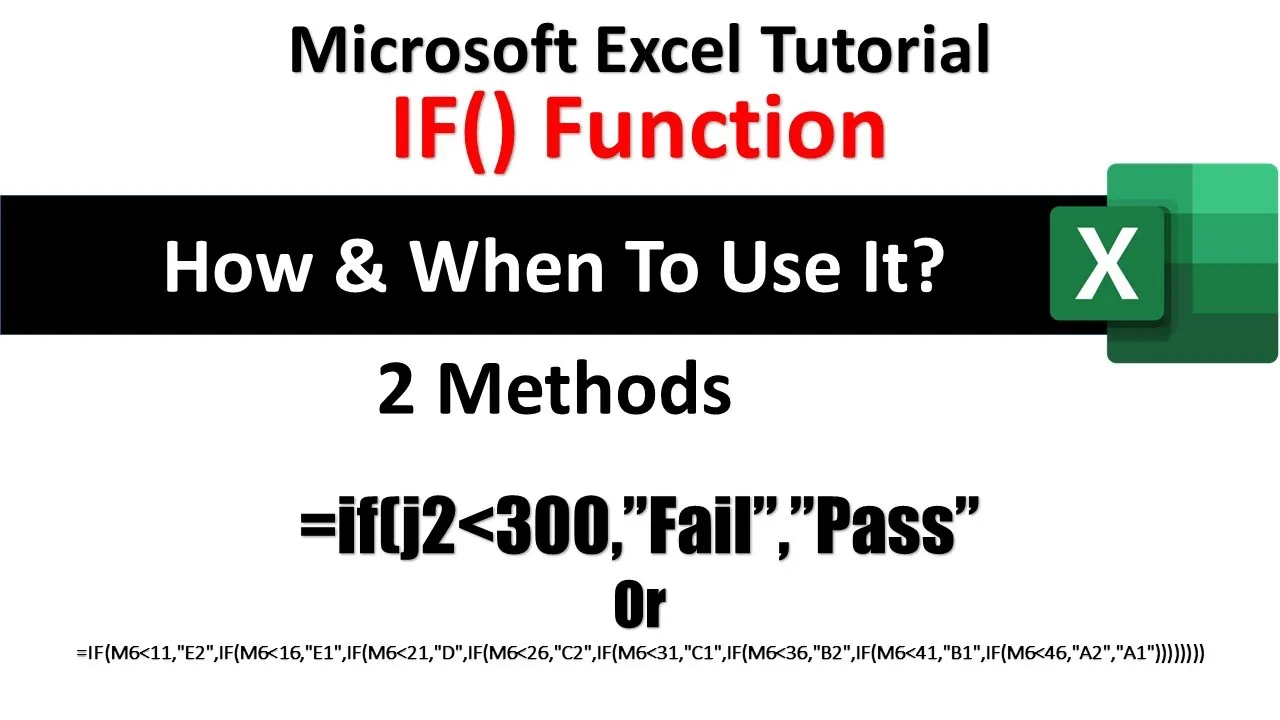
The formula for this is: =IF(H2 < 300, "Fail", "Pass").
This formula checks if the total marks in cell H2 are less than 300 and displays “Fail” if true, or “Pass” if false. Copy this formula for all other students.

Example 2: Assigning Grades
Now, let’s take it up a notch and assign grades to students based on their total marks, just like in a result sheet.
The goal is to assign different grades based on various ranges of total marks. For instance, if the total marks are less than 11, assign grade “E2”; if less than 16, assign grade “E1,” and so on.
We’ll use nested IF functions to achieve this:
=IF(M6 < 11, "E2", IF(M6 < 16, "E1", IF(M6 < 21, "D2", IF(M6 < 26, "C2", IF(M6 < 31, "C1", IF(M6 < 36, "P2", IF(M6 < 41, "B1", IF(M6 < 46, "A2", "A1")))))))This formula checks multiple conditions, starting with “E2” and moving through various grades. If none of the conditions are met, it defaults to “A1.”
Conclusion
With the IF function in Excel, you can create complex formulas to achieve specific logical outcomes. Whether you’re dealing with student grades or any other scenario that requires conditional logic, Excel’s IF function has got you covered.
We hope you found this tutorial helpful. If you did, please like, share, and comment on this post. Don’t forget to subscribe to our channel, “The Teacher,” for more upcoming tutorial videos.
Thank you for reading, and take care!