
In this lesson, we will dive into the intricacies of setting up section breaks, margins and indents in Microsoft Word 2016. These are fundamental aspects of document formatting that can significantly enhance the visual appeal and readability of your documents.
Understanding Margins:
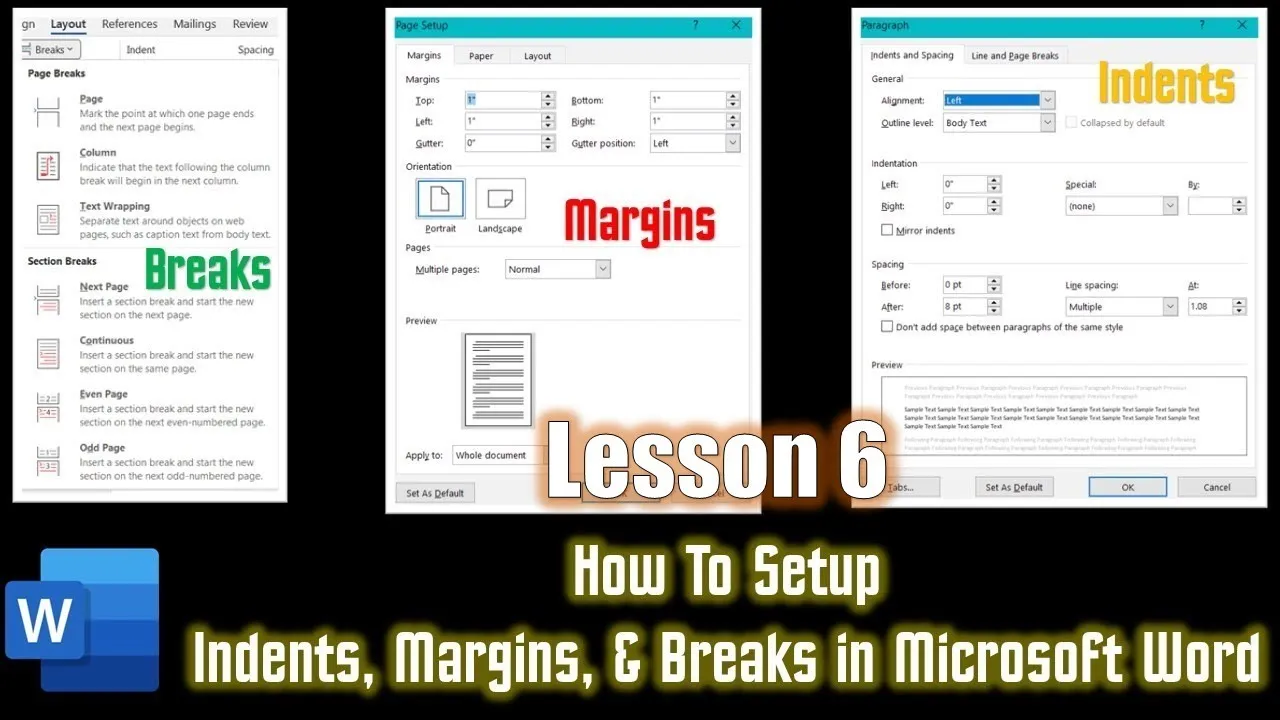
Let’s begin with page margins. Margins are the white spaces surrounding the content on a page. Typically, you work within the printable area between the margins, but you can also use margins to place items like headers, footers, page numbers, pictures, shapes, or Word Art. When you open a new document in Word 2016, it defaults to “Normal” margins, which provide a 1-inch blank space on all four sides of the page.
You can easily adjust these margins by clicking on the Layout Tab and using the Margins drop-down button. You have the option to choose predefined margins or create custom ones. For instance, if you want 0.5 inches from the top and bottom, 1.5 inches from the left, and 1 inch from the right, you can do so with custom margins.
The ‘Apply To’ drop-down menu allows you to apply the selected margins to either the entire document or from the current point forward. This flexibility is useful when you need different margin settings within the same document.
Getting a Handle on Indents:
Now, let’s explore indents. Indents are used to separate paragraphs from the left or right margins. In Word, there are three types of indents: First Line Indent, Left Indent, and Right Indent. Instead of pressing the Enter key repeatedly to create space between paragraphs, you can adjust indents to control the layout more efficiently.
You can find indents on the Ruler, which can be enabled by clicking on the View tab and checking the Ruler option in the Show section. Adjusting indents is as simple as dragging the indent bars on the Ruler. For example, if you want to create a first-line indent, place your cursor at the beginning of a paragraph and press the Tab key, and the first line will be indented. Left and right indents are similarly easy to adjust. Indents are a cleaner way to control paragraph spacing compared to manual line breaks or extra spaces.
The Role of Section Breaks:
Section breaks come into play when you need to customize the layout and formatting of different parts of your document. They allow you to create distinct sections with unique page layouts, margins, headers, footers, and more. Section breaks are like boundaries that let you redefine settings from that point onwards, without affecting previous sections.
To insert a Section Break, go to the Layout tab and click on Breaks in the Page Setup section. You can choose from four types of Section Breaks:
- Continuous Section Break
- Next Page Section Break
- Odd Page Section Break
- Even Page Section Break
Continuous Section Breaks start a new section immediately from the cursor position. Next Page Section Breaks move the content to the next page, beginning a new section. Odd and Even Page Section Breaks are used to force content to start on the next odd or even-numbered page. These breaks can be especially helpful when you need precise control over the placement of content in your document.
Visualizing the Impact:
One key thing to remember about Section Breaks is that they might appear as if they’ve changed the content, but they are often accompanied by a hidden blank page, which helps achieve the desired layout. You can see this in the Print Preview, and it’s worth noting that in Normal Print Layout mode, you won’t notice the difference.
In conclusion, mastering margins, indents, and section breaks in Microsoft Word is essential for creating professional and well-structured documents. They provide the flexibility to format your content precisely as you envision it. This tutorial provides a solid foundation for understanding these concepts, and watching the accompanying video will further reinforce your knowledge.
If you found this tutorial informative and engaging, don’t forget to give it a thumbs up and leave your comments and suggestions. For more insightful tutorials, visit our channel page and explore our other videos. Thanks for watching, and have a great day!
With this comprehensive guide and the accompanying video, you’re well-equipped to take your Microsoft Word skills to the next level. Mastering margins, indents, and section breaks can help you create polished and professional documents with ease. Happy formatting!


