
PowerPoint presentations have come a long way from the days of static bullet points and plain slides. Modern presentations demand creativity, engagement, and visual appeal to captivate the audience. One effective way to achieve this is by incorporating animations, and in this tutorial, we’ll explore how to create stunning Seesaw animations in PowerPoint.
Why Use Seesaw Animations?
Seesaw animations add a touch of dynamism and playfulness to your PowerPoint presentations. Whether you’re delivering a business proposal, an educational lecture, or a creative pitch, Seesaw animations can make your content more engaging and memorable. They create a visual metaphor of balance and movement that can effectively convey your message.
Getting Started
Before we dive into the step-by-step guide, make sure you have a basic understanding of PowerPoint. If you’re new to PowerPoint animations, don’t worry; we’ll break it down for you.
Step 1: Open PowerPoint and Create Your Slide
Start by opening PowerPoint and creating a new slide. You can choose a blank slide or use an existing one.
Step 2: Add Shapes
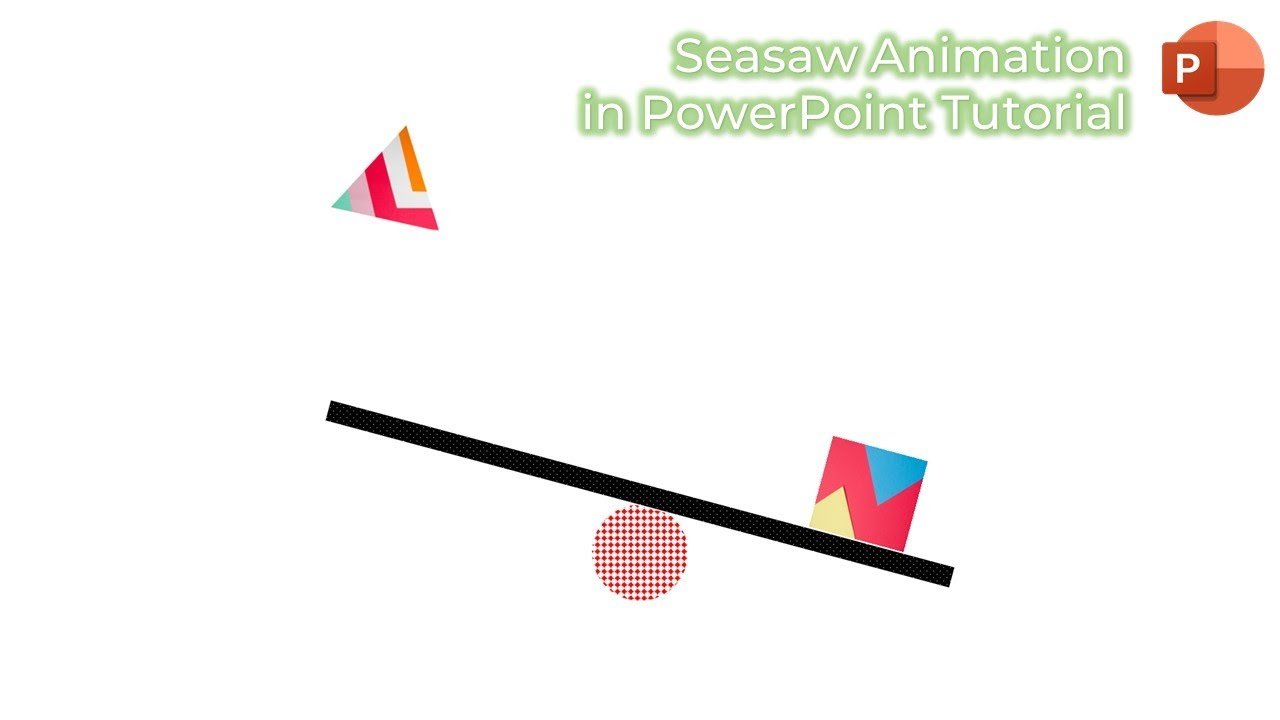
For this tutorial, we’ll use simple shapes. Go to the “Insert” tab and select “Shapes.” Choose a rectangle and a triangle. These will be the main elements of your Seesaw animation.
Step 3: Customize Your Shapes
You can customize your shapes by adding colors, gradients, or patterns. Make the rectangle and triangle visually appealing, as they will be the focus of your animation.
Step 4: Arrange Your Shapes
Place the rectangle at the top of the slide and the triangle at the bottom. This initial arrangement sets the stage for the Seesaw animation.
Creating the Seesaw Animation
Now that you have your shapes in place, let’s proceed with creating the Seesaw animation. We’ll use motion paths, spin effects, and timing to achieve the desired effect.
Step 5: Motion Path for the Rectangle
- Select the rectangle shape.
- Go to the “Animations” tab.
- Click on “Add Animation” and choose “Lines.”
- Click and drag to draw a motion path from the top to the bottom of the slide.
- Adjust the duration of the motion path to your preference.
Step 6: Spin Effect for the Rectangle
- Still with the rectangle selected, go to the “Animations” tab.
- Click on “Add Animation” and choose “Spin.”
- Adjust the spin effect settings, such as direction and degrees.
- Synchronize the start of the spin effect with the start of the motion path.
Step 7: Motion Path for the Triangle
- Select the triangle shape.
- Go to the “Animations” tab.
- Click on “Add Animation” and choose “Lines.”
- Draw a motion path from the bottom to the top of the slide.
- Adjust the duration and timing as needed.
Step 8: Spin Effect for the Triangle
- With the triangle selected, go to the “Animations” tab.
- Click on “Add Animation” and choose “Spin.”
- Configure the spin effect settings, ensuring it complements the motion path.
- Synchronize the start of the spin effect with the triangle’s motion path.
Step 9: Fine-Tune Timing
To create the seesaw effect, ensure that the spin and motion path timings are synchronized. You may need to adjust the delay and duration of each animation effect to achieve a seamless motion.
Step 10: Repeat and Loop
To make the animation continuous, you can copy and paste the slide and adjust the timing. Alternatively, set up looping in PowerPoint to create an ongoing seesaw motion.
Additional Tips
- Experiment with different shapes and backgrounds to enhance your animation’s visual impact.
- Use the “Appear” and “Disappear” animation effects to show and hide elements at specific points in your animation.
- Don’t forget to practice and rehearse your presentation to ensure the animations flow smoothly.
Conclusion
Seesaw animations can elevate your PowerPoint presentations, making them more engaging and visually appealing. By mastering motion paths, spin effects, and timing, you can create captivating animations that leave a lasting impression on your audience. So, the next time you prepare a presentation, consider incorporating a Seesaw animation to take your slides to the next level.
Now that you’ve learned the art of Seesaw animations in PowerPoint, start creating and wowing your audience with dynamic and interactive presentations!


