
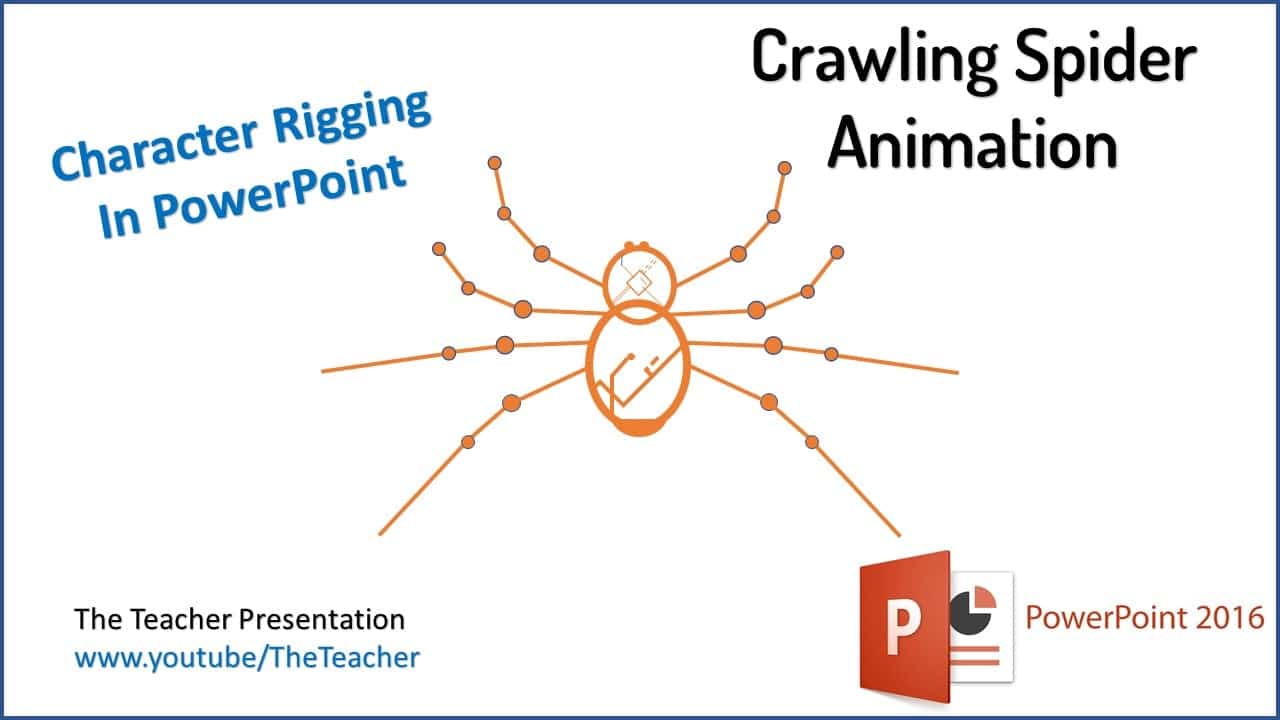
Introduction
This Crawling Spider Animation in PowerPoint is a bit special for me because it was not easy to move different parts of an object in different directions. Other segments of the Spider’s Legs are rotating at different angles. In Microsoft PowerPoint, you can not apply different animation effects on a grouped object.
Spider Design Explanation
Each Spider’s Leg consists of various Shapes objects like Lines and Ovals, which further have been grouped as 3 separate parts of a leg (the starting position before animation, they look like a single leg). See Figure 1.1:
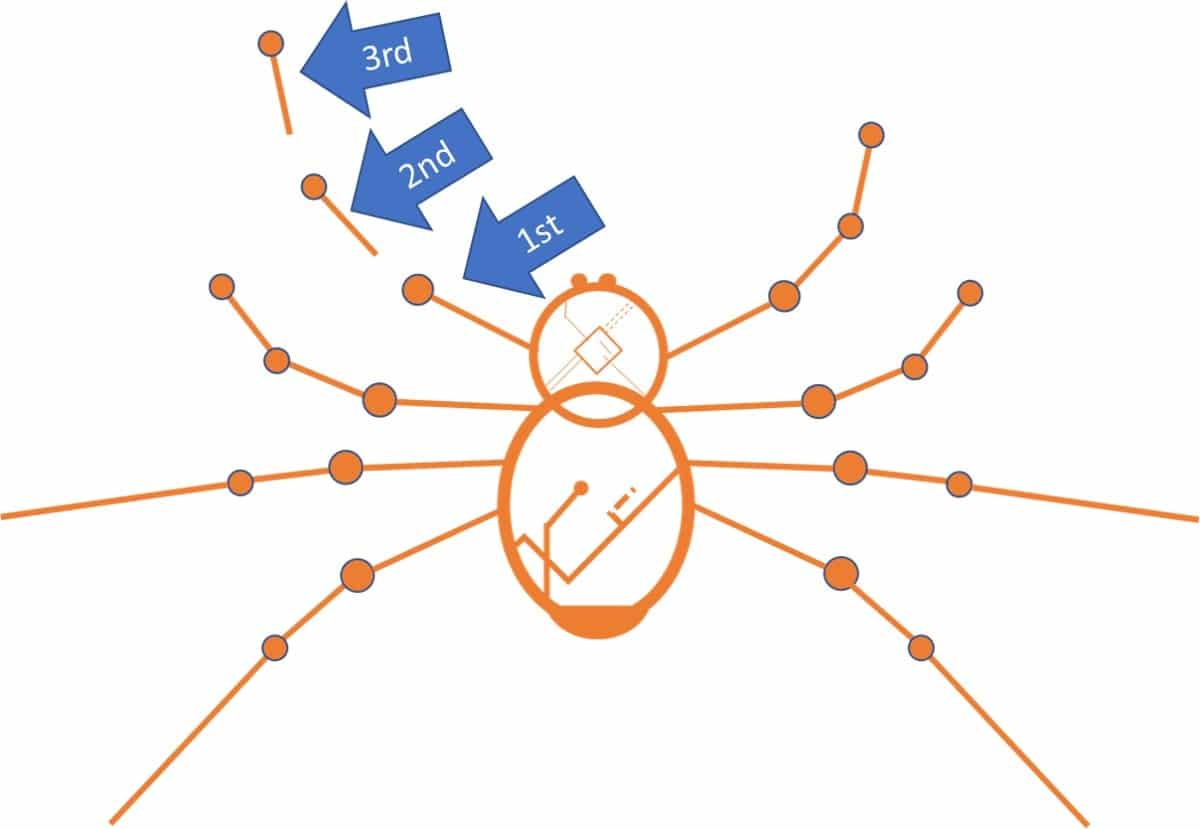
Figure 1.1
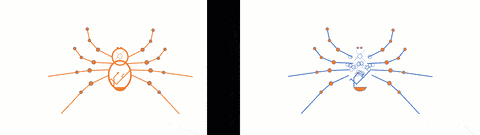
Look at the movements of the legs in Figure 1.2. However, it is not fully realistic as you can see line glitches in a few legs (poping-out of the ovals). But still a Bit of a Special Tutorial, just to let you know the importance of Custom Anchor Points, which is another important feature missing from PowerPoint.
Custom Anchor Points
The legs in the right picture showcase all the Custom Anchor Points defined for each of the 3 parts of a leg. Custom Anchor Points are used to specifically define a rotation point when you need to apply the Spin Emphasis effect and you want to move the object from a particular point instead of the default and unmovable Anchor Point in the middle and center of an object. See Figure 1.3:

Spider Leg on the left has an oval grouped with it (later used No Fill and No Outline to hide it) and Leg on the right is in its exact size. Look at the default anchor point in the Right Leg, which is the center and middle as shown through the Guidelines. Whereas, the Leg on the left has a Custom Anchor point because the oval has been grouped and placed in such a way as to get the Custom Anchor Point at the desired position. That is because when we will move the Leg using the Spin animation then it will rotate according to the point that we had defined.
Spider Animation Effects Detail
The animation part is straightforward and as I always said Graphic Designing in PowerPoint takes most of the time. We have used the Spin Emphasis effect on all the legs in motion. The only difference between each of the Spin animations is their Rotation amount. A few legs are moving at 10 Degrees, some at 30 Degrees, a few at 35 Degrees, and others at 55 Degrees both in Clockwise and Counterclockwise directions. See Figure 1.4:

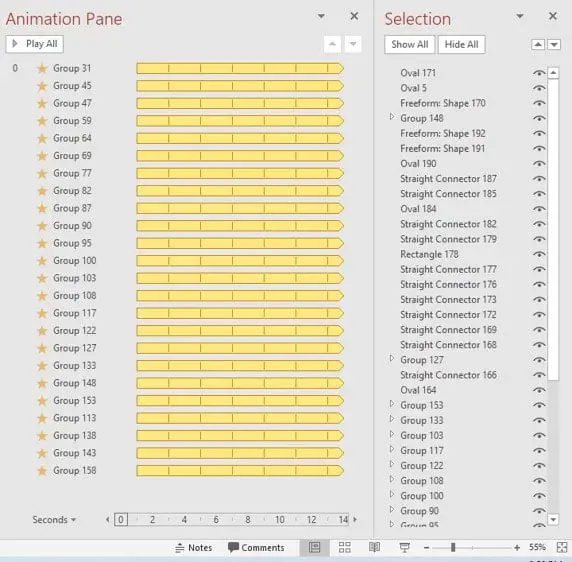
You can download the presentation from the link below and open the Animation Pane from the Select drop-down button of the Home tab and Animation Pane from the Animations tab to see all the objects and animation effects we used in this presentation.
Finally, you get the following animation.
I hope you got The Teacher Point.
Watch Spider Animation in PowerPoint Tutorial
The article How To Make Crawling Spider Animation also applies to the following versions:
- PowerPoint 2007
- PowerPoint 2010
- PowerPoint 2013
- PowerPoint 2016
- PowerPoint 2019


