
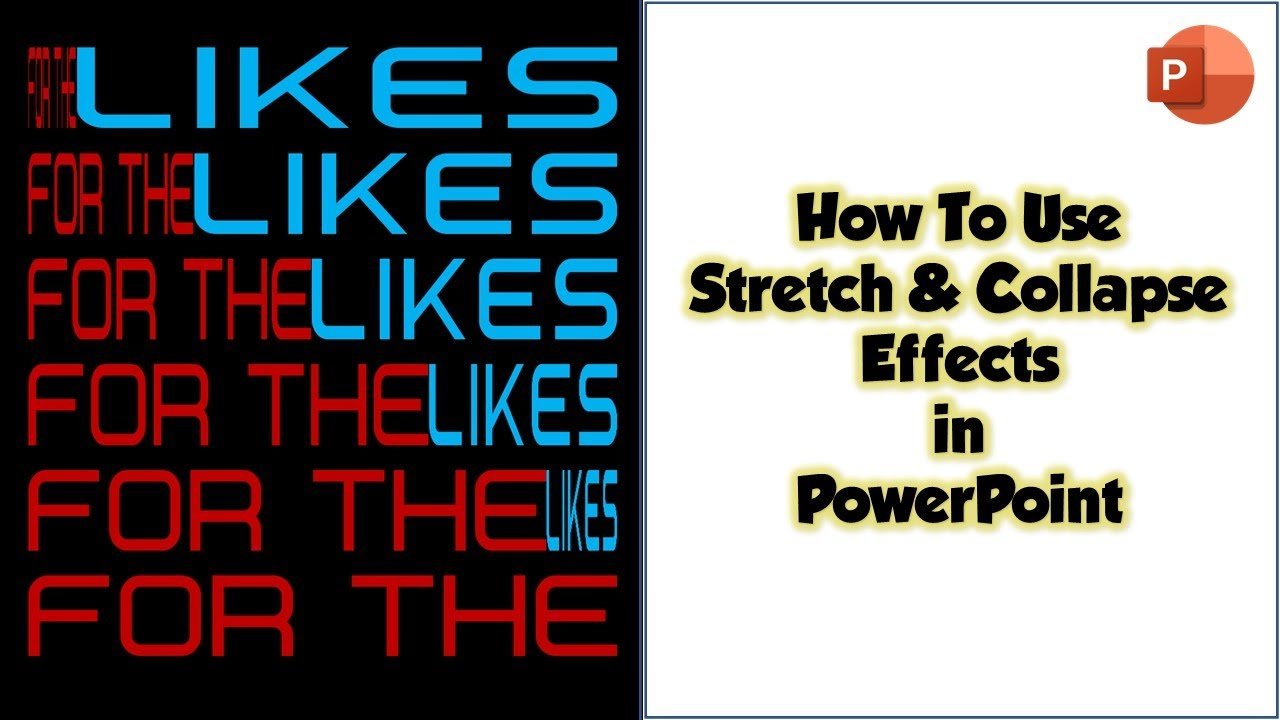
In this tutorial, we will explore the stretch and collapse animation effects in PowerPoint and demonstrate how to create a stunning text animation using a combination of these effects. For a more in-depth visual representation, be sure to watch the embedded video tutorial.
In the world of presentations, PowerPoint is a powerful tool that can turn a simple set of slides into a captivating storytelling experience. One way to enhance your presentations is by incorporating animation effects.
Understanding Stretch and Collapse Effects:
Stretch and collapse effects are animation techniques that can add a dynamic and eye-catching dimension to your PowerPoint slides. Stretch is an entrance effect, and Collapse is an exit effect, both of which can be found under the ‘Add Animation’ dropdown menu in the ‘Animations’ tab.
The Challenge:
In a typical PowerPoint presentation, you may encounter scenarios where you want to animate text with varying character counts. A font size adjustment alone won’t work as it affects both the height and width. To tackle this challenge effectively, you can convert your text into shapes and then adjust their sizes independently.
Creating Text Shapes:
- Start with a new blank presentation and select the blank layout.
- Insert the text using WordArt from the ‘Insert’ tab.
- Draw a rectangle shape from the ‘Insert’ tab, place it on top of the text, and send it behind the text from the ‘Shape Format’ tab.
- Select the rectangle shape, hold down the Shift key, and select the text.
- In the ‘Shape Format’ tab, click the ‘Merge Shapes’ dropdown button and choose the ‘Intersect’ command.
- Now, your text is converted into a shape, and you can adjust its height and width separately.
Animating with Stretch and Collapse Effects:
- Select the text (now a shape) and apply the Stretch entrance effect.
- Choose the direction from the ‘Effect Options’ menu; you can select “From Left.”
- Apply the Collapse exit effect to the second text line with the direction “To the Right.”
- Set both effects to “Start with Previous” and a time duration of half a second to create the reverse effect.
- Apply the Stretch entrance effect to the second text line with the left direction.
- Apply the Collapse exit effect to the first line with the right direction.
Adding Delay Timing:
For a more polished effect, you can add a delay timing between these effects. You can easily customize the delay according to your preferences.
Conclusion:
With the combination of Stretch and Collapse effects in PowerPoint, you can create a captivating text animation that brings your presentations to life. By converting text into shapes, you gain greater control over individual character counts and achieve stunning visual effects. For a step-by-step visual guide and to witness the magic of these animation effects in action, be sure to watch the embedded video tutorial.
We hope you found this tutorial helpful and that it inspires you to explore the creative possibilities of PowerPoint animations. Feel free to experiment with different directions and timings to customize your animations further. If you have any questions or feedback, please don’t hesitate to reach out. Like, share, and comment on the video to let us know your thoughts. And don’t forget to subscribe to our channel for more upcoming tutorial videos.
Thank you for watching, and have a wonderful time creating engaging and dynamic presentations with PowerPoint!


