
Have you ever wanted to surprise your friends with a cool Windows trick? Well, here’s a nifty tutorial that’ll have them raising their eyebrows in amazement. We’ll guide you through the process of renaming your processor in Windows, but with a crucial note: this tweak involves making changes to the Windows Registry. Therefore, we strongly recommend backing up your registry before proceeding. If you’re comfortable with registry editing, this could be a fun way to add some personal flair to your PC.
Why Rename Your Processor?
Before we dive into the step-by-step instructions, you might be wondering, “Why rename your processor?” The answer is simple: it’s a fun way to make your computer uniquely yours. Plus, it’s a conversation starter when your friends see your customized processor name!
Step 1: Backup Your Registry
The first and most important step is to back up your Windows Registry. This is crucial in case something goes wrong, so you can easily revert to the original settings. Watch the tutorial for a visual guide on how to do this safely.
Step 2: Access the Windows Registry
To start tweaking, open the Windows Registry Editor by pressing the Windows key + R, type “REGEDIT,” and hit OK. Once the Registry Editor is open, you’re ready for the next steps.
Step 3: Navigate to the Registry Key
In the Registry Editor, follow the path: HKEY_LOCAL_MACHINE > HARDWARE > DESCRIPTION > SYSTEM > CENTRAL PROCESSOR > 0. This is where you’ll find the information you need to customize your processor name.
Step 4: Modify the Processor Name
Inside the Registry Editor, locate the “ProcessorNameString” value, double-click it, and change the “Value Data” to your desired processor name. For a visual walkthrough, refer to the video tutorial.
Step 5: View the Changes
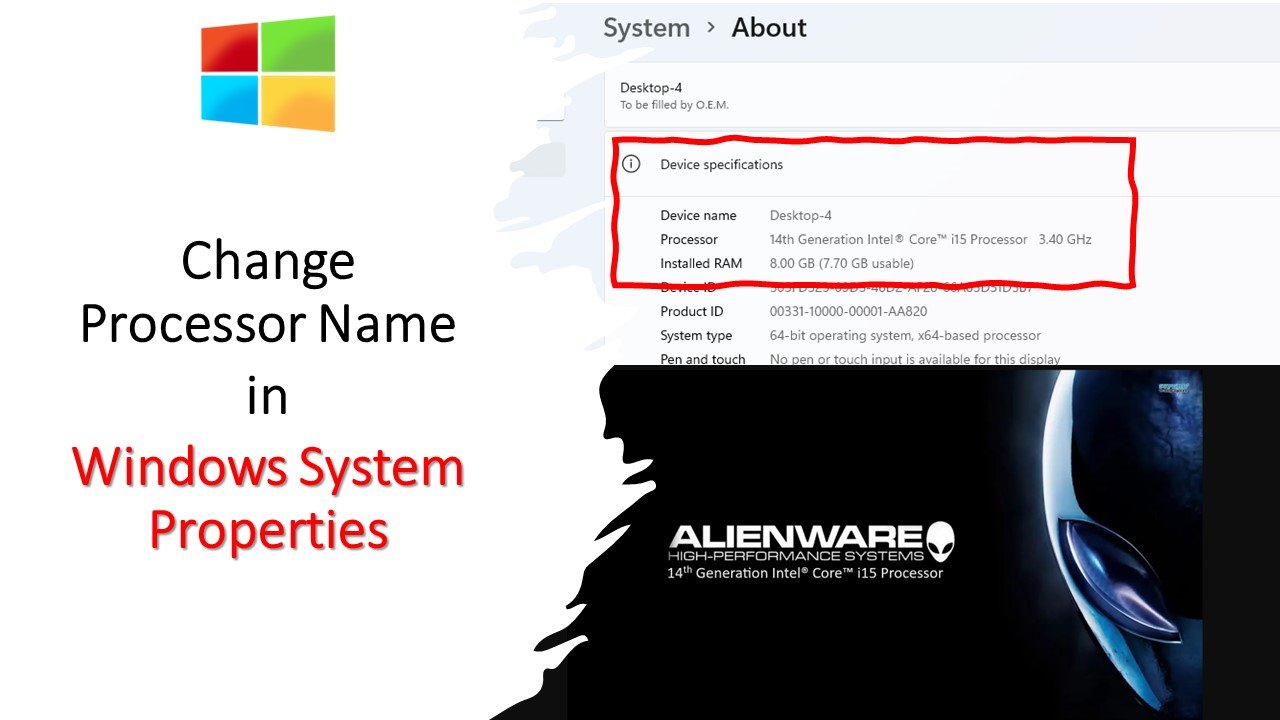
To see the updated processor name, right-click on the Computer icon and select “Properties.” Alternatively, you can press the Windows key + Pause/Break key to open the System Information window. It’s the moment of truth!
Step 6: Make the Changes Permanent
Here’s the catch: the processor name tweak will reset upon restarting your PC. To make the changes permanent, you’ll need to follow some additional steps. The video tutorial demonstrates how to create a registry file and a shortcut for it to achieve this.
Enjoy Your New Processor Name
With the final steps completed, you can enjoy your customized processor name, even after restarting your PC. It’s a simple yet effective way to add some personal style to your computer.
In Conclusion
While renaming your processor is a fun and interesting tweak, it’s important to exercise caution when modifying the Windows Registry. Share this tutorial with tech-savvy friends who are comfortable with such tweaks and emphasize the importance of backing up the registry.
So, what are you waiting for? Check out the video tutorial and embark on this exciting journey of customizing your Windows PC. Unlock the fun side of Windows and make your computer uniquely yours! Thanks for watching, and take care!


