
In this comprehensive tutorial, we will delve into essential Microsoft Word Table commands that will empower you to efficiently create and manage tables in your documents. Whether you’re a novice or an experienced Word user, mastering these table commands will significantly enhance your document formatting skills. To gain a deeper understanding, we recommend watching our previous videos on creating, formatting, and designing Microsoft Word Tables.
Setting the Stage – Page Layout:
Before embarking on your Word document journey, it’s crucial to configure your Page Layout settings. Visit the Page Layout tab and ensure you’ve selected the right Page Size, Orientation, and Page Margins. These settings play a pivotal role in table design, so it’s wise to set them correctly before you begin your work. Additionally, don’t underestimate the importance of Font Size. Choosing the correct font size is paramount, as it can significantly impact your document’s appearance and layout. We illustrate this with our yearly calendar document, showcasing how different font sizes affect the table’s width.
Designing Your Table:
Now that you’re equipped with the basics, let’s delve into the core principles of designing a table.
- Determining the Number of Columns: Before inserting a table, carefully consider how many columns you need. While you can add more columns later, it’s advisable to start with the correct number from the beginning to avoid disrupting your table’s design.
- Sections in a Single Table: Microsoft Word does not permit you to insert another table alongside an existing one. When creating sections between tables, remember that these aren’t distinct tables; they form a single table with hidden columns between each section. Activating the “View Gridlines” option from the Layout Tab helps you visualize this hidden structure.
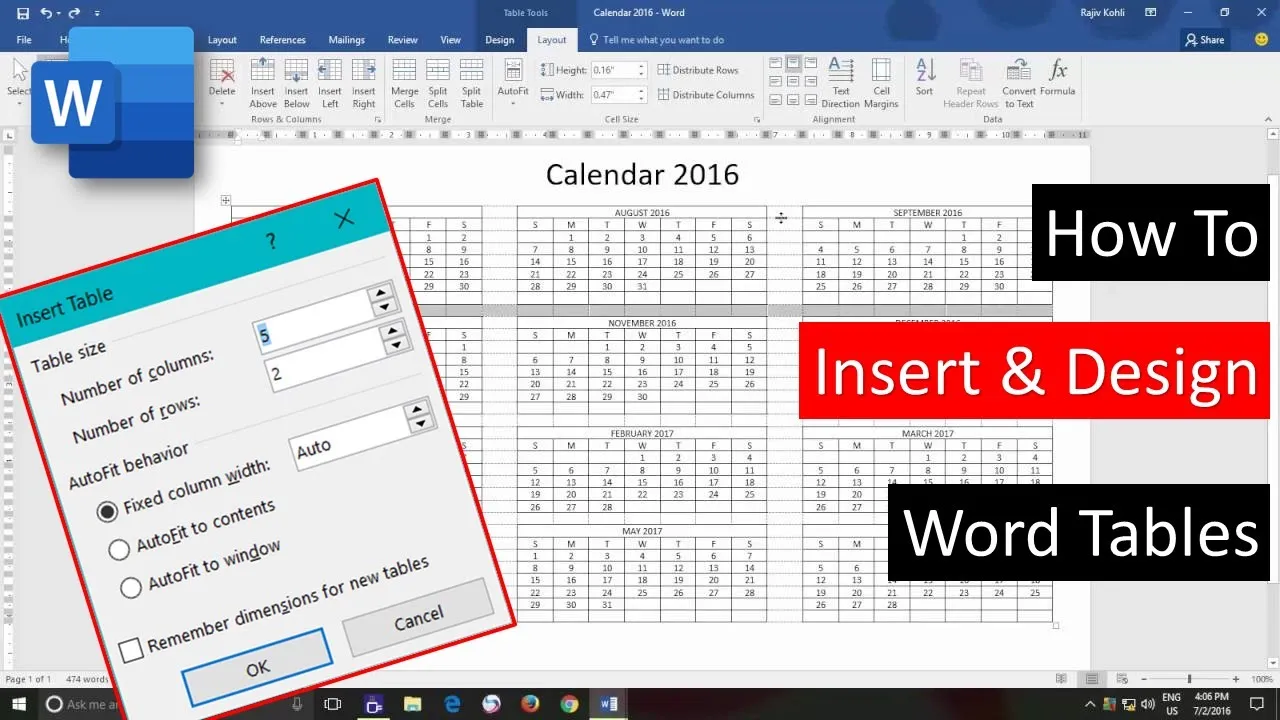
Creating a Yearly Calendar Table:
In our example, we need 23 columns to create a space between each month, which includes one extra column after the first month and another after the second month. The exact number of rows is less critical, as you can add additional rows without disrupting the table layout.
To complete a yearly calendar, follow these steps:
- Insert 7 rows, including one for the month heading, one for the days heading, and the next five rows for the days of the month (1 to 31).
- For the entire table, you can insert 23 columns to cover three months in one section and 31 rows to complete the four sections, with an empty row after each section.
- After inputting the data, hide the borders of the extra columns and rows to create gaps between each month. Select the empty cells, access the “Borders” drop-down menu, and click “Border and Shading.” In the preview, uncheck the borders you don’t wish to display, effectively hiding them.
- Repeat the process for the other sections of the table to maintain consistent gaps.
Conclusion:
Mastering Microsoft Word Tables requires attention to detail and an understanding of key concepts. By following these fundamental steps, you can confidently design tables, even for complex documents like a yearly calendar. Remember that Page Layout settings, Font Size, and the structure of your table are all critical elements in creating professional-looking documents.
To see a visual representation of these steps, we recommend watching our video tutorial on “The Teacher” channel. You can also download the presentation file for reference as you practice these techniques. We hope you find this tutorial informative and valuable for your Word document projects.
Thank you for watching and supporting “The Teacher”! If you found this video helpful, please like, share, and comment. Don’t forget to subscribe to our channel for more upcoming tutorial videos. Your feedback is essential, and we appreciate your support. Stay tuned for more insightful tutorials, and take care!


