
In today’s tech-savvy world, we’re surrounded by cutting-edge operating systems and applications that can perform incredible feats. However, there’s a touch of nostalgia when it comes to old DOS-based applications and games. Some of these classics hold a special place in our hearts, and the good news is, you don’t have to bid them farewell just because you’ve upgraded to Windows 10, even in its 64-bit edition. In this blog post, we’ll walk you through the process of running those beloved DOS-based applications on your modern Windows 10 system. Plus, we’ve embedded a video tutorial for a more visual representation of the steps.
Why DOS-Based Applications?
Before we delve into the “how,” let’s address the “why.” Why would you want to run old DOS-based applications on a modern Windows 10 machine? There are a few good reasons:
- Nostalgia: For many, these applications are a trip down memory lane. They remind us of simpler times when computing was in its infancy.
- Functionality: Some DOS applications still serve a purpose. Whether it’s an old database program or a classic game, if it works, why fix it?
- Education: If you’re a student of computing history, these applications offer valuable insights into the early days of personal computing.
Now that we’ve established the “why,” let’s get to the “how.”
The Tutorial: Running DOS-Based Applications on Windows 10
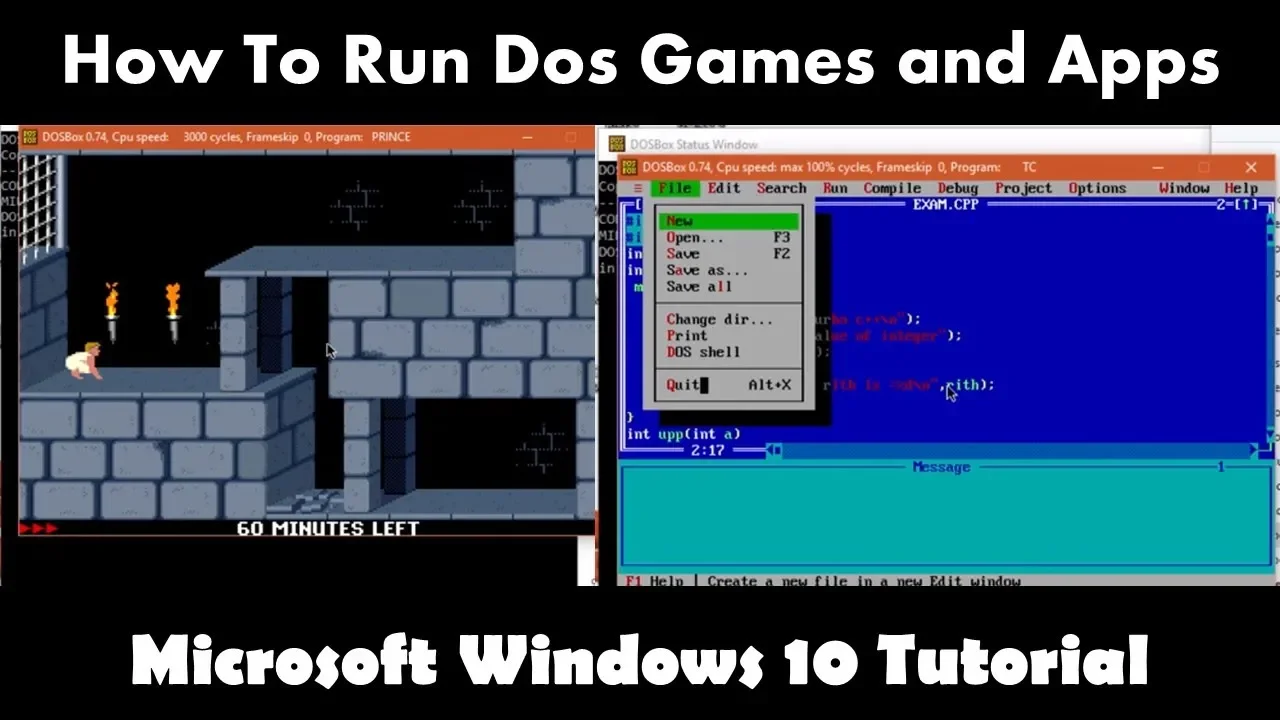
In this tutorial, we’ll show you how to run those DOS-based applications on a 64-bit edition of Windows 10 using a powerful tool called “Dosbox.” For a detailed step-by-step guide, check out our embedded video tutorial. We’ll outline the key points here:
- Determine Your Windows 10 Edition: First, you need to identify whether you’re running a 32-bit or 64-bit edition of Windows 10. This crucial step sets the stage for the rest of the process.
- Download Dosbox: To run your cherished DOS applications, you’ll need a third-party application called “Dosbox.” It’s a widely popular choice for this purpose. You can download it from the link provided in the video description.
- Installation: After downloading Dosbox, install the program. The first time you run it, you’ll encounter a command prompt window. Don’t worry if you’re not familiar with command prompts; we’ll guide you through.
- Mounting Folders: Dosbox allows you to mount folders from your local drive into its environment. You can’t mount an entire drive, but you can choose specific folders or subfolders. We’ll walk you through how to do this.
- Accessing Mounted Folders: Once you’ve mounted a folder, you can access it within Dosbox. It’s like creating a virtual bridge between your modern Windows and the old DOS applications.
- Understanding Folder Structure: Dosbox interprets folder structures differently than your local drive. We’ll show you how to avoid conflicts in paths within your application or game’s configuration settings.
- Handling Multiple Folders: If you have multiple folders to mount, we’ll explain how to manage them. Dosbox has a solution for this as well.
- Alternative Drive Mounting: Some applications work better when you mount a folder as a different drive in Dosbox. We’ll demonstrate how to do this for a smooth experience.
Conclusion
By following the steps outlined in the video tutorial, you’ll be able to relive the glory days of DOS-based applications and games on your Windows 10 64-bit edition. You don’t have to say goodbye to your old favorites. Check out the video tutorial for a more detailed and visual guide.
We hope this tutorial serves as a valuable resource for those looking to run legacy applications on their modern systems. If you find it helpful, be sure to give the video a thumbs up and share your thoughts in the comments. Enjoy the best of both worlds – the nostalgia of DOS applications and the power of Windows 10. Happy computing!


