
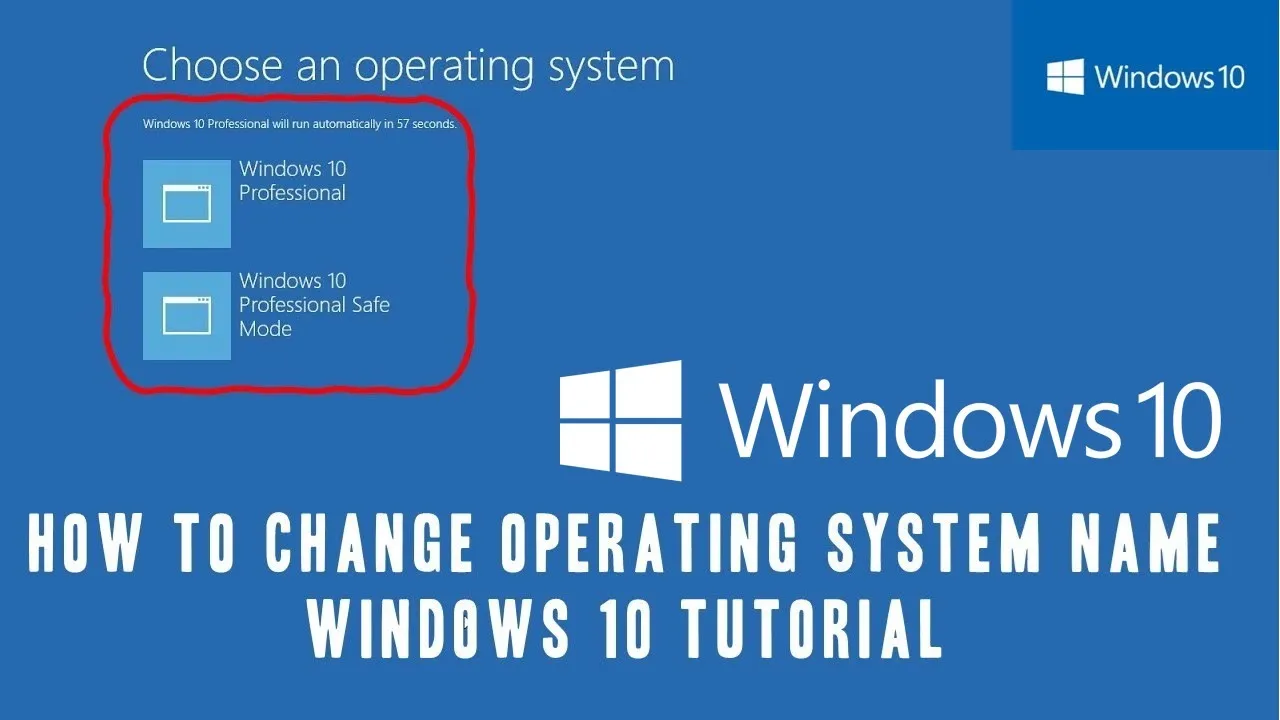
In today’s tutorial, we will guide you through the process of changing the operating system name in the Windows Boot Manager. If you have multiple operating systems installed on your PC, you’ve probably noticed the Boot Menu that displays the names of each operating system. This guide will help you customize those names to your preference. We’ll take you through the steps without the need for screenshots, making it easy to follow along.
Step 1: Access the Elevated Command Prompt
To begin, you’ll need to open the Elevated Command Prompt. Right-click on the Start button in the bottom left corner of your screen and select “Command Prompt (Admin).” This will give you the necessary privileges to make system changes.
Step 2: Display Boot Loader Entries
In the Command Prompt, type the following command and press Enter:
BCDEDITThis command will display a list of Windows Boot Loader entries. Each entry represents an operating system or a special boot configuration. Take note of the “identifier” of the entry you want to modify. For example, you may see one identifier for Windows 10 and another for loading Windows 10 in Safe Mode. Select the correct identifier you want to change.
Step 3: Change the Operating System Name
Now, it’s time to change the name of the operating system. In the Command Prompt, type the following command:
BCDEDIT /set {identifier} Description "New Name"Replace “{identifier}” with the actual identifier you selected in Step 2. Also, replace “New Name” with the name you want to apply. Make sure to enclose the new name in double quotes. For example, if you want to change the name of your Windows 10 entry to “Windows 10 Pro,” your command would look like this:
BCDEDIT /set {identifier} Description "Windows 10 Pro"Step 4: Apply Changes
Once you’ve entered the command, press Enter. You will receive a confirmation message indicating that the operation was successful.
Step 5: Close the Command Prompt
You can now close the Elevated Command Prompt as your changes have been applied. The next time you boot up your PC, you will see the new name in the Boot Menu list.
Conclusion:
Customizing the operating system names in the Windows Boot Manager can help you easily identify and select the desired OS when you have multiple options installed on your PC. It’s a simple process that doesn’t require any advanced technical knowledge. We hope you found this tutorial helpful in making your computing experience more user-friendly.
If you have any questions or feedback, please don’t hesitate to leave your comments below the video. Your input is valuable to us. Be sure to subscribe to our channel for more informative tutorials like this one, and explore our collection of The Teacher videos for additional Windows 10 tips and tricks.


