
Today, we’re diving into the world of creating a sleek and efficient single line notebook design in Microsoft Excel. If you’ve been following our tutorials, you might remember our previous video on achieving a similar result in Microsoft Word using tables. Well, buckle up because doing it in Excel is even easier and quicker!
Tutorial Video
Before we jump into the step-by-step guide, make sure to watch the tutorial video for a visual walkthrough.
Setting Up Your Workbook
Let’s kick things off by opening a new workbook. Click on the “File” menu, select “New,” and choose “Blank Workbook.” Afterward, it’s crucial to set up your page settings. Rajiv recommends checking the print preview to understand how Excel divides your worksheet into pages. This will help you visualize the layout before you start working.
Adjusting Columns and Margins
To create our single-line notebook, we only need two columns. Rajiv demonstrates how to adjust the width of column A and align column B to the edge of the page. Setting the margins to zero ensures that your content reaches the edge without unnecessary blank space.
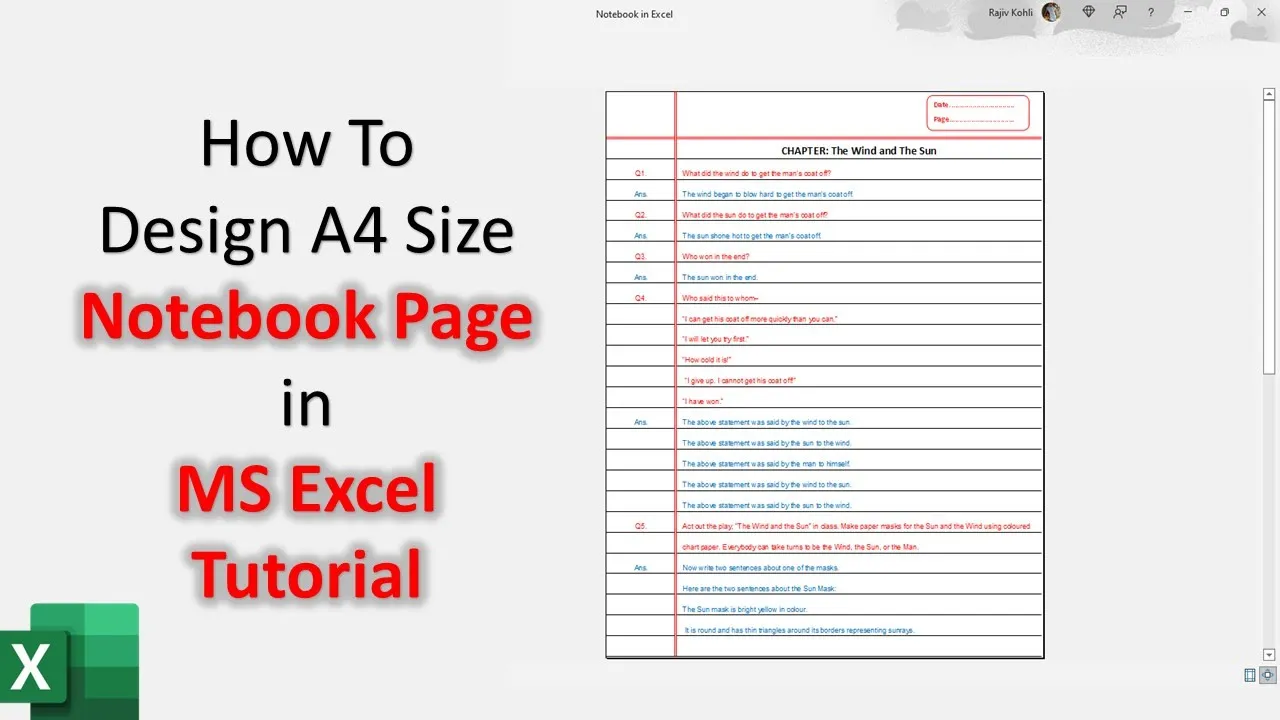
Designing the Notebook
Now, let’s get into the design details. Rajiv starts by increasing the height of the first row and the bottom rows to create space for our notebook lines. He walks you through applying red double borders to delineate the notebook’s boundaries and shows you how to customize gridlines.
Inserting a Shape
No notebook is complete without a cover, right? Rajiv guides you through inserting a rounded corner rectangle shape, adjusting its properties, and adding text. This step adds a professional touch to your notebook design.
Download the Sample Single Line Notebook Design Workbook
If you want to follow along or explore the tutorial at your own pace, you can download the presentation file here.
Conclusion
And there you have it – a beautifully designed single-line notebook in Microsoft Excel. Rajiv wraps up the tutorial by encouraging you to like, share, and comment on the video. Don’t forget to subscribe for more insightful tutorials.
We hope you found this tutorial helpful. If you have any questions or suggestions for future tutorials, drop them in the comments section. Happy Excel-ing!


