
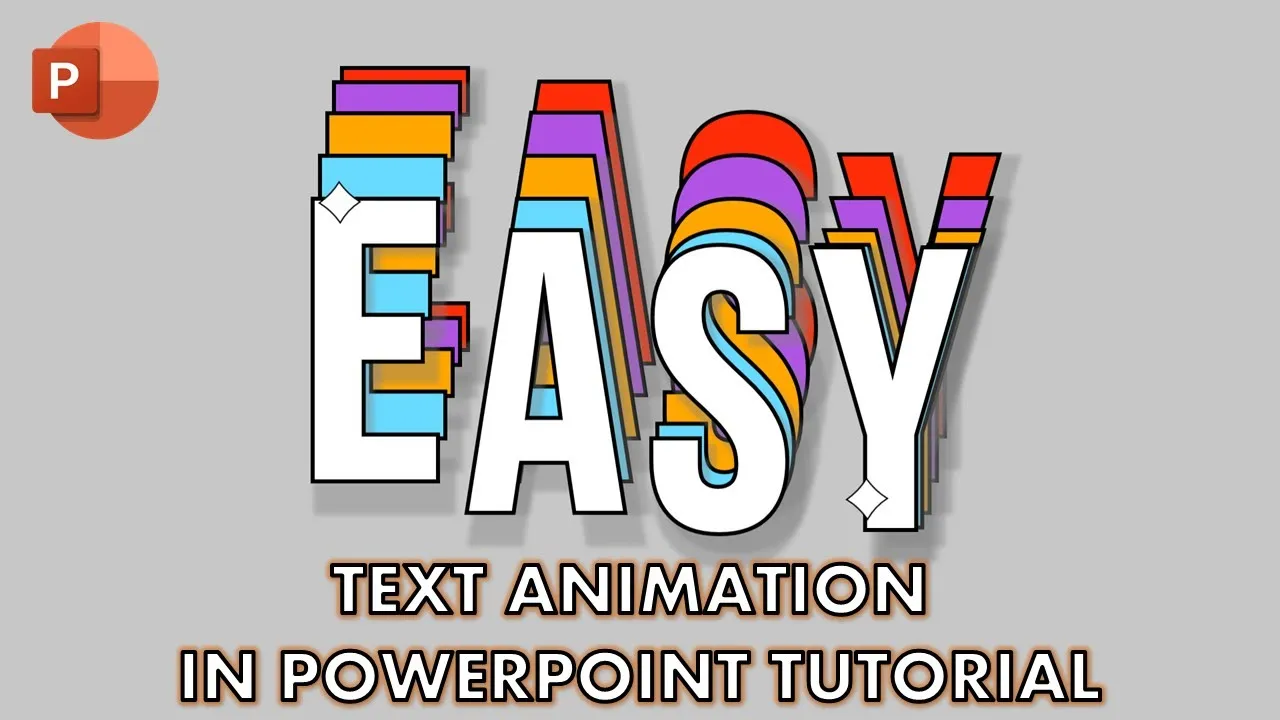
In this step-by-step guide, we’ll explore how to create engaging and dynamic easy text animation in PowerPoint inspired by the talented Matt Voice. Before we begin, it’s recommended to watch our previous tutorial on converting text to shapes in PowerPoint for a foundational understanding.
Getting Started
- New Presentation: Start by creating a new presentation with a blank layout.
- Text Input: Type the text you want to animate, either using Word Art or a text box, and make formatting adjustments such as font style, size, and character spacing.
- Draw Rectangle: Insert a rectangle shape (Insert tab > Shapes dropdown menu) on top of the text. Send it behind the text using the “Send to Back” command from the Shape Format tab.
Fragmenting the Text
- Separate Letters: Select the rectangle, then hold down Shift and select the text. In the Shape Format tab, choose “Fragment” from the Merge Shapes dropdown menu. Delete unwanted parts of the fragmented shape.
- Format the Shapes: Customize the fill color, outline color, and outline width of the individual letter shapes.
Applying Animation
- Up Motion Animation: Apply the “Up Motion” animation effect from the Animations tab. Adjust the path length as needed.
- Animation Pane Settings: Open the Animation Pane, set the effect to start with the previous animation, with a duration of 2 seconds. Enable “Auto-Reverse” and set the option to repeat until the end of the slide.
- Animation Options: Double-click the effect in the Animation Pane, enable “Auto-Reverse,” and keep default smoothness. From the Timings tab, set the option to repeat until the end of the slide.
- Animation Replication: Use Animation Painter to replicate the effect on other shapes. Apply delay timings between effects for a staggered appearance.
Creating Duplicate Sets
- Duplicate Shapes: Copy and paste the shapes from the Home tab to create duplicates. Adjust positions, change fill colors, and send them to the back using the Shape Format tab.
- Adjust Animations: Check the Animation Pane for duplicated shapes; adjust delay timings for the first shape in each set.
- Background and Shadows: Apply slide background color and configure shadows for additional visual appeal.
Repeat for More Sets
- Repeat the Process: Duplicate and adjust for additional sets of shapes. Copy, paste, adjust positions, change colors, and apply delay timings.
- Final Touches: Fine-tune the settings for each set, ensuring a visually appealing and well-coordinated animation.
Conclusion
And there you have it – a captivating and dynamic text animation in PowerPoint! By following these steps and replicating the process, you can create a sequence of engaging animations that will leave your audience impressed.
[Download Easy Text Animation Presentation File]
We hope you found this tutorial informative and interesting. Feel free to watch the video for a more visual representation of the process. If you enjoyed the tutorial, show your support by liking, sharing, and commenting. Don’t forget to subscribe for more upcoming tutorials. Thank you for watching, and until next time, take care!


